



Ceiling Lights Without a False Ceiling: 5 Options Compared
Five ways to light a room without a false ceiling — surface panels, semi-flush, track, strip and suspended modular systems — plus the fixing each one needs.
Saiba quais são os problemas dos cômodos sem tetos falsos
Os principais problemas que você enfrentará
Quando os proprietários de imóveis precisam lidar com espaços que não têm tetos falsos, eles enfrentam uma série de problemas comuns:
- - Espaço limitado para ocultar dispositivos de iluminação e componentes elétricos
- - Fiação e elementos estruturais expostos que afetam a estética do cômodo
- - Dificuldade para instalar iluminação embutida sem cavidades no teto
- - Distribuição desigual da luz do outro lado da sala
- - Redução das opções de iluminação moderna que normalmente requerem instalação oculta
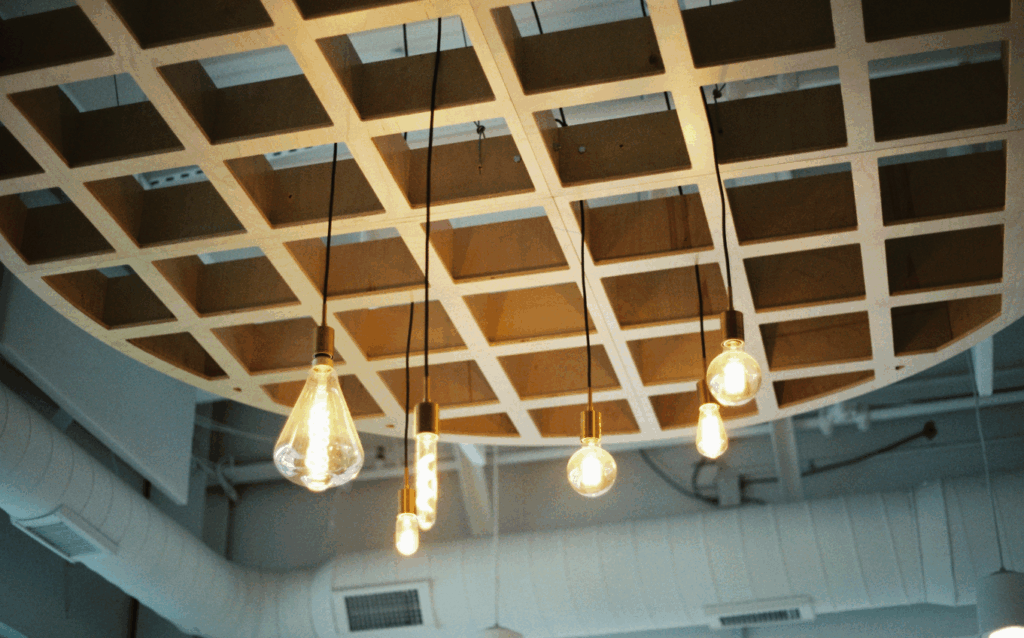
Devido a esses limites, as pessoas geralmente precisam fazer concessões entre a qualidade da iluminação e o design de interiores. No entanto, a moderna tecnologia LED oferece soluções úteis que trabalham com esses limites, e não contra eles.
Tipos de luzes de LED que podem ser usadas sem teto falso
Painéis de LED montados na superfície
Os painéis montados na superfície emitem muita luz e ocupam muito pouco espaço no teto:
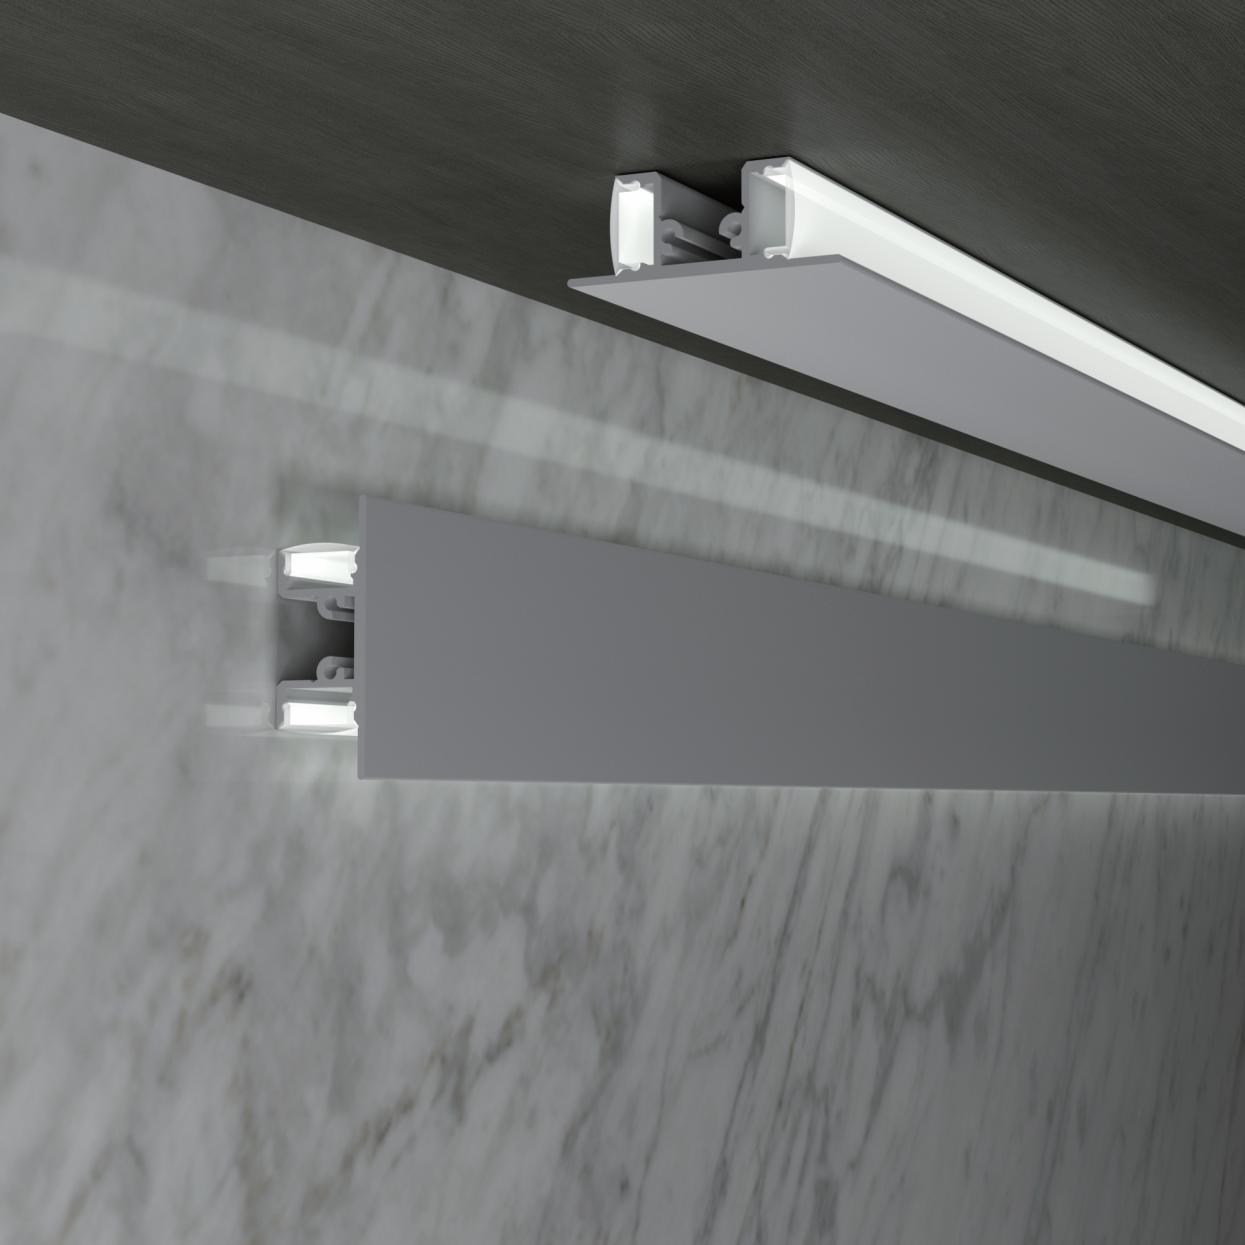
Principais vantagens:
- - Very thin profiles (usually less than an inch thick)
- - Can be mounted directly to the ceiling without major changes
- - Light is evenly distributed throughout the room
- - Uses a lot of energy but doesn't use a lot of power
Esses painéis são ótimos para escritórios, salas de estar e empresas que precisam de iluminação uniforme.
Luminárias de teto para montagem em semi-embutido
Os suportes semi-embutidos são um bom equilíbrio entre utilidade e economia de espaço:
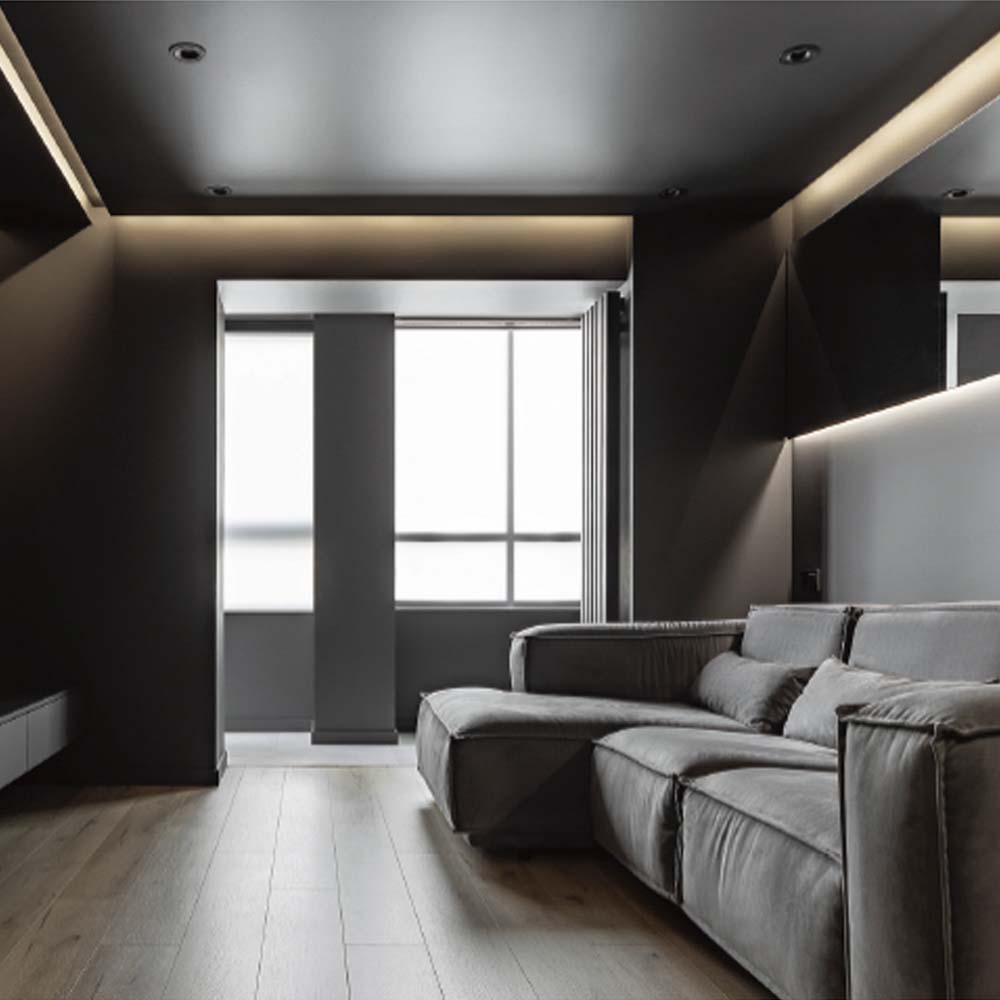
Prós:
- - Works with standard ceiling heights
- - Spreads light better than flush-mounted options
- - Many styles to choose from, from modern to traditional
- - Easy to put together
Ótimo para corredores, quartos e salas de estar onde o estilo é importante, mas o espaço é limitado.
Sistemas de iluminação de trilhos
Track lighting is very flexible for rooms that don't have false ceilings:
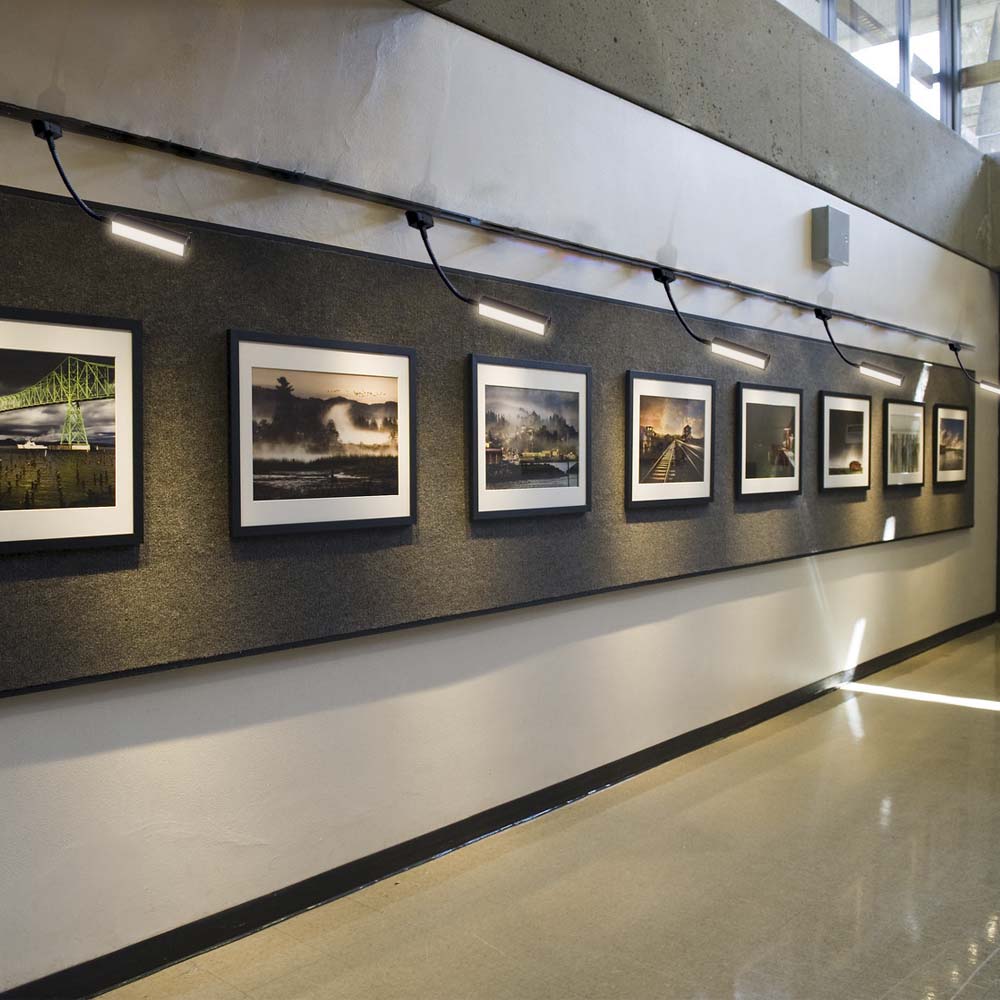
Por que funciona:
- - No need to cut out more than one ceiling
- - Light position can be changed
- - System that can grow or shrink as needed—lights can be added or removed as needed.
- - Elements that are visible become part of the design
Excelente para cozinhas, estúdios e lojas que precisam de iluminação que possa ser movimentada.
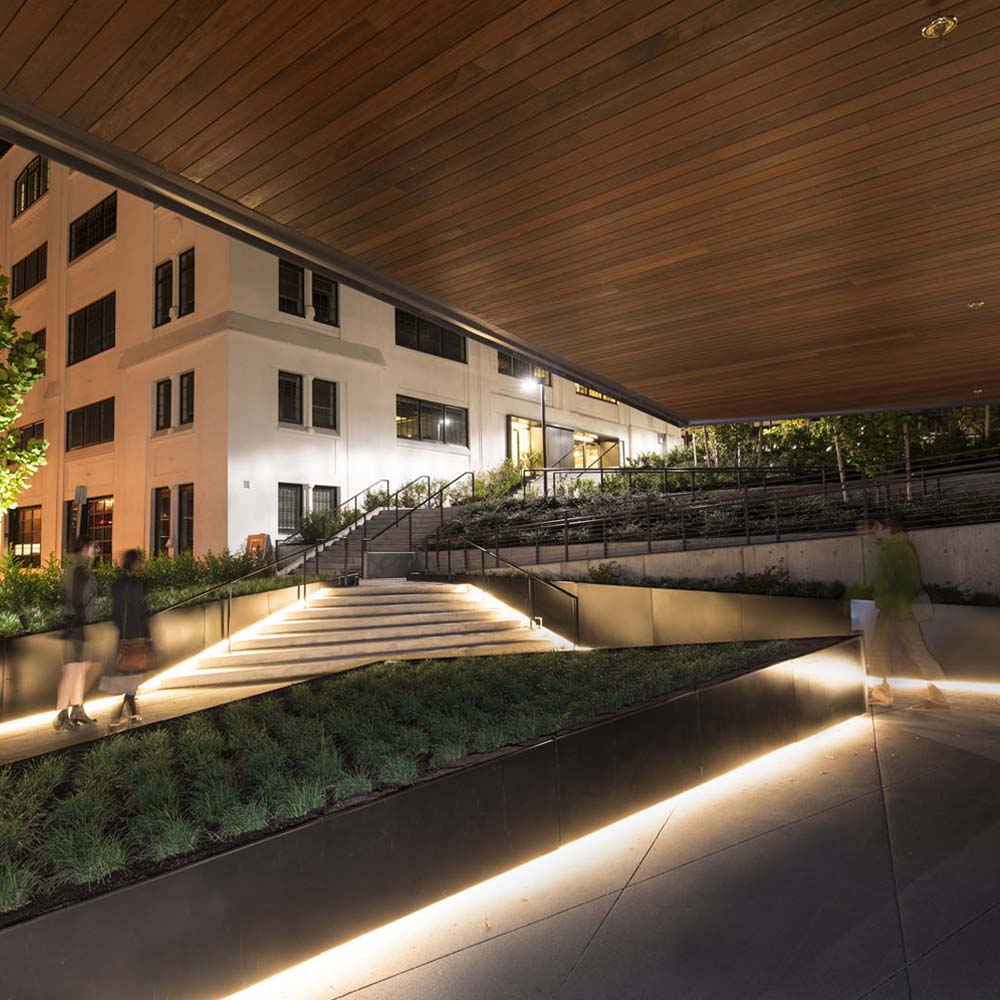
Fita de iluminação LED
As fitas de LED são uma maneira criativa de resolver problemas em áreas de difícil acesso:
Usos comuns:
- - Cove lighting on the walls high up
- - Perimeter lighting around ceiling features
- - Accent lighting for architectural features
- - Lighting for tasks under shelves or cabinets
As tiras são ótimas para efeitos de iluminação em camadas porque são flexíveis e de baixo perfil.
The fifth option: suspended modular systems
The four options above all assume the same thing: that you can fix something to the ceiling and make the fixing disappear. A suspended system drops the assumption, not the idea. The run hangs on wire ropes, so the only thing the slab carries is a plate the size of a saucer — three screw holes and one cable entry, with no void, no channel, and nothing to patch afterwards.
It is one arrangement inside a wider modular lighting system, and it is the one most often missing from lists like this, because a panel photographs better than a wire.

Why suspension wins on a bare slab
Recessing a fixture needs three things a bare slab cannot give: 75 mm of depth for the body, a substrate to screw the trim to, and a cable route nobody can see. Surface mounting solves the first two by moving everything into the room — the body stands proud of the soffit, the driver sits beside it, and the interconnect runs in trunking.
Suspension also keeps the body in the room, but it collapses those three problems into one plate. A 7.5 kg hexagon is carried by three ropes into a single ceiling plate that covers the anchors and the cable entry as well. The slab is drilled three times, not chased once.
The second argument is photometric rather than structural. Illuminance falls with the square of the distance to the surface being lit. On a 4 m slab a surface fixture lights the desk from 4 m; the same fixture dropped 1.2 m lights it from 2.8 m, which is roughly twice the illuminance for the same wattage. On high ceilings the drop does more for the numbers than any lens or diffuser. The lighting load calculator will show you what that does to fixture count before you draw anything.
Four ways to hang a run
These are the arrangements in the current range. They differ mainly in what lands on the slab — which is the only thing that matters when there is no ceiling void to hide it in.
- Round plate, three ropesEvery module from A06 to E12. The plate is the entire ceiling interface: three M4×25 screws into the supplied plugs, three ropes through a locking device in the centre. Height is set on site by pulling rope through the device — no tools, no cutting, and the plate covers the cable entry at the same time.
- Rectangular plate with the driver insideE80 and E81 only. The plate is a bar rather than a disc. It carries the driver, the AC feed lands on it directly, and the fixture then connects to the plate. One larger rectangle on the slab, with nothing else to find a home for.
- QuickSnap track frameFour modules or more, and any layout that has to stay coplanar. The frame is assembled and squared on the floor, then hoisted on multiple ropes and levelled at the plates. The alternative — levelling four or eight independent canopies against each other from below — is slow, and it rarely ends up flat.
- Surface plate, no dropThe same plate bolted straight to the slab with the fixture 75 mm off it. This is the option for a low soffit, where a drop would put the body in people’s line of sight, or for a corridor where the run has to disappear into the architecture.
If you already know the room dimensions, the modular lighting planner will place these for you and return a component list with the weights tabulated below.
Load, anchors and what the slab has to carry
The installation manual sets one rule, and it is a rule rather than a recommendation: the fixing point must stand ten times the weight of the fixture, in a location free of vibration and swing, and clear of anything combustible.
| Modelo | Net weight (kg) | Modelo | Net weight (kg) |
|---|---|---|---|
| A06 | 3.5 | A12 | 6.8 |
| B06 | 2.9 | B12 | 5.5 |
| C06 | 2.8 | C12 | 5.5 |
| D06 | 2.5 | D12 | 4.7 |
| E06 | 4.0 | E08 | 5.1 |
| E12 | 7.5 | E80 | 5.8 |
| E81 | 7.3 |
Net weight per module, before ropes and plate. Gross weights and carton sizes are on each product page.
Read that against the table. A 7.5 kg hexagon calls for a fixing point rated at 75 kg. The rubber plugs supplied with the plate are meant for masonry and concrete; they are not a 75 kg fixing in plasterboard, and they are not one in a metal deck either. On drywall, a suspended grid or a profiled deck you need a rated anchor or a spreader plate — and on a metal deck the anchor should land in the rib rather than in the pan between ribs.

Three ropes share the load, but do not divide the requirement by three. Specify every point against the whole fixture, on the assumption that a run which loses one rope should not come down.
Power follows the plate. On A06 to E12 the driver sits inside the fixture, so the AC feed runs all the way to it. On E80 and E81 the driver sits in the ceiling plate, so the feed stops at the plate and the fixture connects to that.
The thing to plan before the first hole is the interconnect between plates. With no void there is nowhere to hide it, so it runs on the soffit — in conduit, in trunking, or in a finish you have chosen deliberately. Retrofitting that run across a completed soffit is the most expensive mistake on these jobs, and it is entirely avoidable at design stage.
What the ceiling looks like afterwards
Round plate. One disc, three screw heads, one cable entry. At three metres it reads as a small dark button, and the fixture below it does the talking.
Rectangular plate. A bar of roughly the fixture’s own length with a removable cover. The driver is inside, so there is nothing to service from below except the fixture itself.
Frame. A grid of plates at one height. The frame holds the modules in a single plane and the plates only carry, which is why this arrangement looks deliberate from underneath: the eye reads the grid before it reads the hardware.
What you cannot avoid is the ropes. They are part of the drawing, and on an exposed soffit they are usually the thing that makes it look designed rather than improvised. If the brief says nothing may be visible on the ceiling at all, that is a recessed job — and a recessed job needs a void, which is the one thing this ceiling does not have.
The range is thirteen stocked modules across nine shapes — four triangles, three hexagons and two octagons — all on the same 50 × 75 mm profile, so any of them can hang from the plate described above. The full range sits on the Série Smart Puzzle page.
Comparação das opções de iluminação LED para tetos não falsos
| Tipo de iluminação | Melhores aplicativos | Vantagens | Limitações | Faixa de custo |
| Painéis montados na superfície | Escritórios, cozinhas, salas de estar | Iluminação uniforme, design fino, fácil instalação | Variedade limitada de estilos | Médio |
| Suportes semi-embutidos | Corredores, quartos, salas de jantar | Luz equilibrada, eficiência de espaço, vários estilos | Posicionamento fixo | Baixo-Médio |
| Iluminação de trilhos | Necessidades de iluminação flexíveis | Aparência personalizável, direcional e moderna | Hardware visível | Médio-Alto |
| Fitas de LED | Iluminação de destaque e decorativa | Versátil, de perfil baixo e comprimento personalizável | Não para iluminação primária | Baixo-Médio |
| Luminárias pendentes | Sobre mesas, ilhas, entradas | Forte presença de estilo, boa iluminação para tarefas | Pode reduzir a percepção da altura do teto | Varia |
Guias de instalação passo a passo
Instalação de um painel de LED na superfície
Ferramentas necessárias: Um localizador de pinos, um lápis, uma fita métrica, uma furadeira elétrica, uma chave de fenda, conectores de fios e uma escada.
Etapas para a instalação:
- Por segurança, desligue a energia no disjuntor
- Coloque o suporte de montagem no teto, certificando-se de que não haja obstruções
- Marque onde os parafusos serão colocados e faça furos piloto
- Use os parafusos certos para o material do teto para manter o suporte no lugar.
- Conecte a fiação de acordo com as instruções do fabricante
- Fixe o painel de luz no suporte de montagem
- Ligue a energia novamente e verifique se está funcionando
Instalação de iluminação de trilhos
Ferramentas necessárias: conectores de fios, chaves de fenda, testadores de tensão, furadeiras elétricas e cortadores de fios
Etapas para a instalação:
- Verifique se a energia está desligada com um testador de tensão.
- Put together the track sections if you're using a multi-piece system.
- Coloque a placa de montagem no lugar e marque onde os parafusos serão colocados.
- Fixe firmemente a placa de montagem no teto.
- Conecte os fios elétricos do teto ao conector do trilho.
- Fixe o trilho na placa de montagem.
- Instale os cabeçotes de luz onde você quiser.
- Teste todas as luzes depois de ligar a energia novamente.
Dicas importantes de segurança
- Certifique-se sempre de que a energia esteja completamente desligada antes de começar a trabalhar.
- Verifique a capacidade de peso de sua estrutura de teto.
- Pense em obter ajuda profissional para instalações complicadas.
- Siga os códigos elétricos locais e os requisitos de permissão.
- Use o hardware de montagem correto para seu tipo de teto.
Considerações sobre custos e eficiência energética
Investimento inicial versus economia de longo prazo
As lâmpadas de LED são um ótimo investimento porque:
- Até 90% menos energia do que as lâmpadas incandescentes tradicionais
- Vida útil de mais de 50.000 horas reduz a frequência de substituição
- Saída mínima de calor reduz os custos de resfriamento
- Manutenção reduzida requisitos
Principais fatores de eficiência
Ao escolher as luzes de LED, pense nos seguintes aspectos:
- Lúmens por watt - measures light output efficiency
- Temperatura de cor - affects ambiance and functionality
- Índice de Renderização de Cores (CRI) - determines color accuracy
- Compatibilidade de escurecimento - provides control and additional savings
- Qualidade dos componentes - impacts longevity and performance
Maximizando seu investimento
Para obter os melhores resultados, faça o seguinte:
- Escolha temperaturas de cor adequadas para cada espaço
- Considere os controles inteligentes para economias automatizadas
- Selecione marcas de boa reputação com boas garantias
- Garantir a instalação adequada para um desempenho ideal
- Planeje a iluminação em camadas para diferentes necessidades e estados de espírito
A tecnologia LED está cada vez melhor, oferecendo melhores maneiras de iluminar áreas difíceis sem tetos falsos. Você pode obter uma iluminação útil e de boa aparência que dure muito tempo conhecendo suas opções e seguindo as etapas corretas de instalação.
We design and supply LED aluminum profiles and linear lighting — over 200 profiles with matched diffusers and fittings, serving customers in more than 100 countries since 2007.
Related reading


Send the strip width, the run length and the destination — we will match the profile, the diffuser and the fittings, and quote within 1 business day.
Start your inquiry