



Ceiling Lights Without a False Ceiling: 5 Options Compared
Five ways to light a room without a false ceiling — surface panels, semi-flush, track, strip and suspended modular systems — plus the fixing each one needs.
Weten welke problemen kamers zonder verlaagd plafond hebben
De belangrijkste problemen
Wanneer huiseigenaren te maken hebben met ruimtes die geen verlaagd plafond hebben, krijgen ze te maken met een aantal veelvoorkomende problemen:
- - Beperkte ruimte voor het verbergen van verlichtingsarmaturen en elektrische componenten
- - Blootliggende bedrading en structurele elementen die de esthetiek van de kamer beïnvloeden
- - Moeite met het installeren van inbouwverlichting zonder plafondspouwen
- - Ongelijkmatige lichtverdeling door de kamer
- - Minder moderne verlichtingsopties die meestal een verborgen installatie vereisen
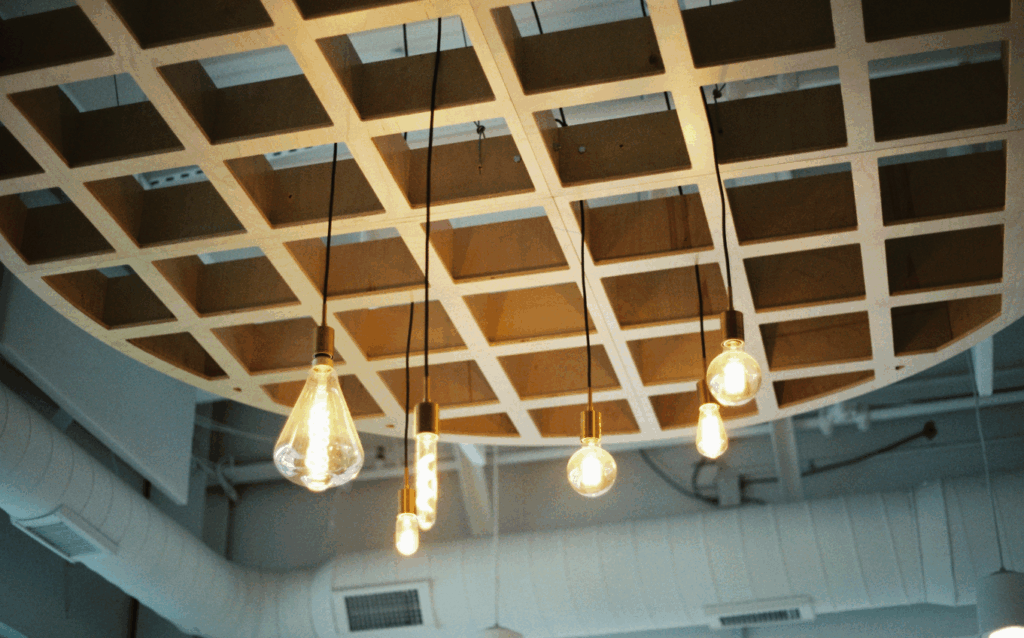
Vanwege deze beperkingen moeten mensen vaak afwegingen maken tussen verlichtingskwaliteit en interieurontwerp. Maar de moderne LED technologie biedt nuttige oplossingen die met deze beperkingen werken in plaats van ertegen.
Soorten LED-verlichting die zonder verlaagd plafond kunnen worden gebruikt
LED opbouwpanelen
Opbouwpanelen geven veel licht terwijl ze weinig plafondruimte innemen:
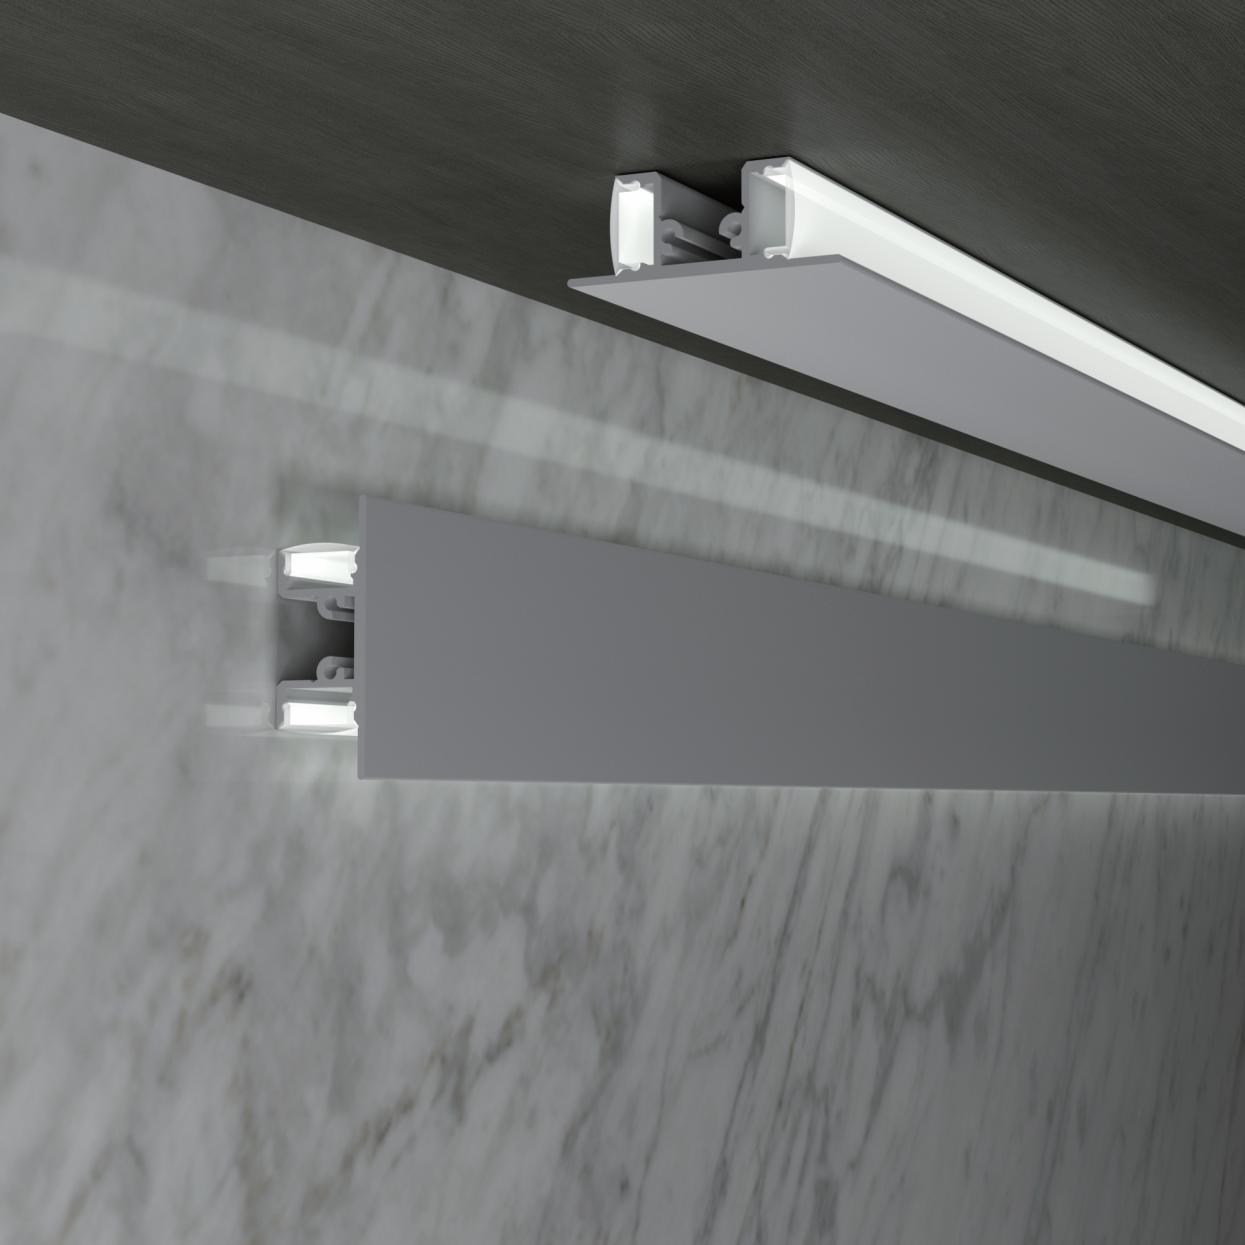
Belangrijkste voordelen:
- - Very thin profiles (usually less than an inch thick)
- - Can be mounted directly to the ceiling without major changes
- - Light is evenly distributed throughout the room
- - Uses a lot of energy but doesn't use a lot of power
Deze panelen zijn geweldig voor kantoren, woonkamers en bedrijven die gelijkmatige verlichting nodig hebben.
Halve inbouw plafondlampen
Halve inbouwspots zijn een goede balans tussen bruikbaarheid en ruimtebesparing:
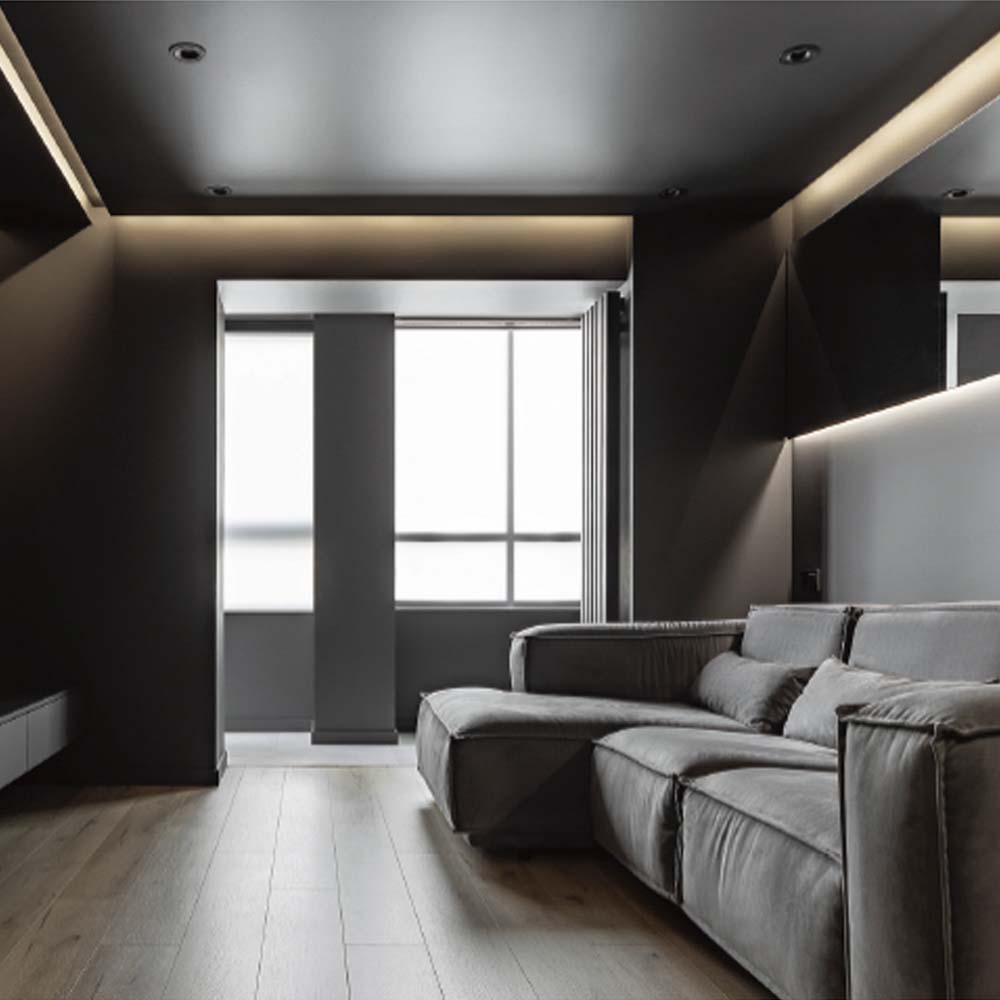
Voordelen:
- - Works with standard ceiling heights
- - Spreads light better than flush-mounted options
- - Many styles to choose from, from modern to traditional
- - Easy to put together
Geweldig voor gangen, slaapkamers en woonkamers waar stijl belangrijk is maar de ruimte beperkt.
Systemen voor rupsverlichting
Track lighting is very flexible for rooms that don't have false ceilings:
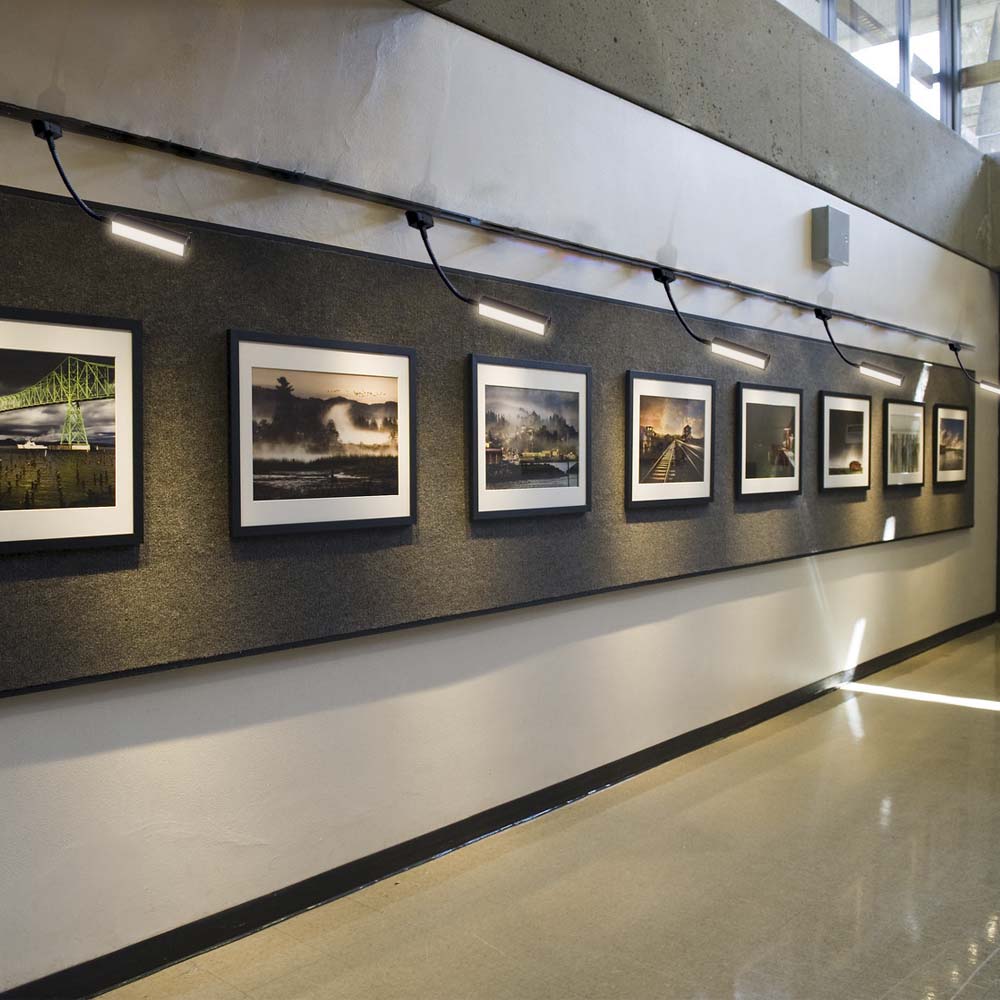
Waarom het werkt:
- - No need to cut out more than one ceiling
- - Light position can be changed
- - System that can grow or shrink as needed—lights can be added or removed as needed.
- - Elements that are visible become part of the design
Ideaal voor keukens, studio's en winkels die verlichting nodig hebben die kan worden verplaatst.
LED-stripverlichting
LED-strips zijn een creatieve manier om problemen op moeilijk bereikbare plaatsen op te lossen:
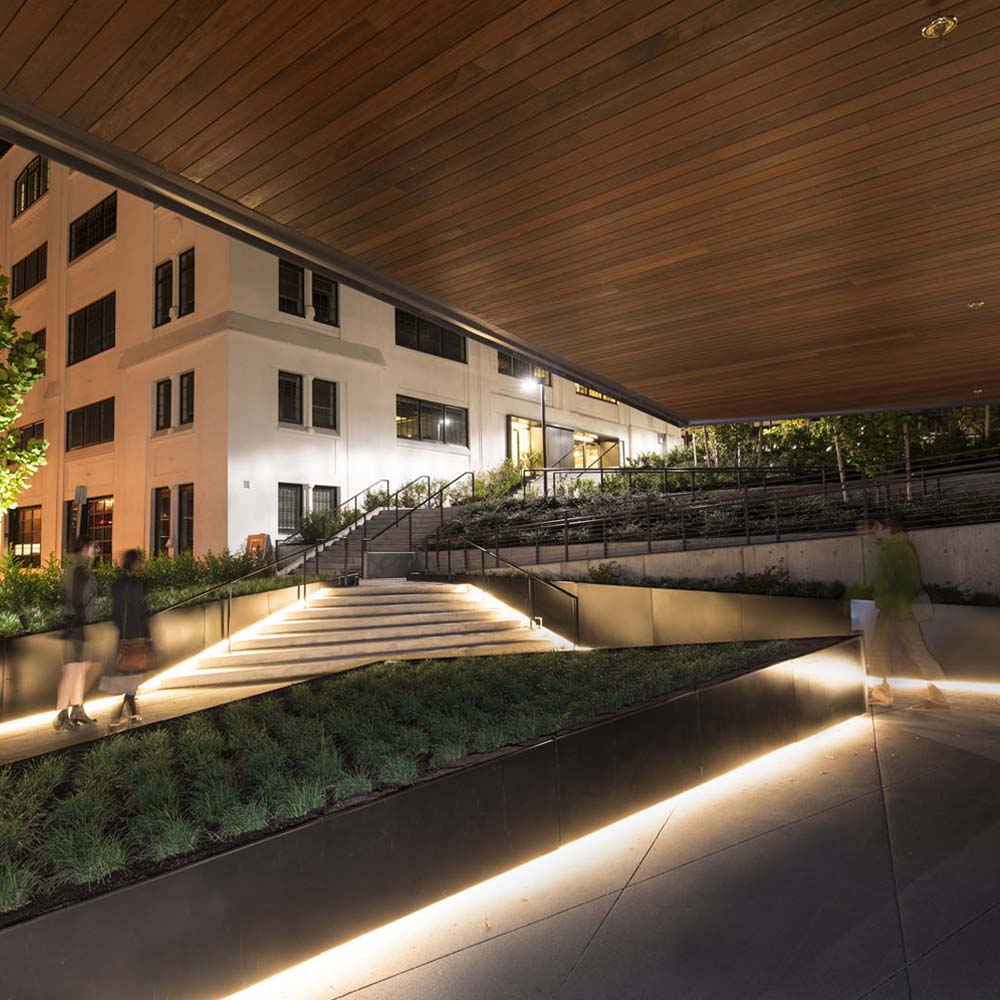
Algemeen gebruik:
- - Cove lighting on the walls high up
- - Perimeter lighting around ceiling features
- - Accent lighting for architectural features
- - Lighting for tasks under shelves or cabinets
Strips zijn geweldig voor gelaagde lichteffecten omdat ze flexibel zijn en weinig profiel hebben.
The fifth option: suspended modular systems
The four options above all assume the same thing: that you can fix something to the ceiling and make the fixing disappear. A suspended system drops the assumption, not the idea. The run hangs on wire ropes, so the only thing the slab carries is a plate the size of a saucer — three screw holes and one cable entry, with no void, no channel, and nothing to patch afterwards.
It is one arrangement inside a wider modular lighting system, and it is the one most often missing from lists like this, because a panel photographs better than a wire.

Why suspension wins on a bare slab
Recessing a fixture needs three things a bare slab cannot give: 75 mm of depth for the body, a substrate to screw the trim to, and a cable route nobody can see. Surface mounting solves the first two by moving everything into the room — the body stands proud of the soffit, the driver sits beside it, and the interconnect runs in trunking.
Suspension also keeps the body in the room, but it collapses those three problems into one plate. A 7.5 kg hexagon is carried by three ropes into a single ceiling plate that covers the anchors and the cable entry as well. The slab is drilled three times, not chased once.
The second argument is photometric rather than structural. Illuminance falls with the square of the distance to the surface being lit. On a 4 m slab a surface fixture lights the desk from 4 m; the same fixture dropped 1.2 m lights it from 2.8 m, which is roughly twice the illuminance for the same wattage. On high ceilings the drop does more for the numbers than any lens or diffuser. The lighting load calculator will show you what that does to fixture count before you draw anything.
Four ways to hang a run
These are the arrangements in the current range. They differ mainly in what lands on the slab — which is the only thing that matters when there is no ceiling void to hide it in.
- Round plate, three ropesEvery module from A06 to E12. The plate is the entire ceiling interface: three M4×25 screws into the supplied plugs, three ropes through a locking device in the centre. Height is set on site by pulling rope through the device — no tools, no cutting, and the plate covers the cable entry at the same time.
- Rectangular plate with the driver insideE80 and E81 only. The plate is a bar rather than a disc. It carries the driver, the AC feed lands on it directly, and the fixture then connects to the plate. One larger rectangle on the slab, with nothing else to find a home for.
- QuickSnap track frameFour modules or more, and any layout that has to stay coplanar. The frame is assembled and squared on the floor, then hoisted on multiple ropes and levelled at the plates. The alternative — levelling four or eight independent canopies against each other from below — is slow, and it rarely ends up flat.
- Surface plate, no dropThe same plate bolted straight to the slab with the fixture 75 mm off it. This is the option for a low soffit, where a drop would put the body in people’s line of sight, or for a corridor where the run has to disappear into the architecture.
If you already know the room dimensions, the modular lighting planner will place these for you and return a component list with the weights tabulated below.
Load, anchors and what the slab has to carry
The installation manual sets one rule, and it is a rule rather than a recommendation: the fixing point must stand ten times the weight of the fixture, in a location free of vibration and swing, and clear of anything combustible.
| Model | Net weight (kg) | Model | Net weight (kg) |
|---|---|---|---|
| A06 | 3.5 | A12 | 6.8 |
| B06 | 2.9 | B12 | 5.5 |
| C06 | 2.8 | C12 | 5.5 |
| D06 | 2.5 | D12 | 4.7 |
| E06 | 4.0 | E08 | 5.1 |
| E12 | 7.5 | E80 | 5.8 |
| E81 | 7.3 |
Net weight per module, before ropes and plate. Gross weights and carton sizes are on each product page.
Read that against the table. A 7.5 kg hexagon calls for a fixing point rated at 75 kg. The rubber plugs supplied with the plate are meant for masonry and concrete; they are not a 75 kg fixing in plasterboard, and they are not one in a metal deck either. On drywall, a suspended grid or a profiled deck you need a rated anchor or a spreader plate — and on a metal deck the anchor should land in the rib rather than in the pan between ribs.

Three ropes share the load, but do not divide the requirement by three. Specify every point against the whole fixture, on the assumption that a run which loses one rope should not come down.
Power follows the plate. On A06 to E12 the driver sits inside the fixture, so the AC feed runs all the way to it. On E80 and E81 the driver sits in the ceiling plate, so the feed stops at the plate and the fixture connects to that.
The thing to plan before the first hole is the interconnect between plates. With no void there is nowhere to hide it, so it runs on the soffit — in conduit, in trunking, or in a finish you have chosen deliberately. Retrofitting that run across a completed soffit is the most expensive mistake on these jobs, and it is entirely avoidable at design stage.
What the ceiling looks like afterwards
Round plate. One disc, three screw heads, one cable entry. At three metres it reads as a small dark button, and the fixture below it does the talking.
Rectangular plate. A bar of roughly the fixture’s own length with a removable cover. The driver is inside, so there is nothing to service from below except the fixture itself.
Frame. A grid of plates at one height. The frame holds the modules in a single plane and the plates only carry, which is why this arrangement looks deliberate from underneath: the eye reads the grid before it reads the hardware.
What you cannot avoid is the ropes. They are part of the drawing, and on an exposed soffit they are usually the thing that makes it look designed rather than improvised. If the brief says nothing may be visible on the ceiling at all, that is a recessed job — and a recessed job needs a void, which is the one thing this ceiling does not have.
The range is thirteen stocked modules across nine shapes — four triangles, three hexagons and two octagons — all on the same 50 × 75 mm profile, so any of them can hang from the plate described above. The full range sits on the Slimme puzzelreeks page.
Vergelijking van LED-verlichtingsopties voor niet-verlaagd plafond
| Type verlichting | Beste toepassingen | Voordelen | Beperkingen | Kosten Bereik |
| Panelen voor opbouw | Kantoren, keukens, woonkamers | Gelijkmatige verlichting, slank ontwerp, eenvoudige installatie | Beperkte stijlvariatie | Medium |
| Half-inbouwspots | Gangen, slaapkamers, eetruimtes | Uitgebalanceerd licht, ruimtebesparend, meerdere stijlen | Vaste positionering | Laag-Middelmatig |
| Spoorverlichting | Flexibele verlichtingsbehoeften | Aanpasbaar, richtinggevoelig, modern uiterlijk | Zichtbare hardware | Middelhoog |
| LED-strips | Accent- en decoratieve verlichting | Veelzijdig, laag profiel, aanpasbare lengte | Niet voor primaire verlichting | Laag-Middelmatig |
| Hanglampen | Boven tafels, eilanden, ingangen | Sterke aanwezigheid in stijl, goede taakverlichting | Kan de waarneming van plafondhoogte verminderen | Varieert |
Stap-voor-stap installatiegidsen
Een LED-paneel op het oppervlak installeren
Nodig gereedschap: Een draadzoeker, een potlood, een meetlint, een boormachine, een schroevendraaier, draadverbinders en een ladder.
Stappen voor installatie:
- Schakel voor de veiligheid de stroom uit bij de stroomonderbreker
- Plaats de montagebeugel op het plafond en zorg ervoor dat er geen obstakels zijn.
- Markeer waar de schroeven moeten komen en boor proefgaten
- Gebruik de juiste schroeven voor je plafondmateriaal om de beugel op zijn plaats te houden.
- Sluit de bedrading aan volgens de instructies van de fabrikant
- Bevestig het lichtpaneel aan de montagebeugel
- Schakel de stroom weer in en controleer of het werkt
Installatie spoorverlichting
Nodig gereedschap: draadconnectoren, schroevendraaiers, spanningstesters, boormachines en draadknippers
Stappen om te installeren:
- Controleer met een spanningstester of de stroom is uitgeschakeld.
- Put together the track sections if you're using a multi-piece system.
- Plaats de montageplaat en markeer waar de schroeven moeten komen.
- Bevestig de montageplaat stevig aan het plafond.
- Sluit de elektrische draden van het plafond aan op de railconnector.
- Bevestig de rupsband aan de montageplaat.
- Installeer de lichtkoppen waar je ze wilt hebben.
- Test alle lampjes nadat de stroom weer is ingeschakeld.
Belangrijke veiligheidstips
- Zorg er altijd voor dat de stroom volledig uitgeschakeld is voordat je begint te werken.
- Controleer de gewichtscapaciteit van je plafondconstructie.
- Overweeg om professionele hulp in te schakelen voor ingewikkelde installaties.
- Volg de plaatselijke elektrische voorschriften en vergunningsvereisten.
- Gebruik de juiste bevestigingsmaterialen voor je plafondtype.
Kostenoverwegingen en energie-efficiëntie
Initiële investering vs. besparingen op lange termijn
LED-lampen zijn een geweldige investering omdat ze:
- Tot 90% minder energie dan traditionele gloeilampen
- Levensduur van 50.000+ uur verlaagt de vervangingsfrequentie
- Minimale warmteafgifte verlaagt de koelingskosten
- Minder onderhoud vereisten
Belangrijkste efficiëntiefactoren
Denk aan de volgende dingen als je LED-verlichting kiest:
- Lumen per watt - measures light output efficiency
- Kleurtemperatuur - affects ambiance and functionality
- Kleurweergave-index (CRI) - determines color accuracy
- Dimcompatibiliteit - provides control and additional savings
- Kwaliteit van onderdelen - impacts longevity and performance
Maximaliseer uw investering
Voor de beste resultaten doe je het volgende:
- Kies de juiste kleurtemperatuur voor elke ruimte
- Overweeg slimme besturingen voor geautomatiseerde besparingen
- Selecteer gerenommeerde merken met goede garanties
- Zorg voor een goede installatie voor optimale prestaties
- Plan gelaagde verlichting voor verschillende behoeften en stemmingen
LED technologie wordt steeds beter, waardoor we betere manieren krijgen om moeilijke ruimtes te verlichten zonder valse plafonds. U kunt zowel nuttige als mooie verlichting krijgen die lang meegaat door uw opties te kennen en de juiste installatiestappen te volgen.
We design and supply LED aluminum profiles and linear lighting — over 200 profiles with matched diffusers and fittings, serving customers in more than 100 countries since 2007.
Related reading

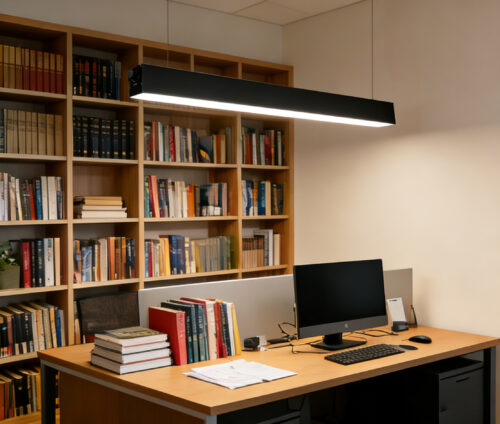

Send the strip width, the run length and the destination — we will match the profile, the diffuser and the fittings, and quote within 1 business day.
Start your inquiry