



Ceiling Lights Without a False Ceiling: 5 Options Compared
Ceiling Lights Without a False Ceiling: 5 Options Compared Technical review Weili Wu, Engineering Lead Knowing What Problems Rooms Without False Ceilings Have The Main Problems You
Ceiling Lights Without a False Ceiling: 5 Options Compared
Connaître les problèmes des pièces sans faux-plafond
Les principaux problèmes auxquels vous serez confrontés
Lorsque les propriétaires sont confrontés à des espaces dépourvus de faux plafonds, ils doivent faire face à un certain nombre de problèmes courants :
- - Espace limité pour cacher les appareils d'éclairage et les composants électriques
- - Câblage et éléments structurels exposés qui affectent l'esthétique de la pièce
- - Difficultés d'installation de l'éclairage encastré sans cavités dans le plafond
- - Répartition inégale de la lumière à travers la pièce
- - Des options d'éclairage modernes réduites qui nécessitent généralement une installation cachée
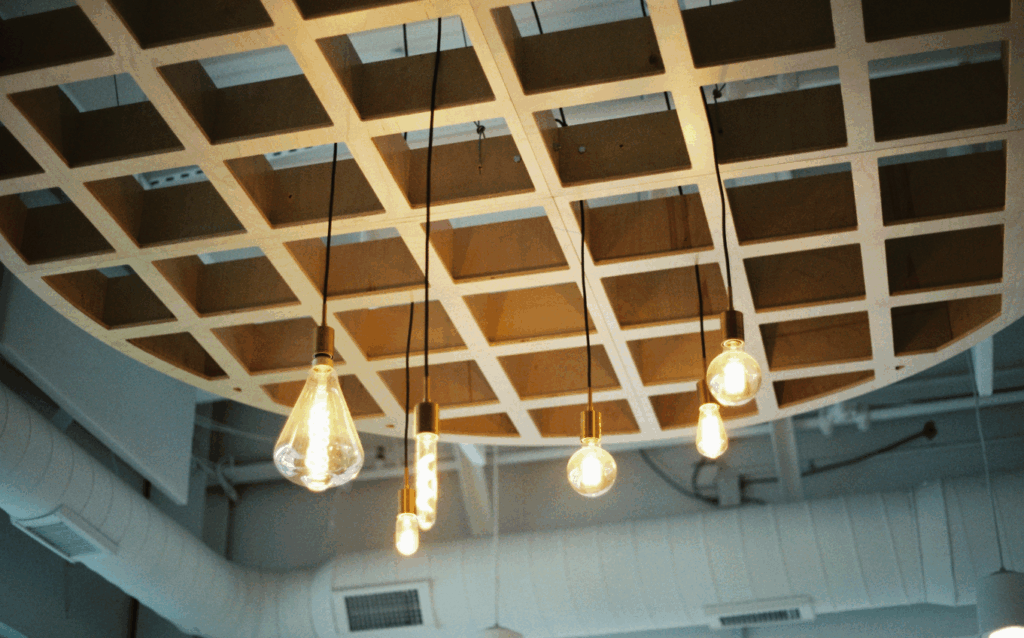
En raison de ces limites, les gens doivent souvent faire des compromis entre la qualité de l'éclairage et la décoration intérieure. Mais la technologie LED moderne offre des solutions utiles qui s'adaptent à ces limites au lieu de s'y opposer.
Types de lampes LED pouvant être utilisées sans faux plafond
Panneaux LED montés en surface
Les panneaux montés en surface diffusent beaucoup de lumière tout en occupant très peu d'espace au plafond :
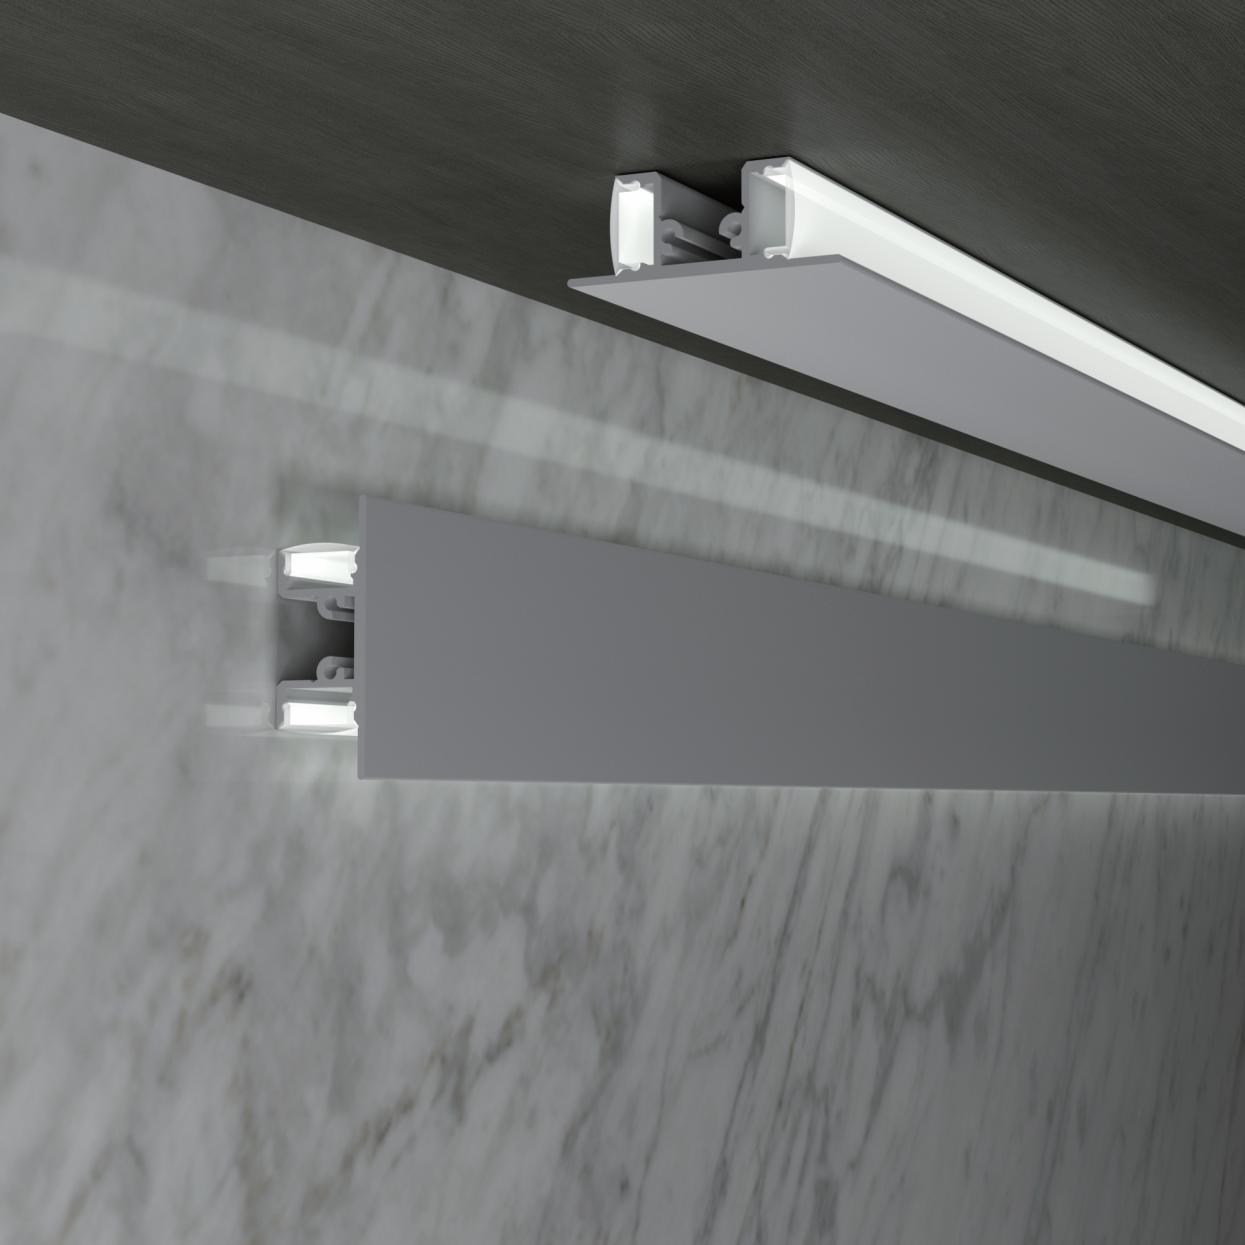
Principaux avantages :
- - Very thin profiles (usually less than an inch thick)
- - Can be mounted directly to the ceiling without major changes
- - Light is evenly distributed throughout the room
- - Uses a lot of energy but doesn't use a lot of power
Ces panneaux sont parfaits pour les bureaux, les salles de séjour et les entreprises qui ont besoin d'un éclairage uniforme.
Plafonniers semi-affleurants
Les montures semi-encastrées constituent un bon équilibre entre l'utilité et le gain de place :
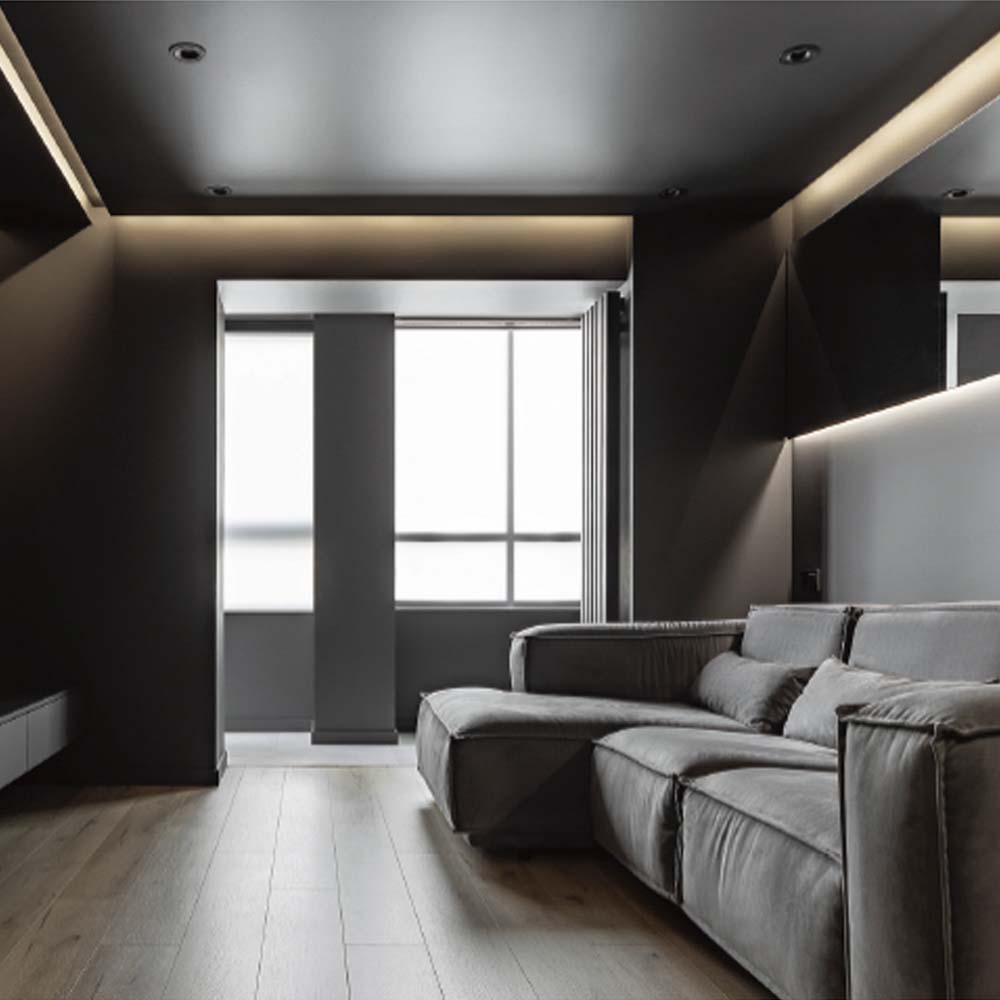
Pour :
- - Works with standard ceiling heights
- - Spreads light better than flush-mounted options
- - Many styles to choose from, from modern to traditional
- - Easy to put together
Idéal pour les couloirs, les chambres et les salons où le style est important mais où l'espace est limité.
Systèmes d'éclairage sur rail
Track lighting is very flexible for rooms that don't have false ceilings:
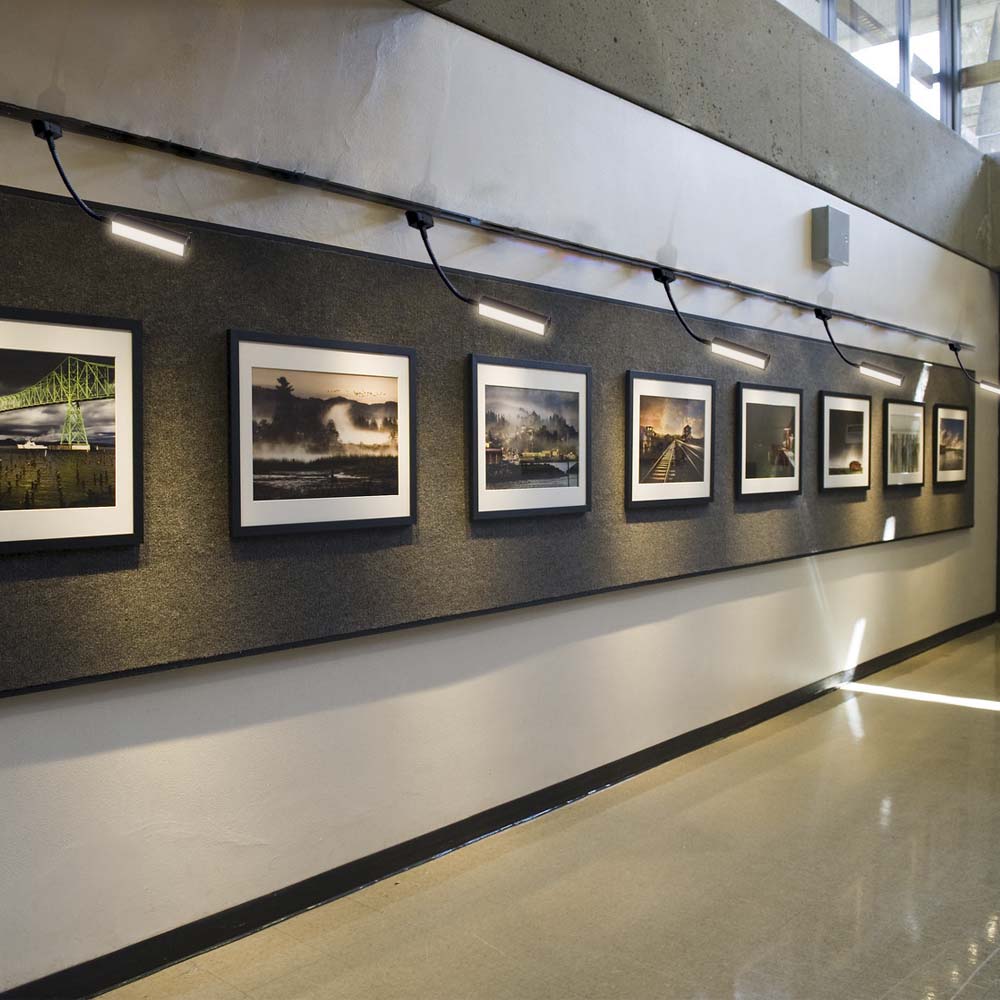
Pourquoi ça marche :
- - No need to cut out more than one ceiling
- - Light position can be changed
- - System that can grow or shrink as needed—lights can be added or removed as needed.
- - Elements that are visible become part of the design
Idéal pour les cuisines, les studios et les magasins qui ont besoin d'un éclairage mobile.
Bande LED
Les bandes LED sont un moyen créatif de résoudre les problèmes dans les zones difficiles d'accès :
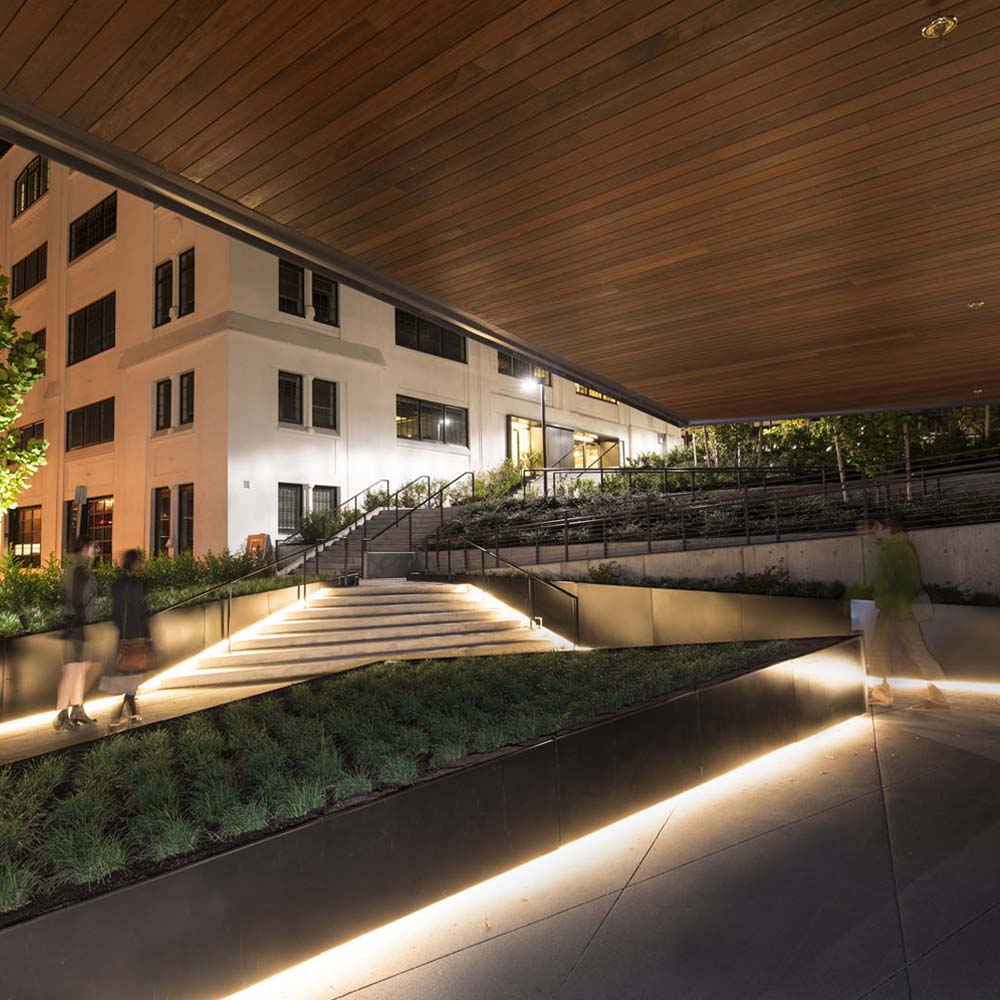
Utilisations courantes :
- - Cove lighting on the walls high up
- - Perimeter lighting around ceiling features
- - Accent lighting for architectural features
- - Lighting for tasks under shelves or cabinets
Les bandes sont idéales pour les effets d'éclairage en couches car elles sont flexibles et peu encombrantes.
The fifth option: suspended modular systems
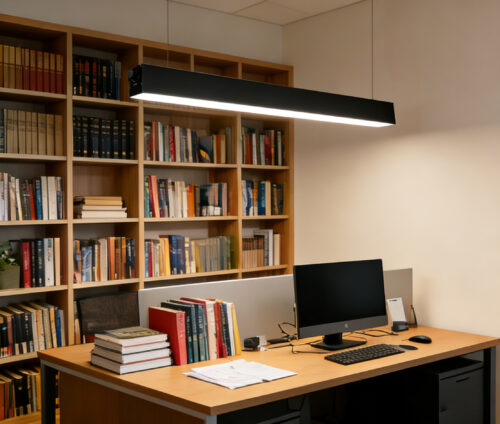
The four options above all assume the same thing: that you can fix something to the ceiling and make the fixing disappear. A suspended system drops the assumption, not the idea. The run hangs on wire ropes, so the only thing the slab carries is a plate the size of a saucer — three screw holes and one cable entry, with no void, no channel, and nothing to patch afterwards.
It is one arrangement inside a wider modular lighting system, and it is the one most often missing from lists like this, because a panel photographs better than a wire.

Why suspension wins on a bare slab
Recessing a fixture needs three things a bare slab cannot give: 75 mm of depth for the body, a substrate to screw the trim to, and a cable route nobody can see. Surface mounting solves the first two by moving everything into the room — the body stands proud of the soffit, the driver sits beside it, and the interconnect runs in trunking.
Suspension also keeps the body in the room, but it collapses those three problems into one plate. A 7.5 kg hexagon is carried by three ropes into a single ceiling plate that covers the anchors and the cable entry as well. The slab is drilled three times, not chased once.
The second argument is photometric rather than structural. Illuminance falls with the square of the distance to the surface being lit. On a 4 m slab a surface fixture lights the desk from 4 m; the same fixture dropped 1.2 m lights it from 2.8 m, which is roughly twice the illuminance for the same wattage. On high ceilings the drop does more for the numbers than any lens or diffuser. The lighting load calculator will show you what that does to fixture count before you draw anything.
Four ways to hang a run
These are the arrangements in the current range. They differ mainly in what lands on the slab — which is the only thing that matters when there is no ceiling void to hide it in.
- Round plate, three ropesEvery module from A06 to E12. The plate is the entire ceiling interface: three M4×25 screws into the supplied plugs, three ropes through a locking device in the centre. Height is set on site by pulling rope through the device — no tools, no cutting, and the plate covers the cable entry at the same time.
- Rectangular plate with the driver insideE80 and E81 only. The plate is a bar rather than a disc. It carries the driver, the AC feed lands on it directly, and the fixture then connects to the plate. One larger rectangle on the slab, with nothing else to find a home for.
- QuickSnap track frameFour modules or more, and any layout that has to stay coplanar. The frame is assembled and squared on the floor, then hoisted on multiple ropes and levelled at the plates. The alternative — levelling four or eight independent canopies against each other from below — is slow, and it rarely ends up flat.
- Surface plate, no dropThe same plate bolted straight to the slab with the fixture 75 mm off it. This is the option for a low soffit, where a drop would put the body in people’s line of sight, or for a corridor where the run has to disappear into the architecture.
If you already know the room dimensions, the modular lighting planner will place these for you and return a component list with the weights tabulated below.
Load, anchors and what the slab has to carry
The installation manual sets one rule, and it is a rule rather than a recommendation: the fixing point must stand ten times the weight of the fixture, in a location free of vibration and swing, and clear of anything combustible.
| Modèle | Net weight (kg) | Modèle | Net weight (kg) |
|---|---|---|---|
| A06 | 3.5 | A12 | 6.8 |
| B06 | 2.9 | B12 | 5.5 |
| C06 | 2.8 | C12 | 5.5 |
| D06 | 2.5 | D12 | 4.7 |
| E06 | 4.0 | E08 | 5.1 |
| E12 | 7.5 | E80 | 5.8 |
| E81 | 7.3 |
Net weight per module, before ropes and plate. Gross weights and carton sizes are on each product page.
Read that against the table. A 7.5 kg hexagon calls for a fixing point rated at 75 kg. The rubber plugs supplied with the plate are meant for masonry and concrete; they are not a 75 kg fixing in plasterboard, and they are not one in a metal deck either. On drywall, a suspended grid or a profiled deck you need a rated anchor or a spreader plate — and on a metal deck the anchor should land in the rib rather than in the pan between ribs.

Three ropes share the load, but do not divide the requirement by three. Specify every point against the whole fixture, on the assumption that a run which loses one rope should not come down.
Power follows the plate. On A06 to E12 the driver sits inside the fixture, so the AC feed runs all the way to it. On E80 and E81 the driver sits in the ceiling plate, so the feed stops at the plate and the fixture connects to that.
The thing to plan before the first hole is the interconnect between plates. With no void there is nowhere to hide it, so it runs on the soffit — in conduit, in trunking, or in a finish you have chosen deliberately. Retrofitting that run across a completed soffit is the most expensive mistake on these jobs, and it is entirely avoidable at design stage.
What the ceiling looks like afterwards
Round plate. One disc, three screw heads, one cable entry. At three metres it reads as a small dark button, and the fixture below it does the talking.
Rectangular plate. A bar of roughly the fixture’s own length with a removable cover. The driver is inside, so there is nothing to service from below except the fixture itself.
Frame. A grid of plates at one height. The frame holds the modules in a single plane and the plates only carry, which is why this arrangement looks deliberate from underneath: the eye reads the grid before it reads the hardware.
What you cannot avoid is the ropes. They are part of the drawing, and on an exposed soffit they are usually the thing that makes it look designed rather than improvised. If the brief says nothing may be visible on the ceiling at all, that is a recessed job — and a recessed job needs a void, which is the one thing this ceiling does not have.
The range is thirteen stocked modules across nine shapes — four triangles, three hexagons and two octagons — all on the same 50 × 75 mm profile, so any of them can hang from the plate described above. The full range sits on the Série de puzzles intelligents page.
Comparaison des options d'éclairage LED pour les faux plafonds
| Type d'éclairage | Meilleures applications | Avantages | Limites | Fourchette de coûts |
| Panneaux montés en surface | Bureaux, cuisines, espaces de vie | Éclairage uniforme, design fin, installation facile | Variété limitée de styles | Moyen |
| Montures semi-affleurantes | Couloirs, chambres, salles à manger | Lumière équilibrée, espace efficace, styles multiples | Positionnement fixe | Faible-Moyen |
| Éclairage sur rail | Des besoins d'éclairage flexibles | Personnalisable, directionnel, moderne | Matériel visible | Moyenne-élevée |
| Bandes LED | Éclairage d'accentuation et décoratif | Polyvalent, peu encombrant, longueur personnalisable | Pas pour l'éclairage primaire | Faible-Moyen |
| Lampes suspendues | Au-dessus des tables, des îlots, des entrées | Une forte présence stylistique, un bon éclairage de travail | Peut réduire la perception de la hauteur du plafond | Variable |
Guides d'installation pas à pas
Installation d'un panneau LED sur la surface
Outils nécessaires : Un détecteur de goujons, un crayon, un ruban à mesurer, une perceuse électrique, un tournevis, des connecteurs de fils et une échelle.
Étapes de l'installation :
- Pour des raisons de sécurité, coupez le courant au niveau du disjoncteur.
- Placer le support de montage au plafond, en veillant à ce qu'il n'y ait pas d'obstacles.
- Marquer l'emplacement des vis et percer des avant-trous
- Utilisez les vis adaptées au matériau de votre plafond pour maintenir le support en place.
- Connecter le câblage conformément aux instructions du fabricant.
- Fixer le panneau lumineux au support de montage
- Rétablissez l'alimentation et vérifiez qu'elle fonctionne.
Installation de l'éclairage sur rail
Outils nécessaires : connecteurs de fils, tournevis, testeurs de tension, perceuses électriques et coupe-fils
Marche à suivre pour l'installation :
- Vérifiez que le courant est coupé à l'aide d'un testeur de tension.
- Put together the track sections if you're using a multi-piece system.
- Mettez la plaque de montage en place et marquez l'emplacement des vis.
- Fixez solidement la plaque de montage au plafond.
- Connecter les fils électriques du plafond au connecteur du rail.
- Fixer le rail à la plaque de montage.
- Installez les têtes d'éclairage là où vous le souhaitez.
- Testez tous les voyants après avoir rétabli le courant.
Conseils de sécurité importants
- Assurez-vous toujours que l'alimentation est complètement coupée avant de commencer à travailler.
- Vérifiez la capacité de charge de votre structure de plafond.
- Pensez à faire appel à un professionnel pour les installations complexes.
- Respecter les codes électriques locaux et les exigences en matière de permis.
- Utilisez le matériel de montage adapté à votre type de plafond.
Considérations sur les coûts et l'efficacité énergétique
Investissement initial ou économies à long terme
Les lampes LED sont un excellent investissement parce qu'elles
- Jusqu'à 90% d'énergie en moins que les ampoules à incandescence traditionnelles
- Durée de vie de plus de 50 000 heures réduit la fréquence de remplacement
- Production minimale de chaleur réduit les coûts de refroidissement
- Réduction de la maintenance exigences
Facteurs clés d'efficacité
Lorsque vous choisissez des lampes LED, tenez compte des points suivants :
- Lumens par watt - measures light output efficiency
- Température de couleur - affects ambiance and functionality
- Indice de rendu des couleurs (CRI) - determines color accuracy
- Compatibilité de gradation - provides control and additional savings
- Qualité des composants - impacts longevity and performance
Maximiser votre investissement
Pour obtenir les meilleurs résultats, procédez comme suit :
- Choisir des températures de couleur appropriées pour chaque espace
- Envisager des contrôles intelligents pour l'épargne automatisée
- Choisir des marques réputées avec de bonnes garanties
- Assurer une installation correcte pour une performance optimale
- Planifier l'éclairage en couches pour des besoins et des humeurs différents
La technologie LED ne cesse de s'améliorer, nous offrant de meilleurs moyens d'éclairer les zones difficiles sans faux plafonds. En connaissant vos options et en suivant les bonnes étapes d'installation, vous pouvez obtenir un éclairage à la fois utile et esthétique qui dure longtemps.
We design and supply LED aluminum profiles and linear lighting — over 200 profiles with matched diffusers and fittings, serving customers in more than 100 countries since 2007.
Related reading


Send the strip width, the run length and the destination — we will match the profile, the diffuser and the fittings, and quote within 1 business day.
Start your inquiry