



Ceiling Lights Without a False Ceiling: 5 Options Compared
Five ways to light a room without a false ceiling — surface panels, semi-flush, track, strip and suspended modular systems — plus the fixing each one needs.
Wissen, welche Probleme Räume ohne Zwischendecken haben
Die wichtigsten Probleme, mit denen Sie konfrontiert werden
Wenn Hausbesitzer mit Räumen zu tun haben, die keine Zwischendecke haben, stehen sie vor einer Reihe von Problemen:
- - Begrenzter Raum zum Verstecken von Beleuchtungskörpern und elektrischen Bauteilen
- - Freigelegte Kabel und Strukturelemente die die Ästhetik des Raumes beeinflussen
- - Schwierigkeiten bei der Installation von Einbaubeleuchtung ohne Deckenhohlräume
- - Ungleichmäßige Lichtverteilung quer durch den Raum
- - Reduzierte moderne Beleuchtungsmöglichkeiten die normalerweise eine verdeckte Installation erfordern
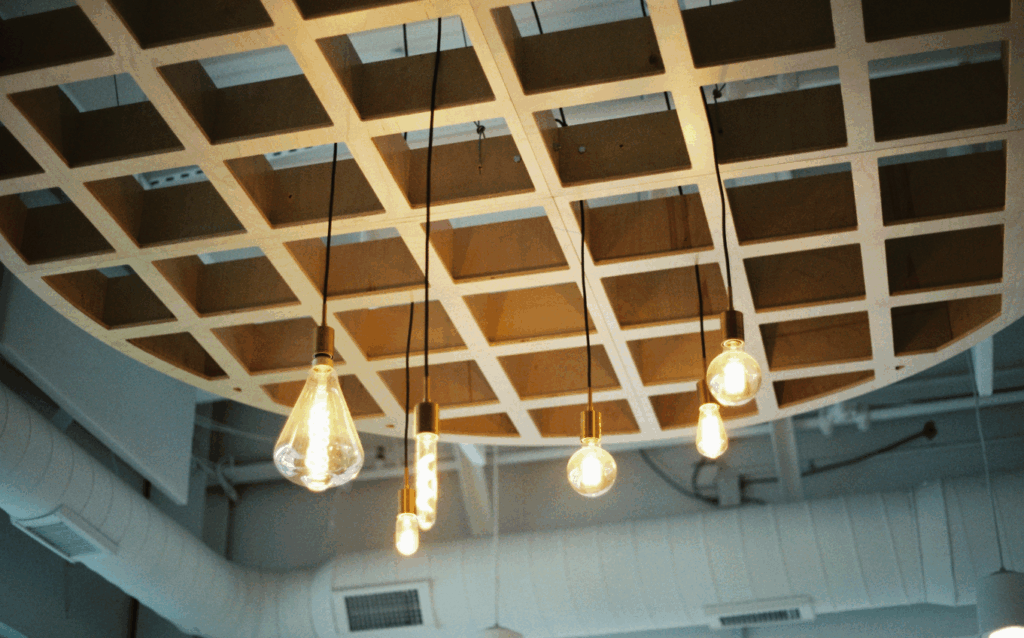
Aufgrund dieser Grenzen müssen die Menschen oft Kompromisse zwischen Lichtqualität und Raumgestaltung eingehen. Die moderne LED-Technologie bietet jedoch nützliche Lösungen, die mit diesen Grenzen arbeiten, statt gegen sie.
Arten von LED-Leuchten, die ohne Zwischendecke verwendet werden können
Oberflächenmontierte LED-Paneele
Anbaupaneele geben viel Licht ab und nehmen dabei nur wenig Platz an der Decke ein:
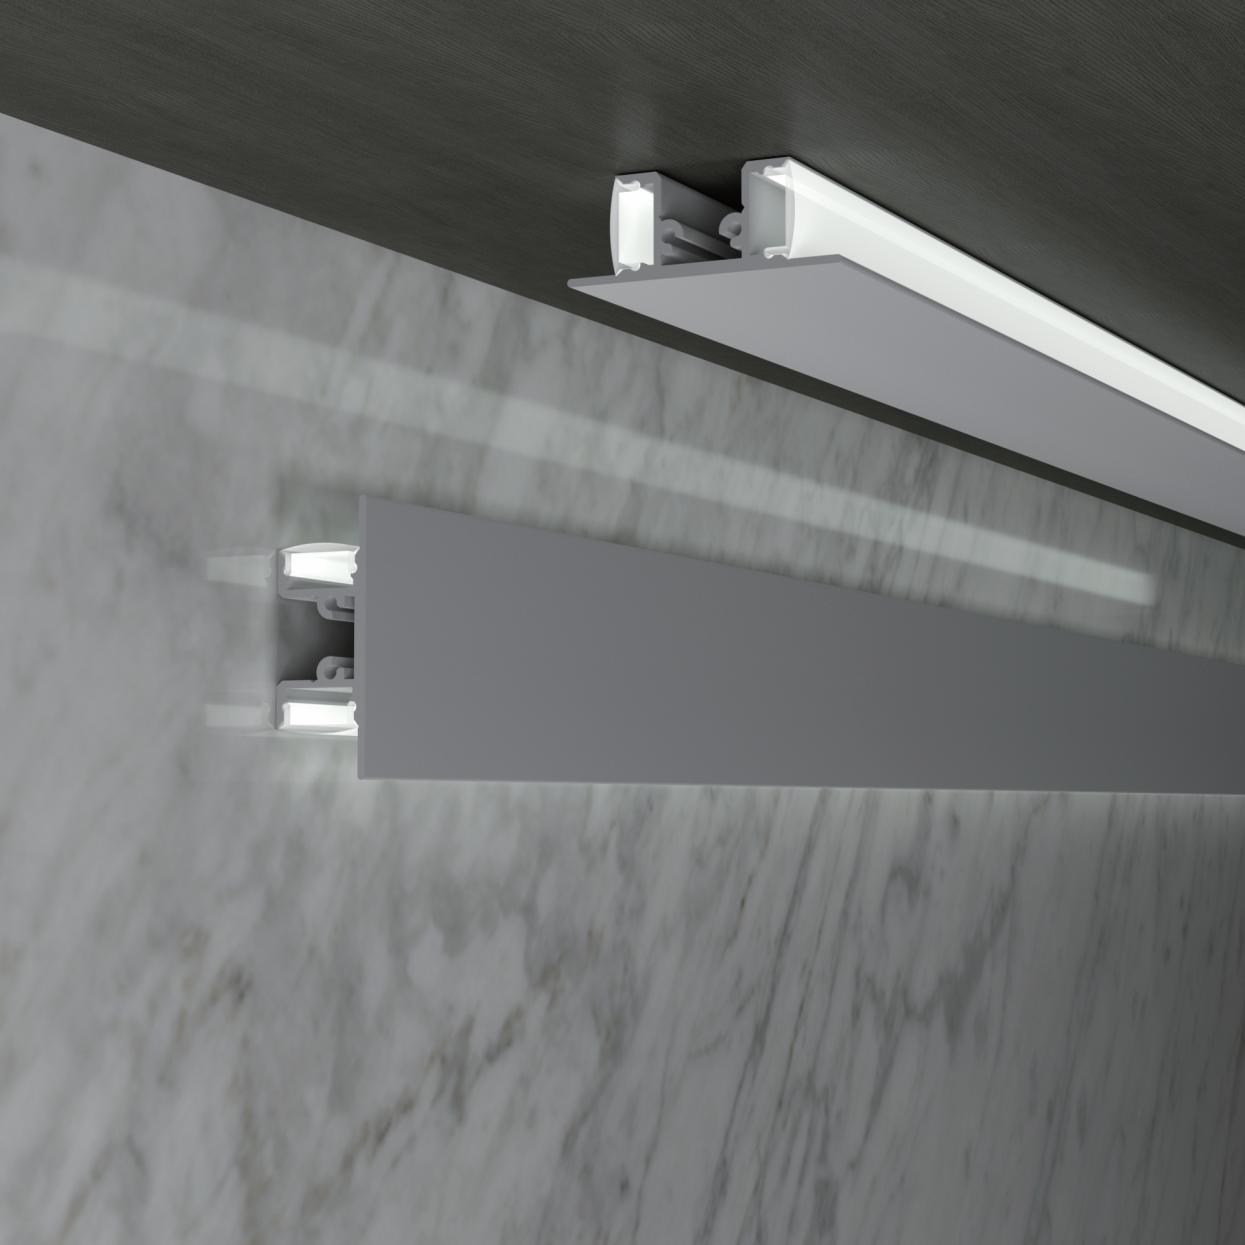
Wichtigste Vorteile:
- - Very thin profiles (usually less than an inch thick)
- - Can be mounted directly to the ceiling without major changes
- - Light is evenly distributed throughout the room
- - Uses a lot of energy but doesn't use a lot of power
Diese Paneele eignen sich hervorragend für Büros, Wohnräume und Unternehmen, die eine gleichmäßige Beleuchtung benötigen.
Semi-Flush Mount Deckenleuchten
Halbbündige Halterungen sind ein gutes Gleichgewicht zwischen Zweckmäßigkeit und Platzersparnis:
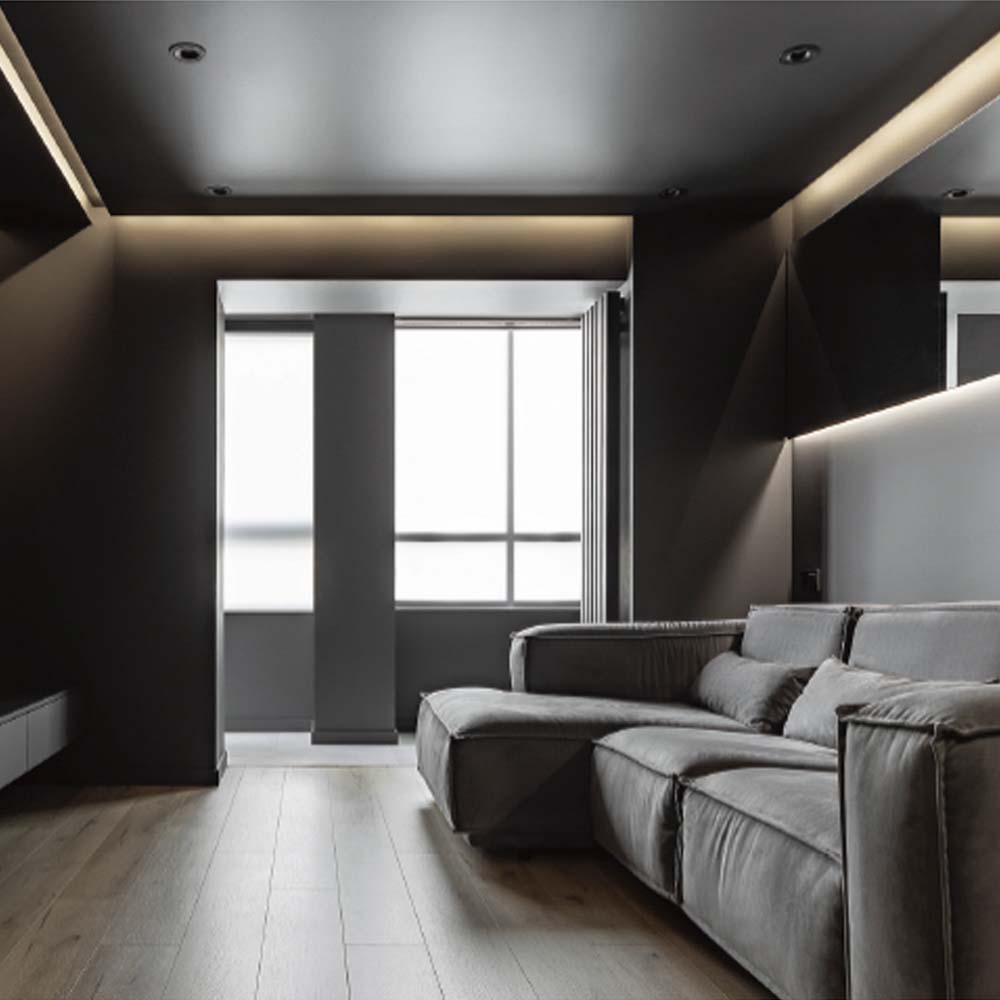
Vorteile:
- - Works with standard ceiling heights
- - Spreads light better than flush-mounted options
- - Many styles to choose from, from modern to traditional
- - Easy to put together
Hervorragend geeignet für Flure, Schlafzimmer und Wohnzimmer, in denen Stil wichtig ist, der Platz aber begrenzt ist.
Stromschienen-Beleuchtungssysteme
Track lighting is very flexible for rooms that don't have false ceilings:
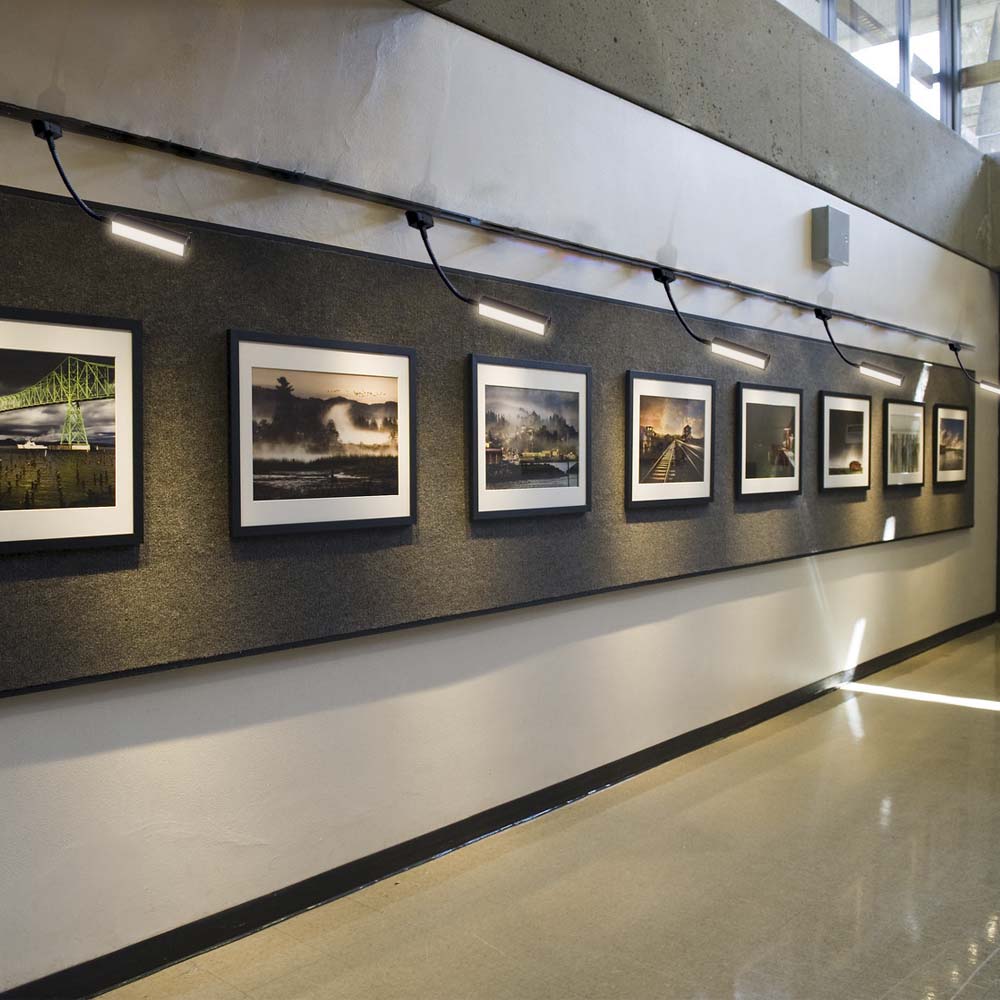
Warum es funktioniert:
- - No need to cut out more than one ceiling
- - Light position can be changed
- - System that can grow or shrink as needed—lights can be added or removed as needed.
- - Elements that are visible become part of the design
Ideal für Küchen, Studios und Geschäfte, die eine bewegliche Beleuchtung benötigen.
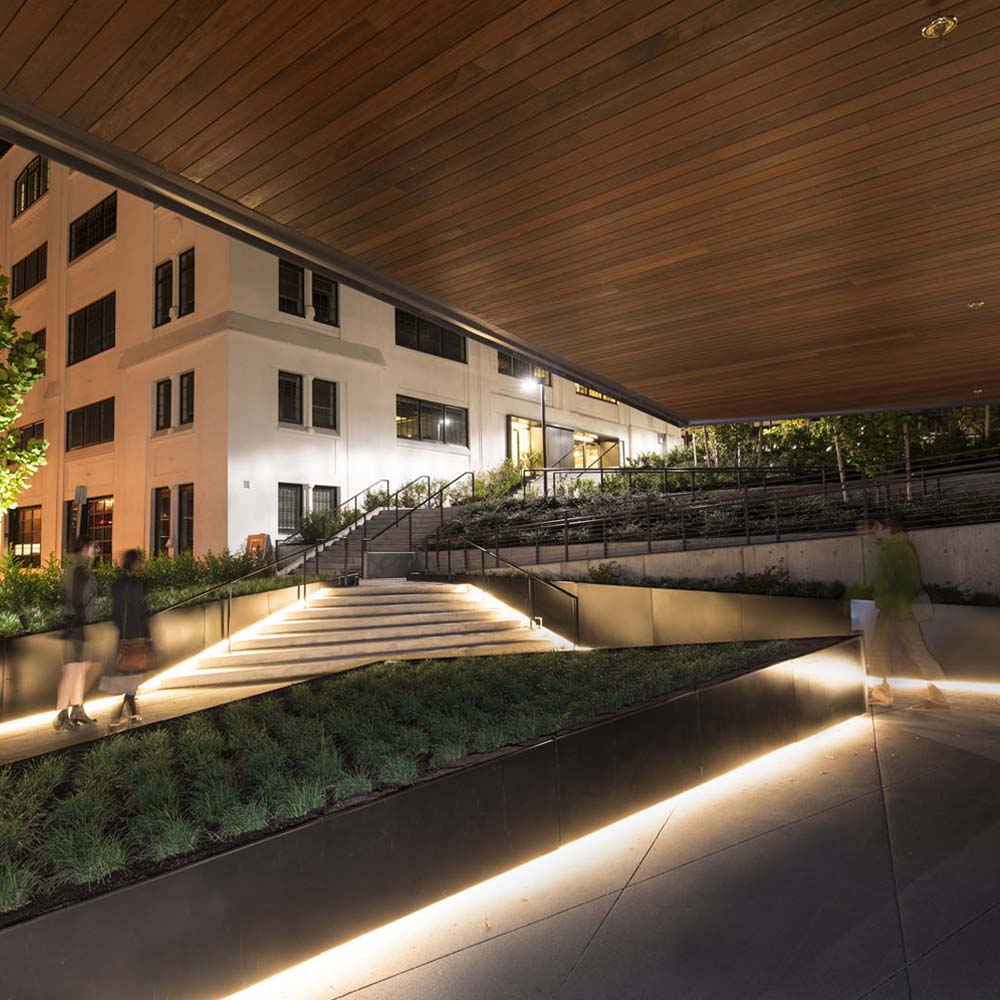
LED-Streifen-Beleuchtung
LED-Streifen sind ein kreativer Weg, um Probleme in schwer zugänglichen Bereichen zu lösen:
Häufige Verwendungen:
- - Cove lighting on the walls high up
- - Perimeter lighting around ceiling features
- - Accent lighting for architectural features
- - Lighting for tasks under shelves or cabinets
Streifen eignen sich hervorragend für mehrschichtige Lichteffekte, da sie flexibel und unauffällig sind.
The fifth option: suspended modular systems
The four options above all assume the same thing: that you can fix something to the ceiling and make the fixing disappear. A suspended system drops the assumption, not the idea. The run hangs on wire ropes, so the only thing the slab carries is a plate the size of a saucer — three screw holes and one cable entry, with no void, no channel, and nothing to patch afterwards.
It is one arrangement inside a wider modular lighting system, and it is the one most often missing from lists like this, because a panel photographs better than a wire.

Why suspension wins on a bare slab
Recessing a fixture needs three things a bare slab cannot give: 75 mm of depth for the body, a substrate to screw the trim to, and a cable route nobody can see. Surface mounting solves the first two by moving everything into the room — the body stands proud of the soffit, the driver sits beside it, and the interconnect runs in trunking.
Suspension also keeps the body in the room, but it collapses those three problems into one plate. A 7.5 kg hexagon is carried by three ropes into a single ceiling plate that covers the anchors and the cable entry as well. The slab is drilled three times, not chased once.
The second argument is photometric rather than structural. Illuminance falls with the square of the distance to the surface being lit. On a 4 m slab a surface fixture lights the desk from 4 m; the same fixture dropped 1.2 m lights it from 2.8 m, which is roughly twice the illuminance for the same wattage. On high ceilings the drop does more for the numbers than any lens or diffuser. The lighting load calculator will show you what that does to fixture count before you draw anything.
Four ways to hang a run
These are the arrangements in the current range. They differ mainly in what lands on the slab — which is the only thing that matters when there is no ceiling void to hide it in.
- Round plate, three ropesEvery module from A06 to E12. The plate is the entire ceiling interface: three M4×25 screws into the supplied plugs, three ropes through a locking device in the centre. Height is set on site by pulling rope through the device — no tools, no cutting, and the plate covers the cable entry at the same time.
- Rectangular plate with the driver insideE80 and E81 only. The plate is a bar rather than a disc. It carries the driver, the AC feed lands on it directly, and the fixture then connects to the plate. One larger rectangle on the slab, with nothing else to find a home for.
- QuickSnap track frameFour modules or more, and any layout that has to stay coplanar. The frame is assembled and squared on the floor, then hoisted on multiple ropes and levelled at the plates. The alternative — levelling four or eight independent canopies against each other from below — is slow, and it rarely ends up flat.
- Surface plate, no dropThe same plate bolted straight to the slab with the fixture 75 mm off it. This is the option for a low soffit, where a drop would put the body in people’s line of sight, or for a corridor where the run has to disappear into the architecture.
If you already know the room dimensions, the modular lighting planner will place these for you and return a component list with the weights tabulated below.
Load, anchors and what the slab has to carry
The installation manual sets one rule, and it is a rule rather than a recommendation: the fixing point must stand ten times the weight of the fixture, in a location free of vibration and swing, and clear of anything combustible.
| Modell | Net weight (kg) | Modell | Net weight (kg) |
|---|---|---|---|
| A06 | 3.5 | A12 | 6.8 |
| B06 | 2.9 | B12 | 5.5 |
| C06 | 2.8 | C12 | 5.5 |
| D06 | 2.5 | D12 | 4.7 |
| E06 | 4.0 | E08 | 5.1 |
| E12 | 7.5 | E80 | 5.8 |
| E81 | 7.3 |
Net weight per module, before ropes and plate. Gross weights and carton sizes are on each product page.
Read that against the table. A 7.5 kg hexagon calls for a fixing point rated at 75 kg. The rubber plugs supplied with the plate are meant for masonry and concrete; they are not a 75 kg fixing in plasterboard, and they are not one in a metal deck either. On drywall, a suspended grid or a profiled deck you need a rated anchor or a spreader plate — and on a metal deck the anchor should land in the rib rather than in the pan between ribs.

Three ropes share the load, but do not divide the requirement by three. Specify every point against the whole fixture, on the assumption that a run which loses one rope should not come down.
Power follows the plate. On A06 to E12 the driver sits inside the fixture, so the AC feed runs all the way to it. On E80 and E81 the driver sits in the ceiling plate, so the feed stops at the plate and the fixture connects to that.
The thing to plan before the first hole is the interconnect between plates. With no void there is nowhere to hide it, so it runs on the soffit — in conduit, in trunking, or in a finish you have chosen deliberately. Retrofitting that run across a completed soffit is the most expensive mistake on these jobs, and it is entirely avoidable at design stage.
What the ceiling looks like afterwards
Round plate. One disc, three screw heads, one cable entry. At three metres it reads as a small dark button, and the fixture below it does the talking.
Rectangular plate. A bar of roughly the fixture’s own length with a removable cover. The driver is inside, so there is nothing to service from below except the fixture itself.
Frame. A grid of plates at one height. The frame holds the modules in a single plane and the plates only carry, which is why this arrangement looks deliberate from underneath: the eye reads the grid before it reads the hardware.
What you cannot avoid is the ropes. They are part of the drawing, and on an exposed soffit they are usually the thing that makes it look designed rather than improvised. If the brief says nothing may be visible on the ceiling at all, that is a recessed job — and a recessed job needs a void, which is the one thing this ceiling does not have.
The range is thirteen stocked modules across nine shapes — four triangles, three hexagons and two octagons — all on the same 50 × 75 mm profile, so any of them can hang from the plate described above. The full range sits on the Smart Puzzle Serie page.
Vergleich von LED-Beleuchtungsoptionen ohne Zwischendecke
| Art der Beleuchtung | Beste Anwendungen | Vorteile | Beschränkungen | Kostenbereich |
| Oberflächenmontierte Paneele | Büroräume, Küchen, Wohnräume | Gleichmäßige Beleuchtung, schlankes Design, einfache Installation | Begrenzte Stilvielfalt | Mittel |
| Halbbündige Halterungen | Flure, Schlafzimmer, Essbereiche | Ausgewogenes Licht, Platz sparend, mehrere Stile | Feste Positionierung | Niedrig bis mittel |
| Schienenbeleuchtung | Flexibler Beleuchtungsbedarf | Anpassbarer, richtungsweisender, moderner Look | Sichtbare Hardware | Mittel-Hoch |
| LED-Streifen | Akzent- und Dekorationsbeleuchtung | Vielseitig, niedriges Profil, anpassbare Länge | Nicht für Primärbeleuchtung | Niedrig bis mittel |
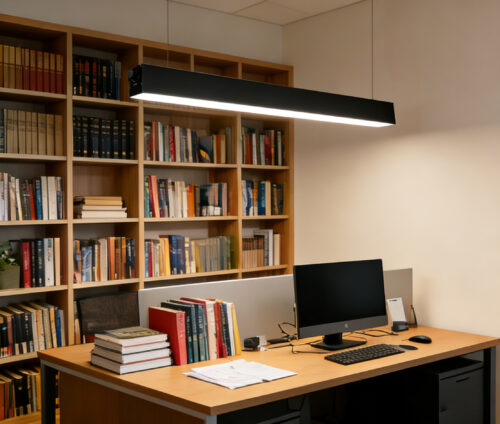
| Pendelleuchten | Über Tischen, Inseln, Eingängen | Starke Stilpräsenz, gute Arbeitsbeleuchtung | Kann die Wahrnehmung der Deckenhöhe verringern | Variiert |
Schritt-für-Schritt-Installationsanleitungen
Installation eines LED-Panels auf der Oberfläche
Benötigte Werkzeuge: Einen Bolzenfinder, einen Bleistift, ein Maßband, eine Bohrmaschine, einen Schraubendreher, Drahtverbinder und eine Leiter.
Schritte zur Installation:
- Schalten Sie aus Sicherheitsgründen den Strom am Schutzschalter aus.
- Bringen Sie die Halterung an der Decke an und achten Sie darauf, dass es keine Hindernisse gibt.
- Markieren Sie die Position der Schrauben und bohren Sie Vorbohrungen.
- Verwenden Sie die richtigen Schrauben für Ihr Deckenmaterial, um die Halterung zu befestigen.
- Schließen Sie die Verkabelung gemäß den Anweisungen des Herstellers an.
- Befestigen Sie die Leuchtplatte an der Halterung
- Schalten Sie den Strom wieder ein und prüfen Sie, ob er funktioniert.
Installation von Stromschienenbeleuchtung
Benötigte Werkzeuge: Kabelverbinder, Schraubendreher, Spannungsprüfer, Bohrmaschinen und Drahtschneider
Schritte zur Installation:
- Prüfen Sie mit einem Spannungsprüfer, ob der Strom abgeschaltet ist.
- Put together the track sections if you're using a multi-piece system.
- Bringen Sie die Montageplatte an und markieren Sie, wo die Schrauben angebracht werden sollen.
- Befestigen Sie die Montageplatte sicher an der Decke.
- Verbinden Sie die elektrischen Leitungen von der Decke mit dem Schienenverbinder.
- Befestigen Sie die Schiene an der Montageplatte.
- Bringen Sie die Lichtköpfe dort an, wo Sie sie haben wollen.
- Testen Sie alle Lichter, nachdem Sie den Strom wieder eingeschaltet haben.
Wichtige Sicherheitstipps
- Vergewissern Sie sich immer, dass der Strom vollständig abgeschaltet ist, bevor Sie mit der Arbeit beginnen.
- Prüfen Sie die Tragfähigkeit Ihrer Deckenkonstruktion.
- Denken Sie daran, bei komplizierten Installationen professionelle Hilfe in Anspruch zu nehmen.
- Befolgen Sie die örtlichen Elektrovorschriften und Genehmigungsanforderungen.
- Verwenden Sie das richtige Befestigungsmaterial für Ihren Deckentyp.
Kostenerwägungen und Energieeffizienz
Erstinvestition vs. langfristige Einsparungen
LED-Leuchten sind eine gute Investition, weil sie:
- Bis zu 90% weniger Energie als herkömmliche Glühbirnen
- 50.000+ Stunden Lebensdauer reduziert die Austauschhäufigkeit
- Minimale Wärmeabgabe senkt die Kühlkosten
- Reduzierte Wartung Anforderungen
Wichtige Effizienzfaktoren
Bei der Auswahl von LED-Leuchten sollten Sie diese Dinge beachten:
- Lumen pro Watt - measures light output efficiency
- Farbtemperatur - affects ambiance and functionality
- Farbwiedergabe-Index (CRI) - determines color accuracy
- Kompatibilität mit Dimmern - provides control and additional savings
- Qualität der Komponenten - impacts longevity and performance
Maximierung Ihrer Investition
Um die besten Ergebnisse zu erzielen, gehen Sie wie folgt vor:
- Geeignete Farbtemperaturen wählen für jeden Raum
- Intelligente Kontrollen in Betracht ziehen für automatisierte Einsparungen
- Wählen Sie seriöse Marken mit guten Garantien
- Sicherstellung der ordnungsgemäßen Installation für optimale Leistung
- Stufenweise Beleuchtung planen für unterschiedliche Bedürfnisse und Stimmungen
Die LED-Technologie wird immer besser und bietet uns bessere Möglichkeiten, schwierige Bereiche ohne Zwischendecken zu beleuchten. Sie können sowohl nützliche als auch gut aussehende Beleuchtung erhalten, die lange hält, wenn Sie Ihre Optionen kennen und die richtigen Installationsschritte befolgen.
We design and supply LED aluminum profiles and linear lighting — over 200 profiles with matched diffusers and fittings, serving customers in more than 100 countries since 2007.
Related reading


Send the strip width, the run length and the destination — we will match the profile, the diffuser and the fittings, and quote within 1 business day.
Start your inquiry