Note: To ensure and accuracy, this article follows the content creation and review process of the Helian Expert Team.
Knowing What Problems Rooms Without False Ceilings Have
The Main Problems You Will Face
When homeowners have to deal with spaces that don’t have false ceilings, they face a number of common problems:
- – Limited space for hiding lighting fixtures and electrical components
- – Exposed wiring and structural elements that affect room aesthetics
- – Difficulty installing recessed lighting without ceiling cavities
- – Uneven light distribution across the room
- – Reduced modern lighting options that typically require concealed installation
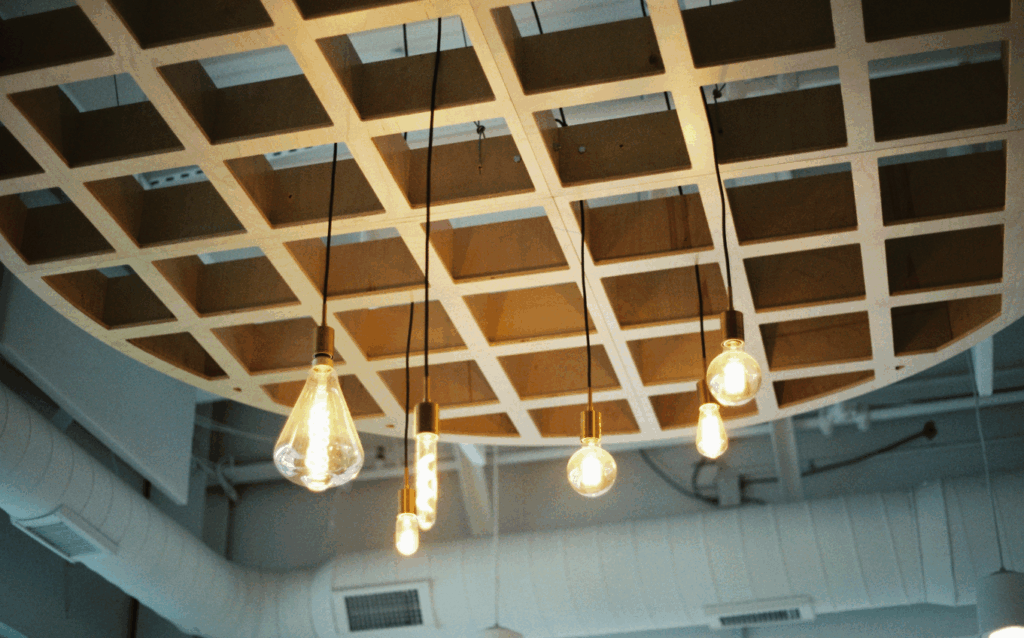
Because of these limits, people often have to make trade-offs between lighting quality and interior design. But modern LED technology provides useful solutions that work with these limits instead of against them.
Types of LED lights that can be used without a false ceiling
Surface-Mounted LED Panels
Surface-mounted panels give off a lot of light while taking up very little ceiling space:
Main Advantages:
- – Very thin profiles (usually less than an inch thick)
- – Can be mounted directly to the ceiling without major changes
- – Light is evenly distributed throughout the room
- – Uses a lot of energy but doesn’t use a lot of power
These panels are great for offices, living rooms, and businesses that need even lighting.
Semi-Flush Mount Ceiling Lights
Semi-flush mounts are a good balance between usefulness and saving space:
Pros:
- – Works with standard ceiling heights
- – Spreads light better than flush-mounted options
- – Many styles to choose from, from modern to traditional
- – Easy to put together
Great for hallways, bedrooms, and living rooms where style is important but space is limited.
Track Lighting Systems
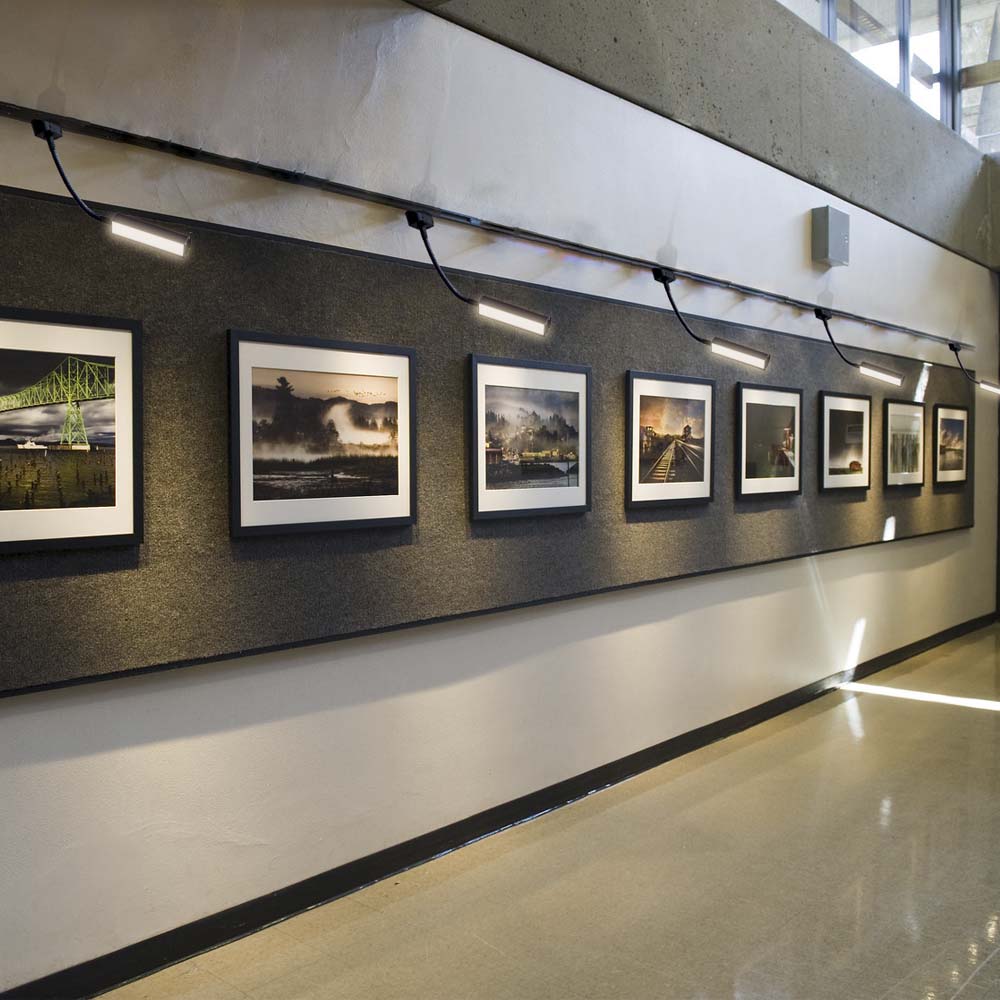
Track lighting is very flexible for rooms that don’t have false ceilings:
Why It Works:
- – No need to cut out more than one ceiling
- – Light position can be changed
- – System that can grow or shrink as needed—lights can be added or removed as needed.
- – Elements that are visible become part of the design
Great for kitchens, studios, and stores that need lighting that can be moved around.
LED Strip Lighting
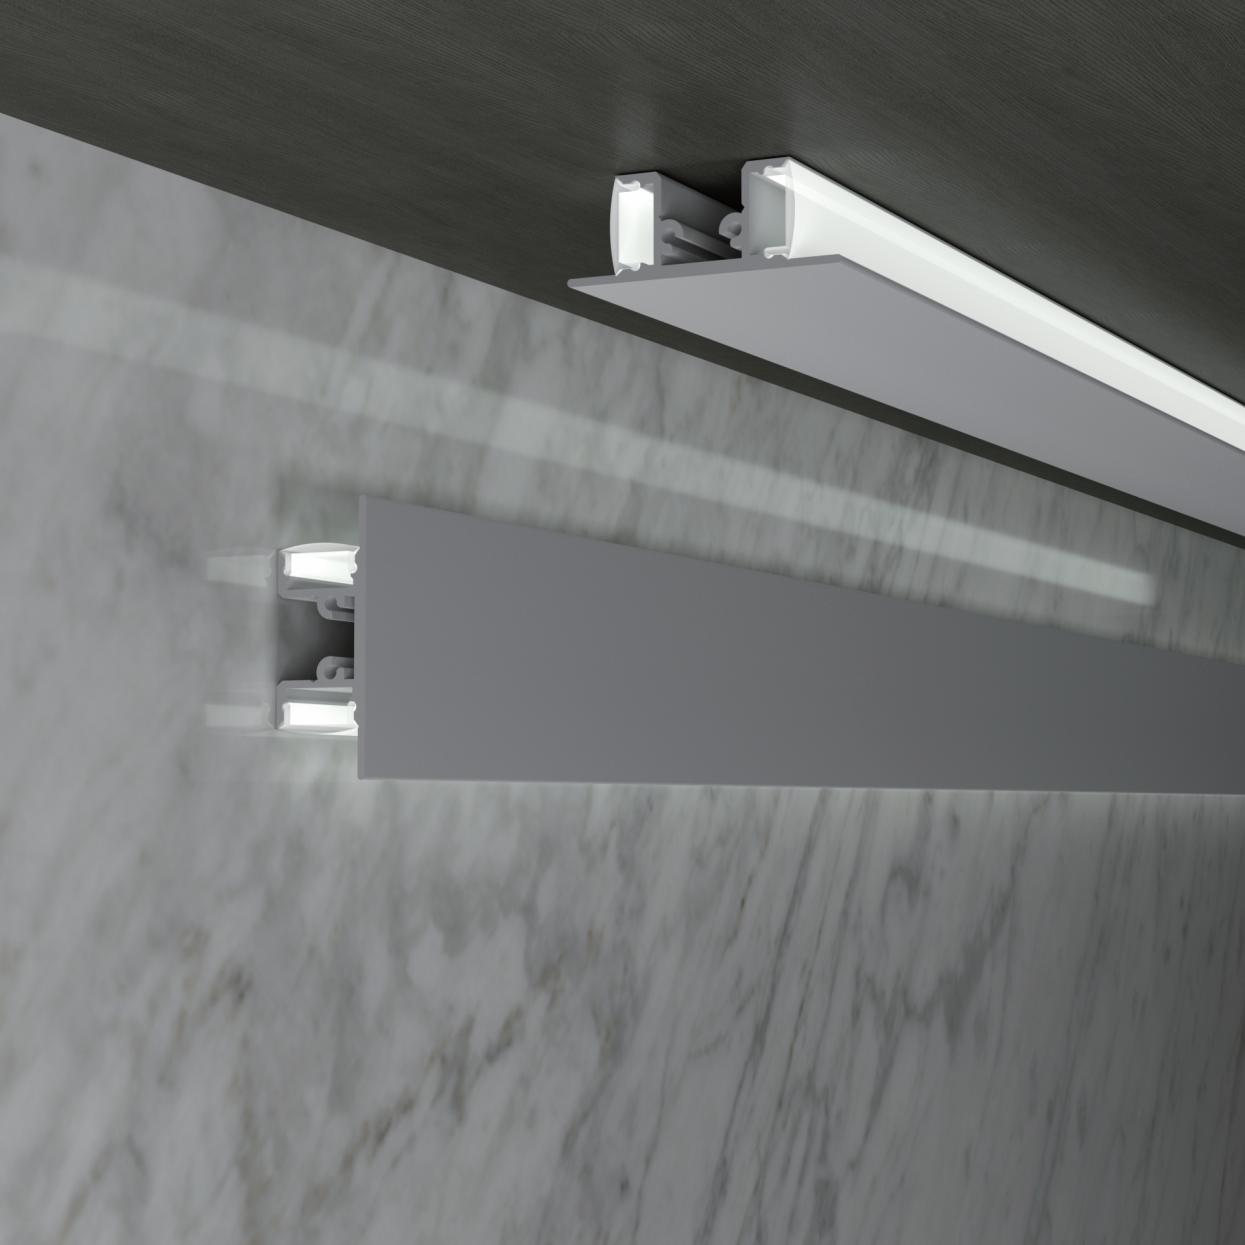
LED strips are a creative way to solve problems in hard-to-reach areas:
Common Uses:
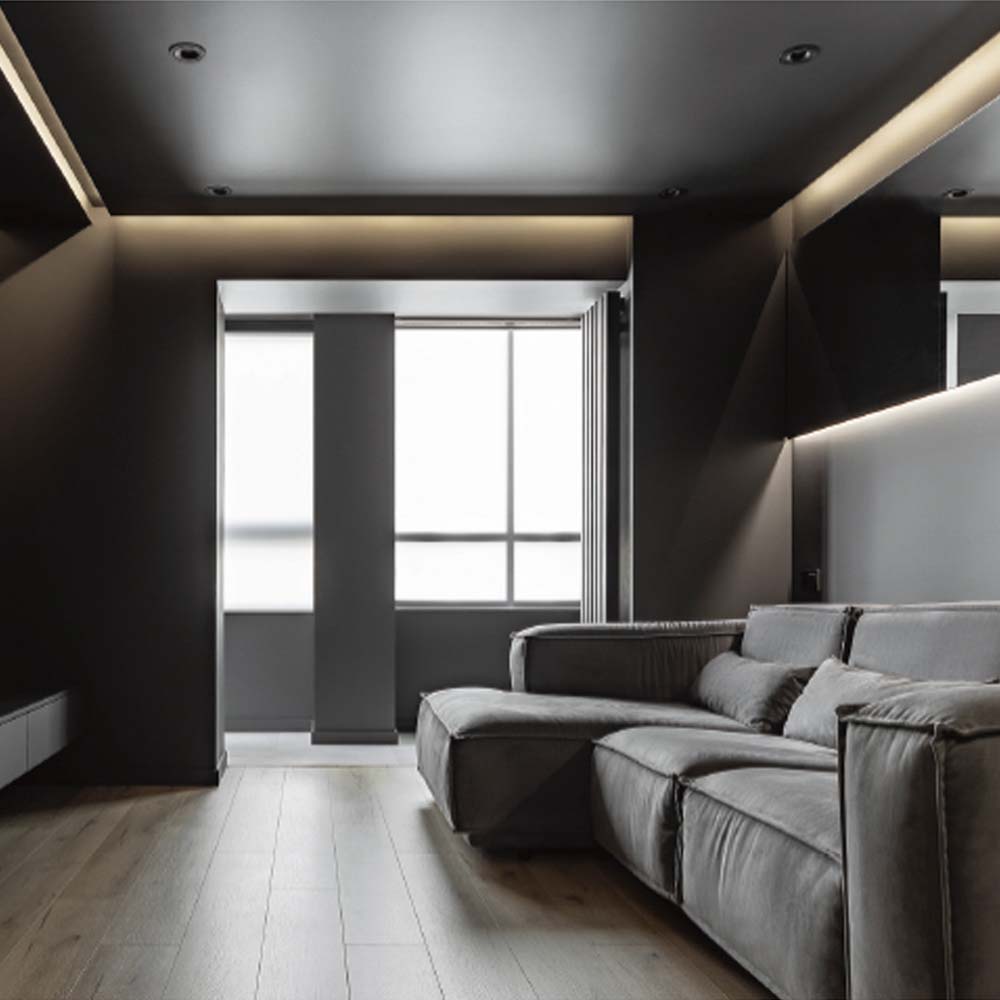
- – Cove lighting on the walls high up
- – Perimeter lighting around ceiling features
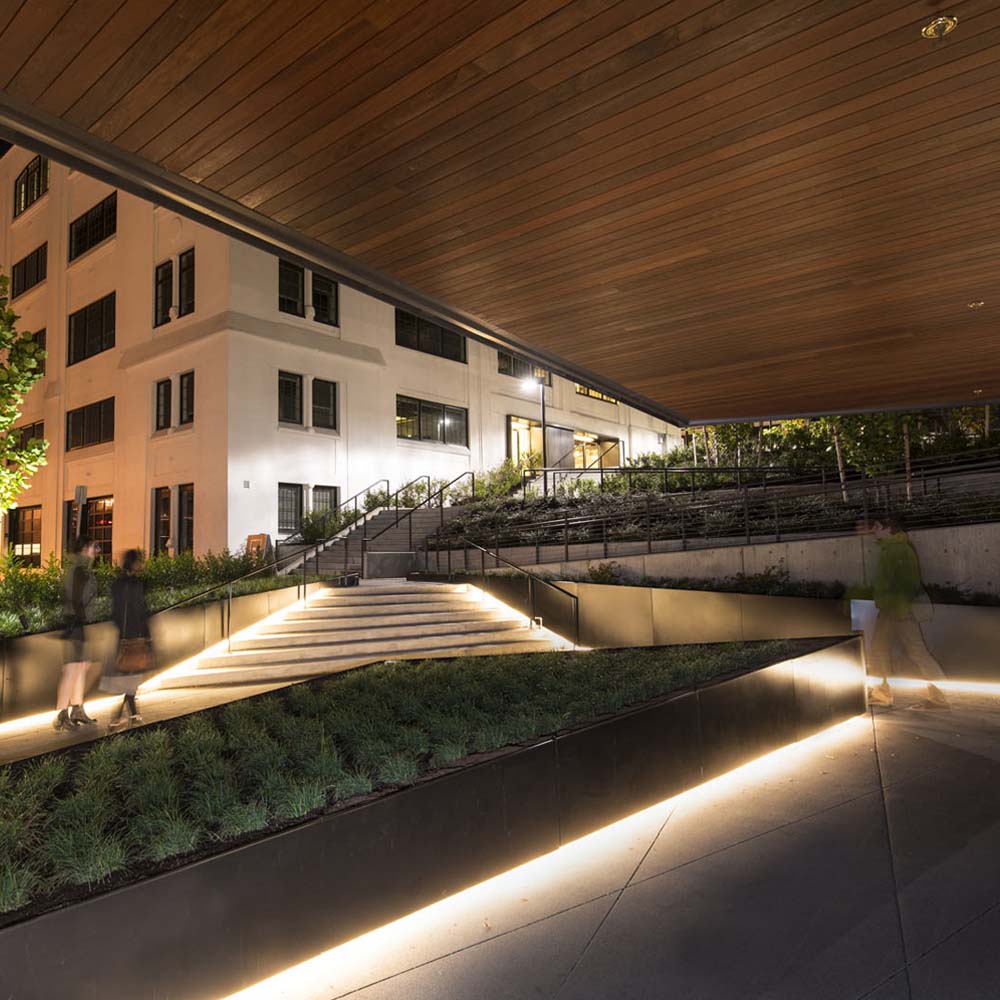
- – Accent lighting for architectural features
- – Lighting for tasks under shelves or cabinets
Strips are great for layered lighting effects because they are flexible and low-profile.
Comparison of Non-False Ceiling LED Lighting Options
| Lighting Type | Best Applications | Advantages | Limitations | Cost Range |
| Surface-Mounted Panels | Offices, kitchens, living areas | Uniform lighting, slim design, easy installation | Limited style variety | Medium |
| Semi-Flush Mounts | Hallways, bedrooms, dining areas | Balanced light, space-efficient, multiple styles | Fixed positioning | Low-Medium |
| Track Lighting | Flexible lighting needs | Customizable, directional, modern look | Visible hardware | Medium-High |
| LED Strips | Accent and decorative lighting | Versatile, low profile, customizable length | Not for primary lighting | Low-Medium |
| Pendant Lights | Over tables, islands, entryways | Strong style presence, good task lighting | Can reduce ceiling height perception | Varies |
Step-by-Step Installation Guides
Installing an LED Panel on the Surface
Tools Needed: A stud finder, a pencil, a measuring tape, a power drill, a screwdriver, wire connectors, and a ladder.
Steps for Installing:
- For safety, turn off the power at the circuit breaker
- Place mounting bracket on the ceiling, making sure there are no obstructions
- Mark where the screws go and drill pilot holes
- Use the right screws for your ceiling material to hold the bracket in place.
- Connect the wiring according to the instructions from the manufacturer
- Attach the light panel to the mounting bracket
- Turn the power back on and check that it works
Track Lighting Installation
Tools Needed: wire connectors, screwdrivers, voltage testers, power drills, and wire cutters
Steps to Install:
- Check that the power is off with a voltage tester.
- Put together the track sections if you’re using a multi-piece system.
- Put the mounting plate in place and mark where the screws will go.
- Securely attach the mounting plate to the ceiling.
- Connect the electrical wires from the ceiling to the track connector.
- Attach the track to the mounting plate.
- Install the light heads where you want them.
- Test all the lights after turning the power back on.
Important Safety Tips
- Always make sure the power is off completely before you start working.
- Check the weight capacity of your ceiling structure.
- Think about getting professional help for complicated installations.
- Follow local electrical codes and permit requirements.
- Use the right mounting hardware for your ceiling type.
Cost Considerations and Energy Efficiency
Initial Investment vs Long-Term Savings
LED lights are a great investment because they:
- Up to 90% less energy than traditional incandescent bulbs
- 50,000+ hour lifespan reduces replacement frequency
- Minimal heat output lowers cooling costs
- Reduced maintenance requirements
Key Efficiency Factors
When choosing LED lights, think about these things:
- Lumens per watt – measures light output efficiency
- Color temperature – affects ambiance and functionality
- Color Rendering Index (CRI) – determines color accuracy
- Dimming compatibility – provides control and additional savings
- Component quality – impacts longevity and performance
Maximizing Your Investment
To get the best results, do the following:
- Choose appropriate color temperatures for each space
- Consider smart controls for automated savings
- Select reputable brands with good warranties
- Ensure proper installation for optimal performance
- Plan layered lighting for different needs and moods
LED technology keeps getting better, giving us better ways to light up difficult areas without false ceilings. You can get both useful and good-looking lighting that lasts a long time by knowing your options and following the right installation steps.

