


Observação: Para garantir a precisão, este artigo segue o processo de criação e revisão de conteúdo da A equipe de especialistas da Helian.
Por que escolher iluminação embutida de 8 polegadas?
Escolher uma luz linear embutida de 8 polegadas significa atualizar a iluminação pontual ultrapassada para uma iluminação contínua moderna, utilizando perfeitamente a sua configuração existente e, por fim, obtendo uma solução de iluminação personalizada para o seu espaço.

Se você não tiver certeza sobre como selecionar o tipo de luminária correto, consulte nosso guia de iluminação comercial.
De pontos irregulares à luz contínua: a revolução estética
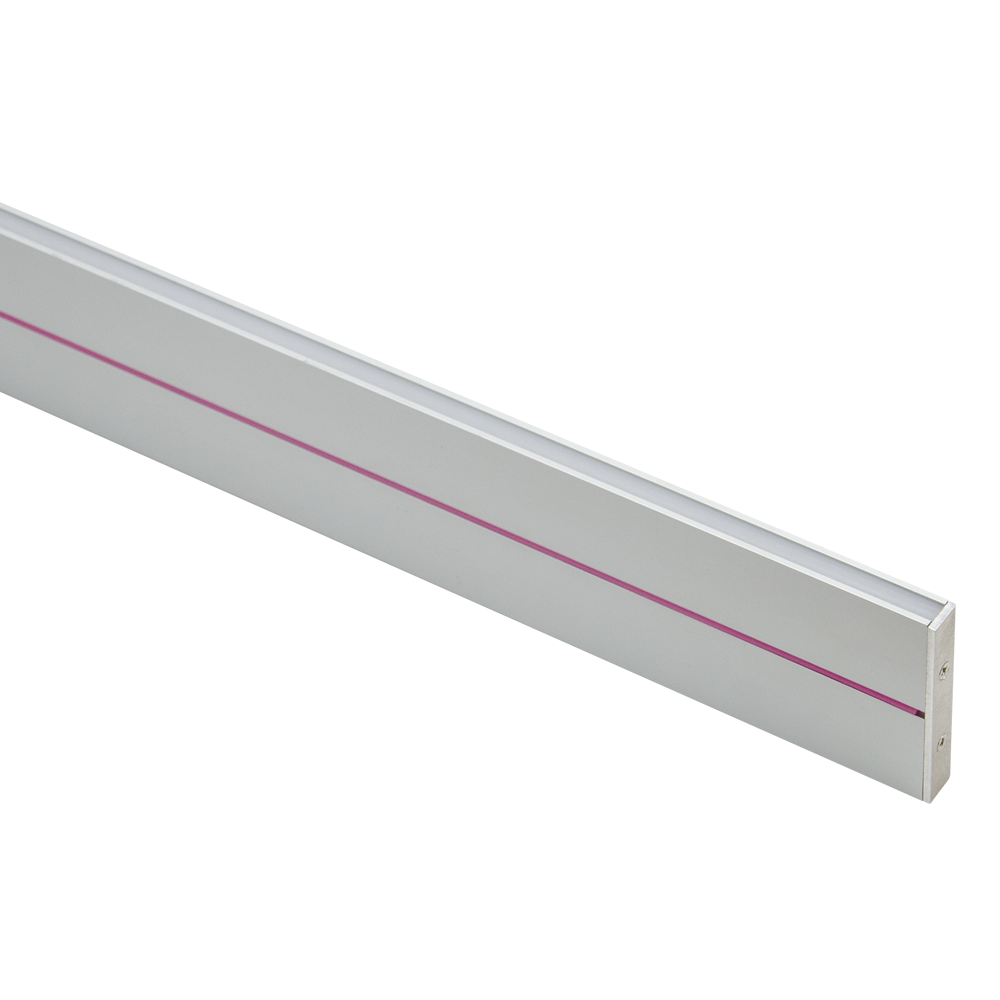
As luzes embutidas tradicionais criam focos de luz dispersos e irregulares que podem projetar sombras desiguais. A luz linear embutida de 8 polegadas emite uma faixa de luz contínua e uniforme, permitindo uma iluminação de parede sem sombras ou uma iluminação ambiente limpa, melhorando significativamente a modernidade e o conforto visual de um espaço.
| Recurso | Downlight tradicional de 8 polegadas | Luz linear embutida de 8 polegadas |
| Padrão de luz | Poças de luz dispersas e irregulares | Faixa de luz contínua e linear |
| Efeito visual | Iluminação irregular, sombras potenciais | Aparência suave, uniforme e limpa |
| Melhor caso de uso | Iluminação de destaque localizada | Iluminação ambiente, iluminação de paredes, realce de elementos arquitetônicos |
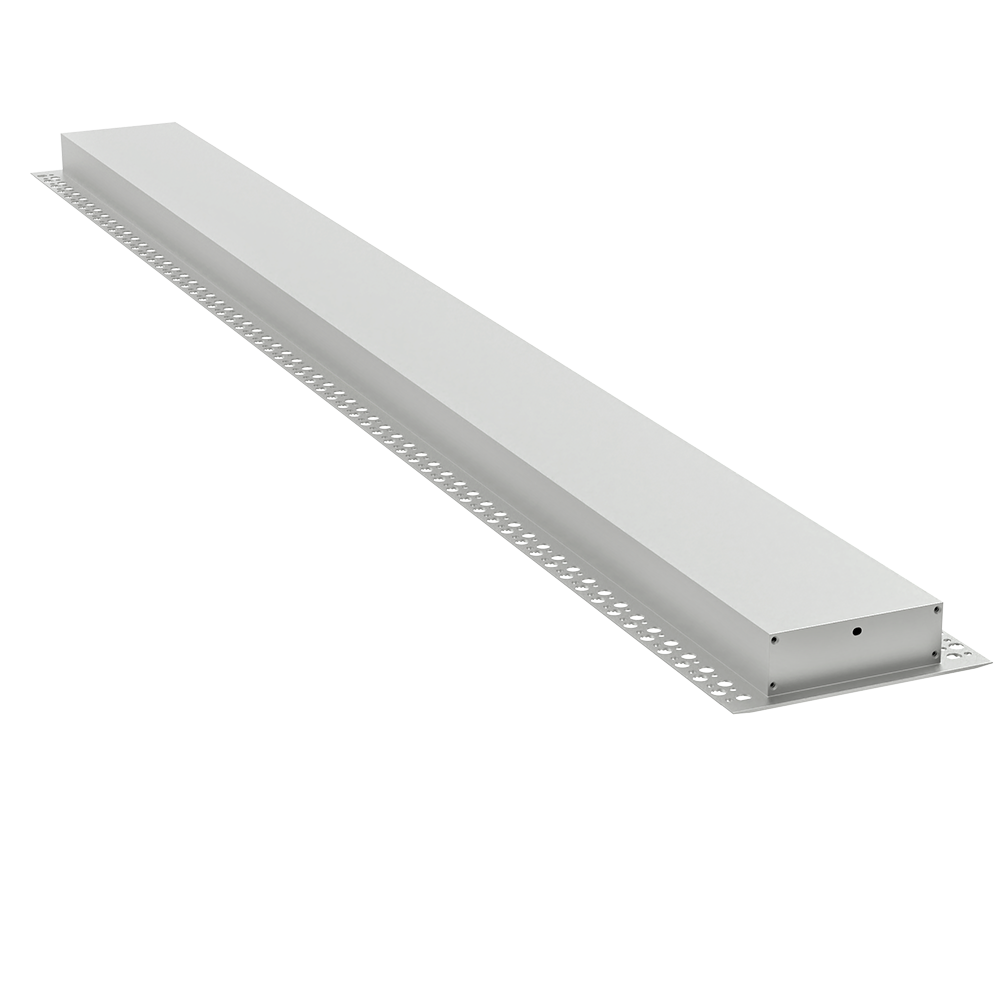
O encaixe perfeito para os seus orifícios de lata de 8 polegadas existentes
Ainda está com dificuldades para atualizar a iluminação através dos recortes existentes? Aqui está a boa notícia: Um orifício padrão de 8 polegadas (aproximadamente 20 cm) para downlights é o ponto de partida perfeito para as nossas luzes lineares personalizadas. Fornecemos estruturas de montagem adaptadas a este tamanho e comprimentos de lâmpadas totalmente personalizáveis, garantindo uma adaptação perfeita sem necessidade de cortes ou remendos adicionais, eliminando completamente as suas preocupações com a instalação.
Personalização infinita: seu projeto, concretizado
A principal vantagem das luzes lineares reside na personalização, superando em muito as luzes embutidas padronizadas. Você pode determinar os seguintes parâmetros-chave com base nas suas necessidades espaciais específicas:
- Comprimento personalizado: O acessório pode ser fabricado em qualquer comprimento para se adequar ao espaçamento dos orifícios ou à sua visão de design, permitindo execuções perfeitas de um ou vários segmentos.
- Cor e brilhoTemperaturas de cor de espectro completo, de branco quente a branco frio (2700K-6500K), com saída de lúmen ajustável.
- ÓpticaAcessórios opcionais, como persianas tipo colmeia ou lentes prismáticas, para controlar com precisão o ângulo do feixe e minimizar o brilho.
Como personalizar: explicação dos principais parâmetros
O processo de personalização gira em torno de três decisões fundamentais para garantir que o resultado final corresponda perfeitamente à sua visão de design e aos requisitos funcionais.
Passo 1: Determine o comprimento e o layout
O comprimento é a base da personalização, determinando a continuidade visual e a integridade da faixa de luz.

- Medida-chave: Meça com precisão o Distância centro a centro (CTC) entre os orifícios de 8 polegadas existentes (ou planejados) na sua área de instalação.
- Recomendações de layout:
Corrida longa única: Ideal para espaços estreitos, como corredores ou bancadas de cozinha, para criar um efeito linear contínuo.
Execuções paralelas múltiplas: Adequado para áreas amplas, como salas de estar ou tetos comerciais, criando uma matriz óptica moderna.
Etapa 2: Selecione a temperatura da cor e a luminância
A temperatura da cor define o ambiente, enquanto a luminância cumpre a função. Juntas, elas definem o ambiente de um espaço.

- Guia de temperatura de cor:
Cria uma atmosfera aconchegante e relaxante. Ideal para quartos residenciais, restaurantes sofisticados e quartos de hotel.
Oferece luz clara e focada. Ideal para escritórios, cozinhas, lojas de varejo e salas de aula. - Referência de luminância:
Para iluminação ambiente, sugerido iluminância Metas: Sala de estar 150-300 Lux, escritório 300-500 Lux, áreas de foco de varejo 500+ Lux.
Não tem certeza da potência necessária para a sua luminária? Use nossa calculadora de requisitos de energia para descobrir.
Passo 3: Escolha os acessórios ópticos
Os acessórios ópticos representam a “personalização avançada” das luzes lineares, determinando diretamente o conforto visual e a qualidade da luz.

| Tipo de acessório | Funcionalidade principal | Cenários aplicáveis |
| Persiana anti-reflexo tipo colmeia | Reduz significativamente o brilho direto, protege os olhos e proporciona “luz sem ver a fonte”.” | Qualquer espaço que exija visualização prolongada ou conforto ideal, por exemplo, áreas de trabalho, recantos de leitura. |
| Lente prismática / difusor | Controla com precisão o ângulo do feixe para uma difusão de luz mais suave e uniforme. | Obter efeitos uniformes de iluminação de paredes ou evitar o derramamento de luz em áreas indesejadas. |
| Design profundamente recuado | Utiliza um ângulo de blindagem física para ocultar a fonte de luz, uma solução fundamental contra o brilho. | Uma opção padrão ou básica para todas as instalações embutidas. |
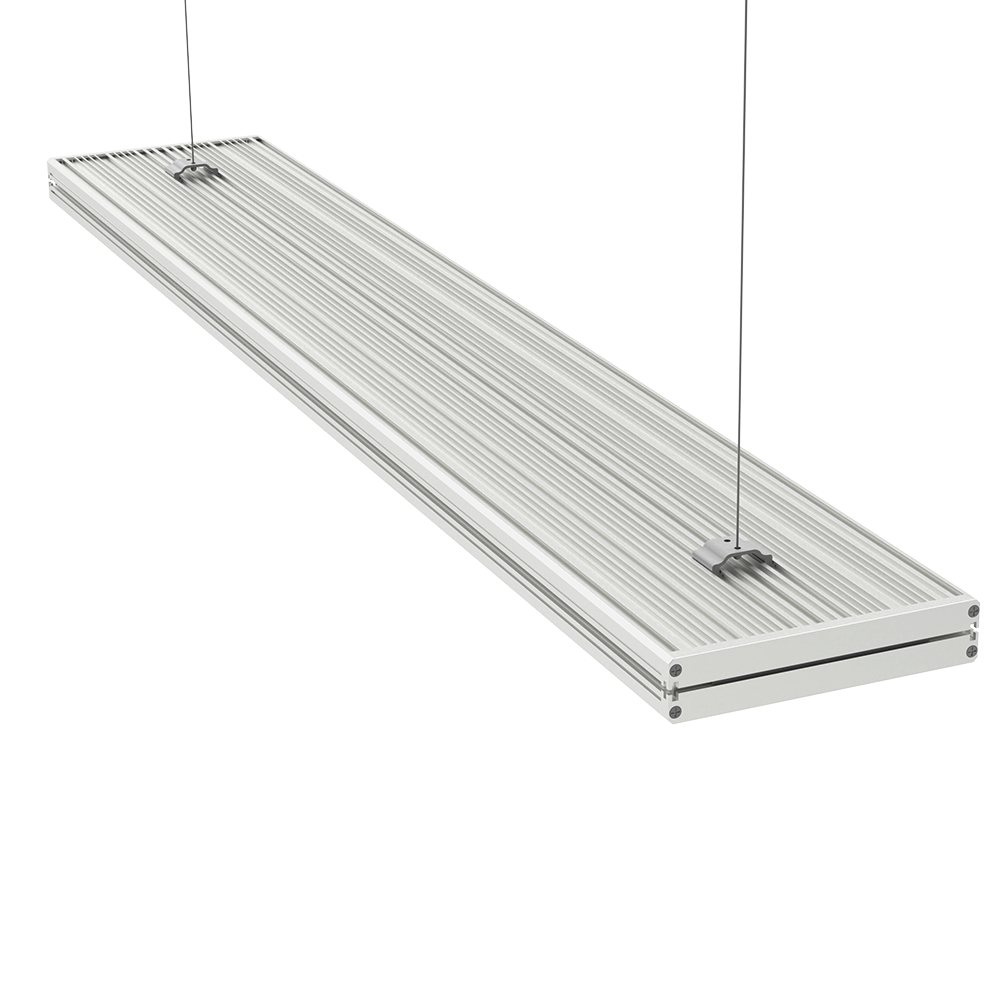
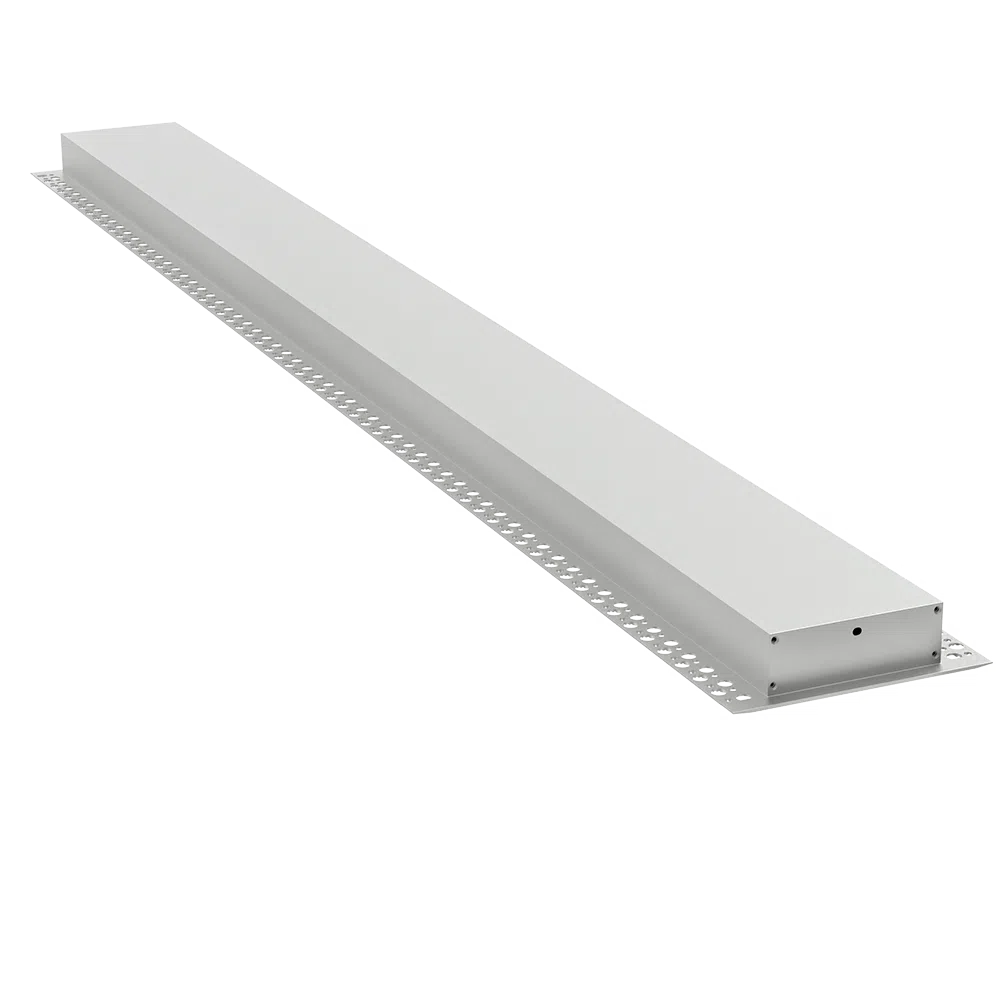
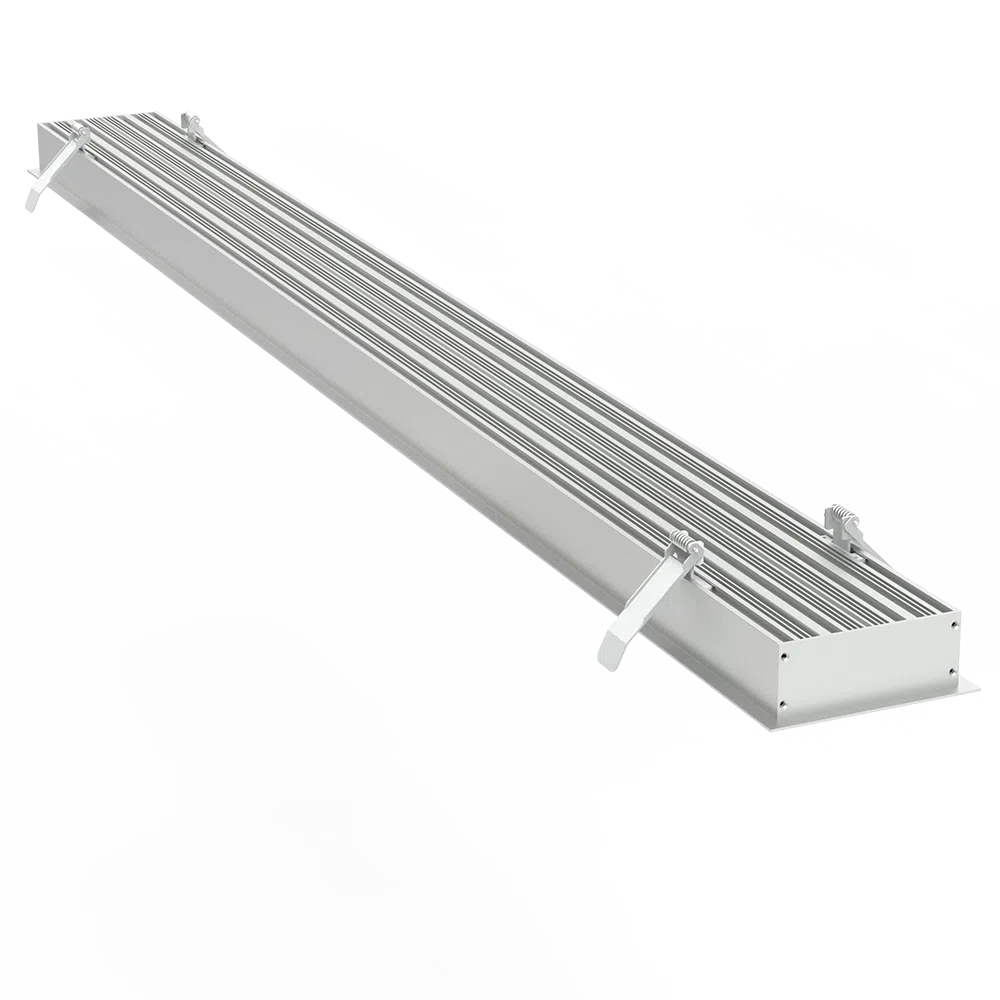
Luminárias embutidas recomendadas
Luminárias embutidas, personalizáveis em tamanhos de 8 polegadas e outros tamanhos

Ideias de aplicação e visão geral da instalação
Aplicações ideais
Espaços comerciais:- Corredores de escritórios: Proporcione uma iluminação orientadora uniforme e sem reflexos, aumentando o profissionalismo e a segurança.
- Iluminação de prateleiras de varejo: use fitas de luz contínuas para iluminar uniformemente as mercadorias, destacando a textura e a cor.
- Iluminação Hotel Cove: Instalada nas bordas do teto ou nos recessos das paredes para criar uma iluminação ambiente suave e sofisticada.
- Iluminação para tarefas na cozinha: instalada sob os armários para fornecer luz brilhante e sem sombras para as bancadas.
- Iluminação ambiente da sala de estar: Serve como fonte de luz principal para um visual limpo e moderno, substituindo as tradicionais luzes de teto.
- Iluminação de destaque para quartos: colocada atrás das cabeceiras das camas ou ao longo dos tetos para criar um ambiente relaxante para dormir.
Visão geral da instalação
Principal vantagem: ajuste personalizado
A sua abertura existente de 8 polegadas é o nosso tamanho padrão compatível. A instalação concentra-se na conexão e na incorporação, sem necessidade de modificar a abertura.
Ferramentas: Chave de fenda, testador de tensão, luvasProcesso de instalação em cinco etapas:
- Desligue o disjuntor.
- Remova o acessório antigo. Confirme o tamanho da abertura e o estado da instalação elétrica.
- Conecte a saída do driver CC de baixa tensão à entrada do módulo de luz personalizado (normalmente um conector plug-and-play). Esta é uma etapa segura e de baixa tensão.
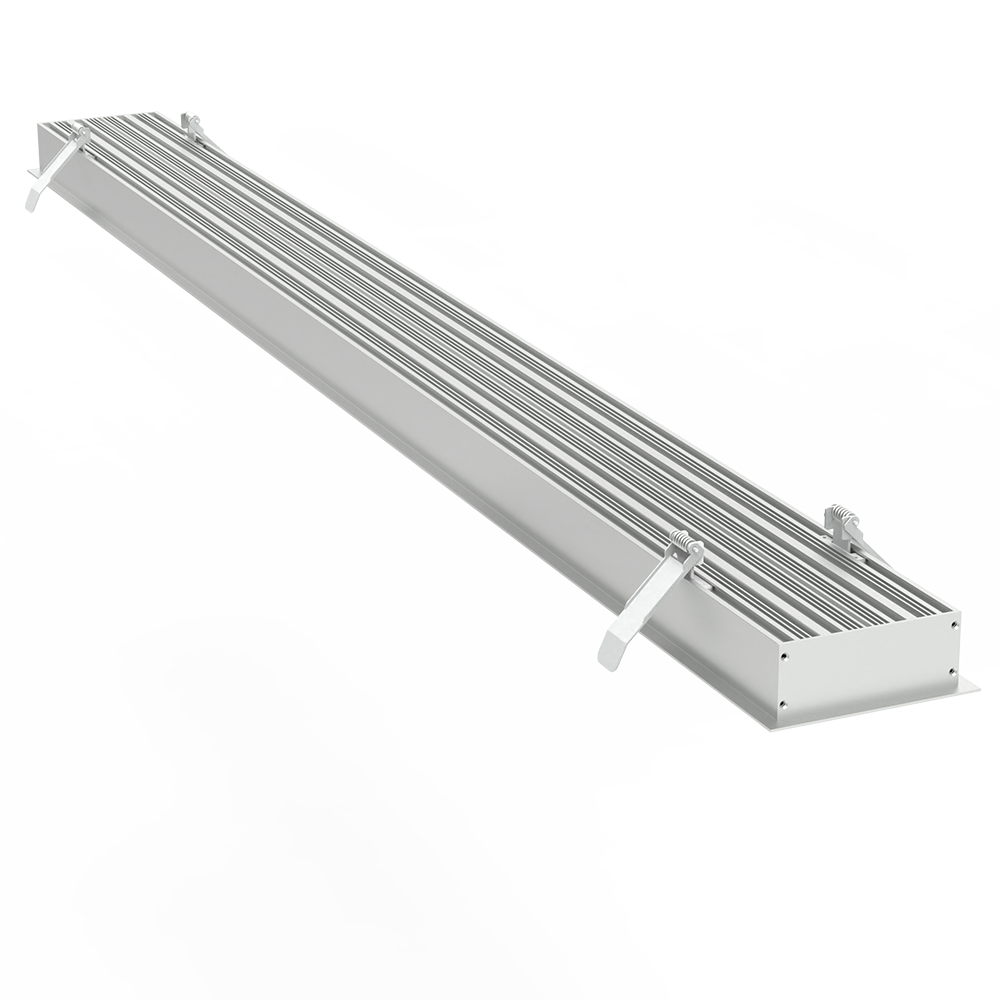
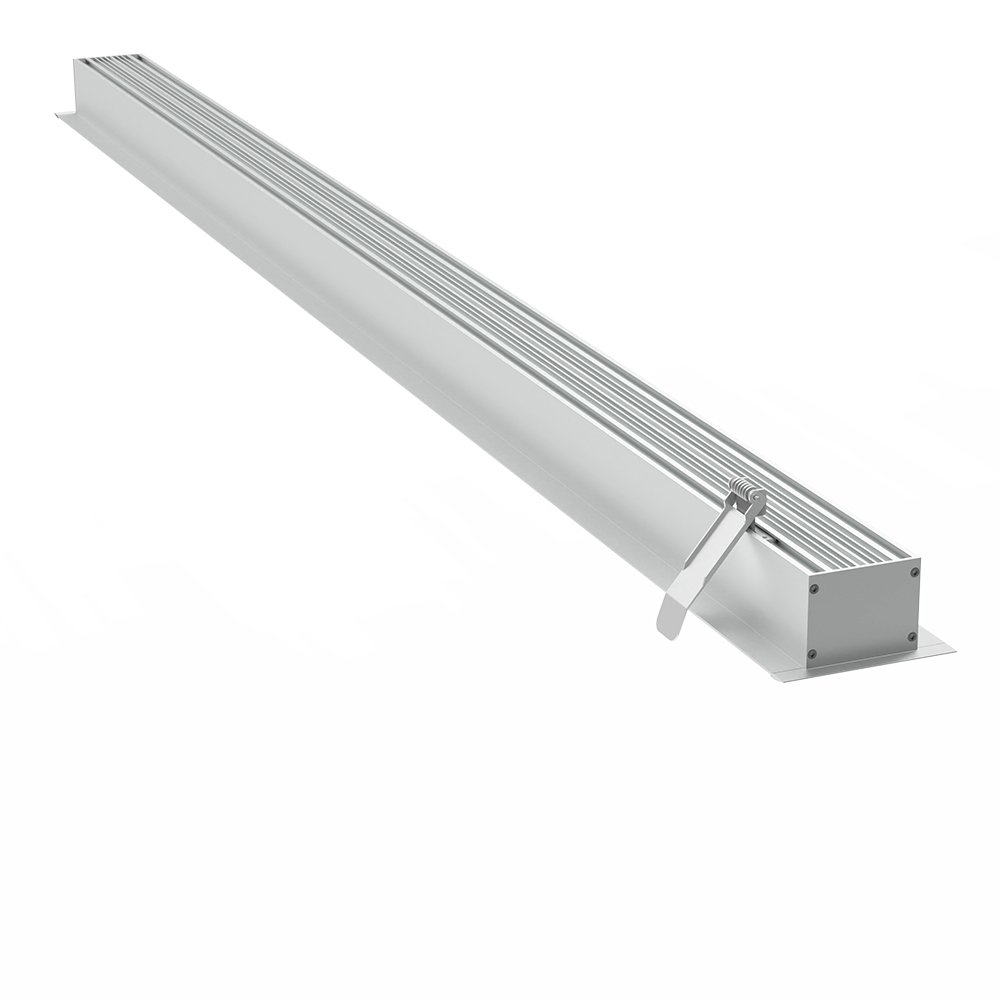
- Empurre o módulo de luz linear conectado na abertura de 8 polegadas. Use os clipes de mola integrados ou os suportes de montagem para fixá-lo firmemente no teto.
- Encaixe a guarnição fosca ou brilhante correspondente para ocultar as bordas da abertura. Restaure a energia e teste a luz.
Aconselhamento profissional: Para instalações elétricas complexas com várias luzes, integração de sistemas de reguladores de intensidade luminosa ou modificações nos circuitos, recomenda-se consultar um eletricista licenciado.
