


Reviewed
This article follows the content creation and review process of the Helian Expert Team. Every figure is checked against our own test records before publication.

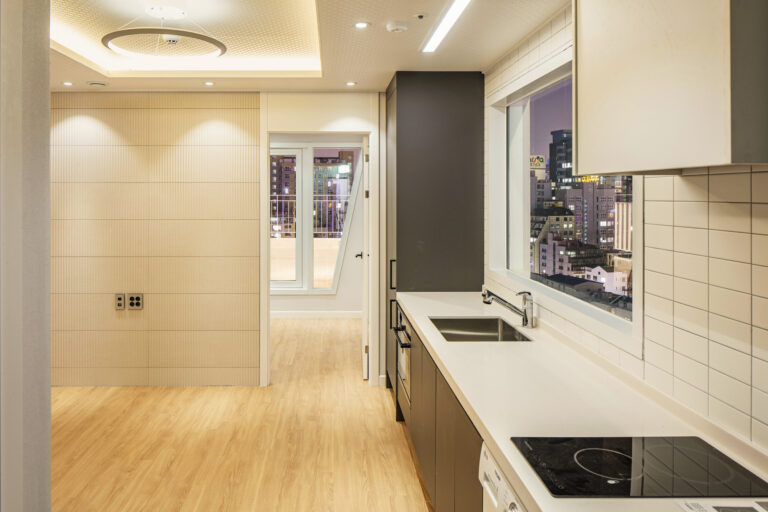
- Linear light fixture (e.g., pendant light linear, ceiling linear lights)
- Voltage tester, screwdriver, wire strippers, ladder
- Mounting brackets, screws, wire connectors
- Optional: Smart dimmer switch (for LED line lights)
- Safety first: Shut off the circuit breaker for the installation zone.
- Use a voltage tester to confirm wires are not live.
- Clear the workspace (e.g., remove furniture below ceiling linear lights).
- For suspended/pendant light linear:
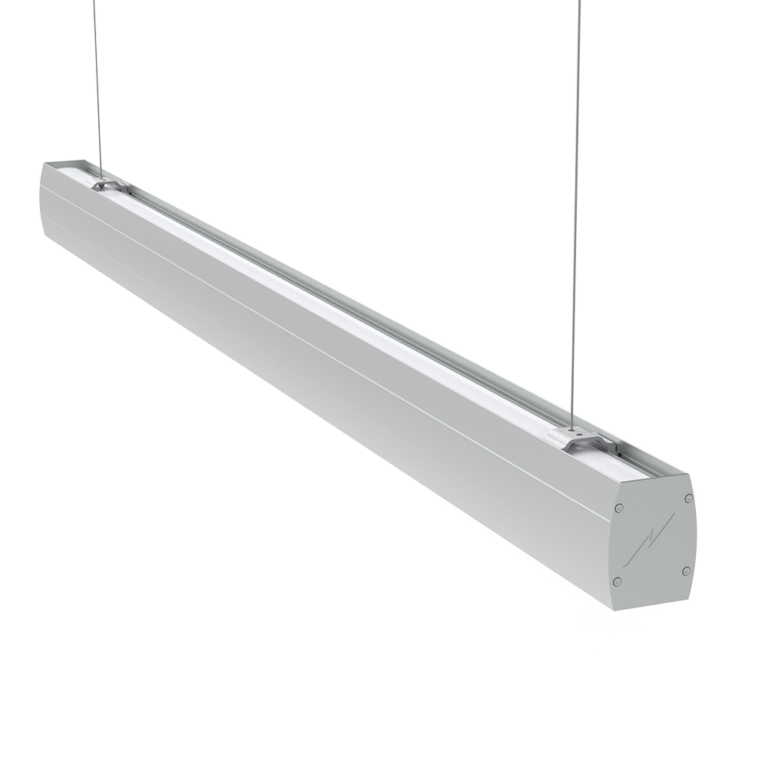
Attach mounting brackets to the ceiling joists using screws.
Hang the fixture’s suspension cables or rods onto the brackets. Adjust height as needed (ideal for kitchens or conference tables). - For recessed ceiling linear lights:
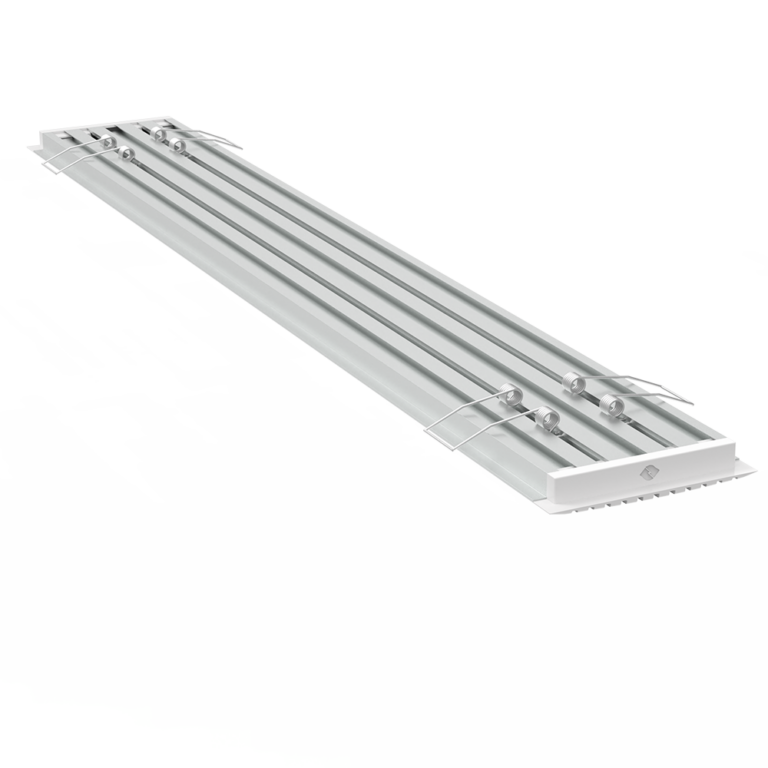
Cut an opening in the ceiling drywall matching the fixture’s dimensions.
Secure the housing with built-in clips or screws.
- Match fixture wires to home wiring:
Black (hot) → Black
White (neutral) → White
Green/bare (ground) → Green/bare - Use wire connectors to join them. Tuck wires neatly into the junction box.
- Snap the linear light’s diffuser or trim into place.
- Restore power at the circuit breaker. Test the lights using the wall switch or smart app (for dimmable LED line lights).
- Adjust pendant light linear heights for even illumination.
- Program smart controls (e.g., schedule dimming for office linear lighting fixtures).
- Avoid glare: Angle linear lights away from direct eye contact in hallways or offices.
- Waterproofing: For outdoor LED line lights, seal connections with silicone (IP65+ rated).
- Compliance: Follow local electrical codes for commercial ceiling linear lights.