Note: To ensure and accuracy, this article follows the content creation and review process of the Helian Expert Team.
Preliminary Preparations
Tools and Materials
- Electric drill (with various drill bits)
- screwdriver
- wire stripper
- electrical tape
- voltage tester
Materials
- LED ceiling lights
- mounting brackets (if needed)
- expansion screws
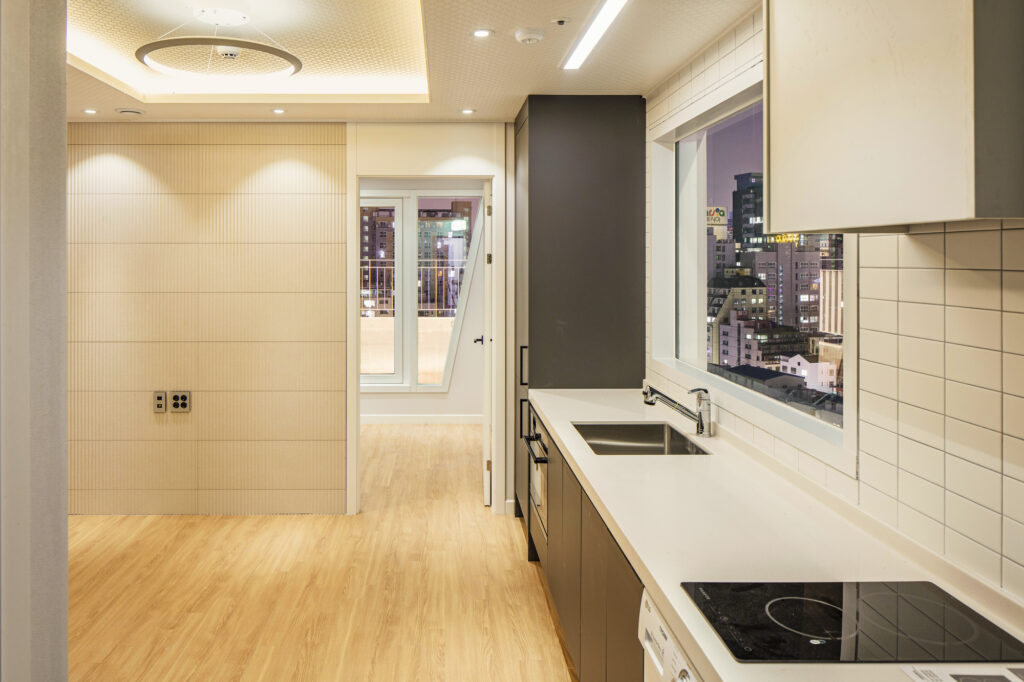
Planning for ceiling recessed lighting
Choosing the right type of fixture
| Type | Ideal Settings for Installing Recessed Lighting |
| LED Downlights | Living rooms, bedrooms, hallways in homes |
| LED Spotlights | Accenting artwork, bookshelves, and decorative items in homes |
| LED Panel Lights | Offices, conference rooms, classrooms, and other spaces requiring even lighting |
| LED Grille Lights | Exhibition halls, workshops, warehouses, and other large commercial spaces |
| LED Track Lights | Museums, galleries, and retail stores showcasing products |
Selecting the right size
When choosing lamps for a room, the size should match the room’s dimensions. Generally, the diameter or width of the lamp should be about 1/5 of the room’s length or width.
Here are some guidelines based on room size:
- – For a room of 5-10 square meters, choose a lamp with a diameter of 35-50 cm.
- – For a room of 10-15 square meters, select a lamp with a diameter of 50-65 cm.
- – For a room of 15-20 square meters, go with a lamp that has a diameter of 75 cm.
- – For a room of 20-25 square meters, a lamp with a diameter of about 90 cm is suitable.
For a room between 20-25 square meters, aim for a lamp diameter around 90 cm.
Ceiling LED Lights Recommendation
Instructions
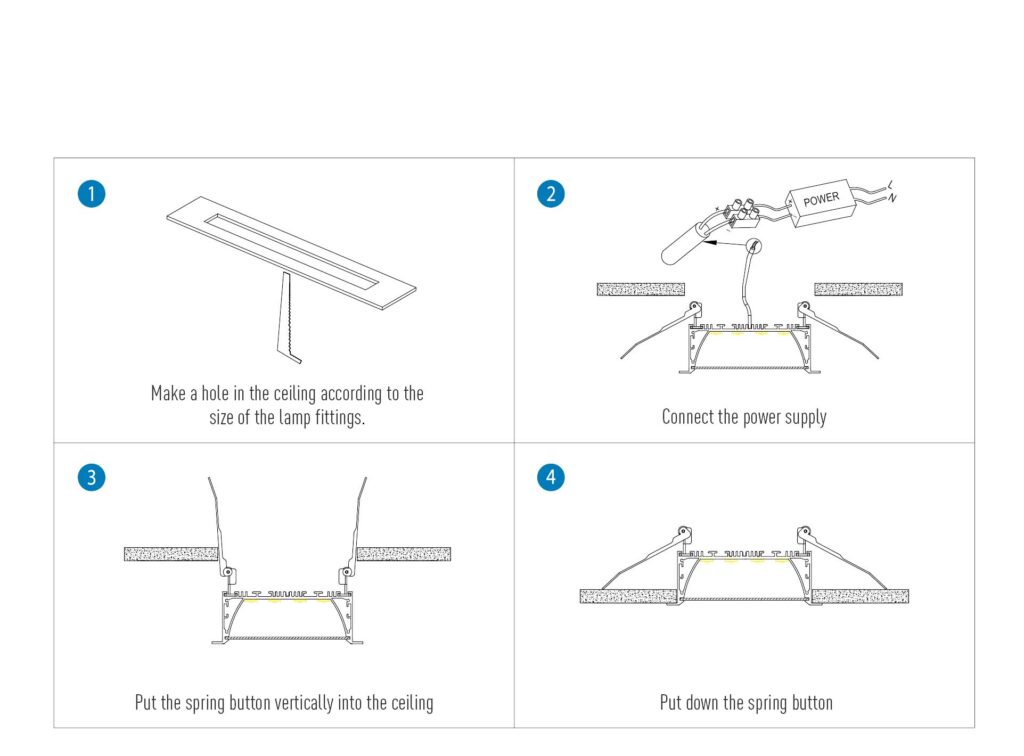
- Determine Installation Location:
Mark the installation spot on the ceiling with a pencil or marker. - Measure Light Fixture Dimensions:
Use a tape measure to determine the size of the hole needed for the LED ceiling light. - Drill Holes:
Create a hole in the ceiling at the marked location using an electric drill. Ensure the hole is straight and level. - If brackets are required, drill holes for bracket installation based on their size and installation guidelines.
- Turn Off the Power:
Before wiring, switch off the power to the relevant circuit for safety. - Connect Power Cables:
Strip the insulation of the power cables using a wire stripper to expose the metal wires. - Connect the power cables to the wires of the LED ceiling light. Use wire connectors or twist the wires together and secure them with electrical tape.
- Place the LED ceiling light into the drilled hole, ensuring it fits snugly against the ceiling.
- If brackets are used, attach the light fixture to the brackets.
- Secure the light fixture to the ceiling with screws or expansion screws.
- Adjust Angle:
If the LED ceiling light is adjustable, set the desired beam angle. - Test the Light Fixture:
Turn on the power to test if the LED ceiling light is functioning properly. - Inspect the lighting effect and make any necessary adjustments.
Ceiling LED Lights Installation Video Guide
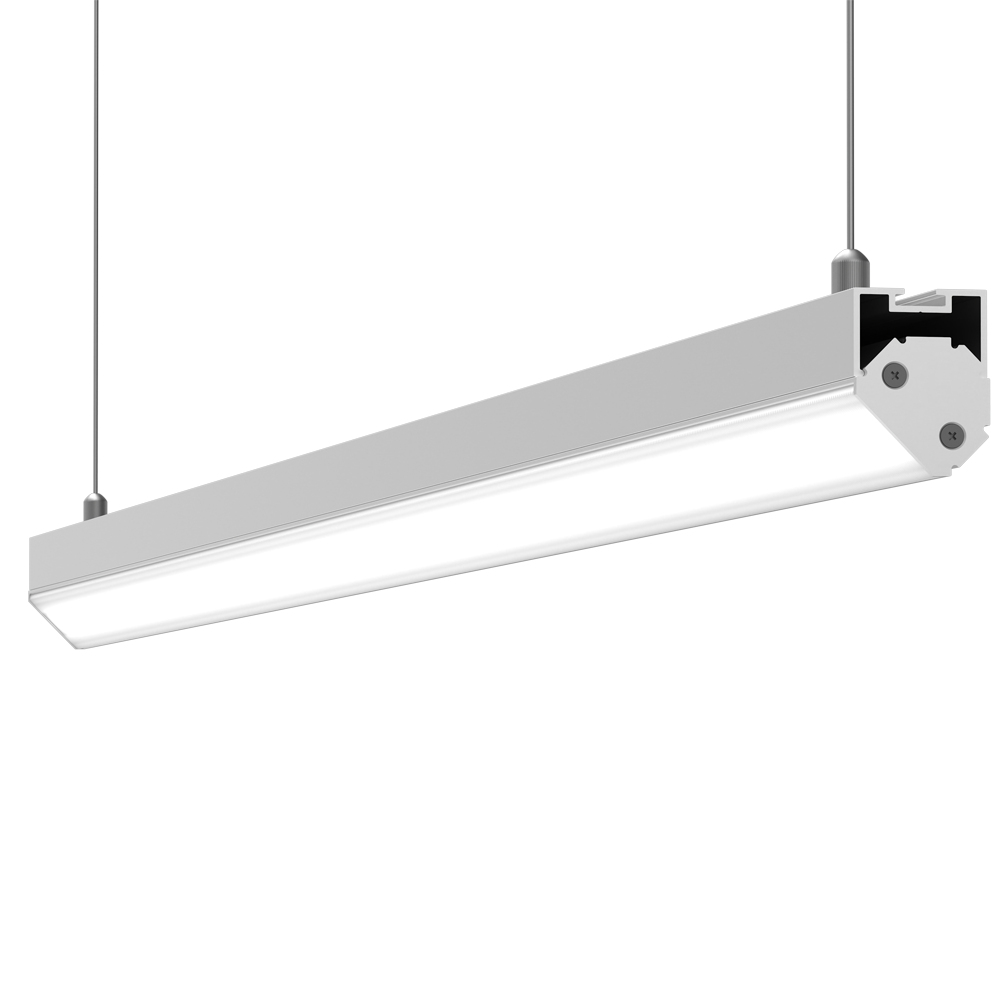
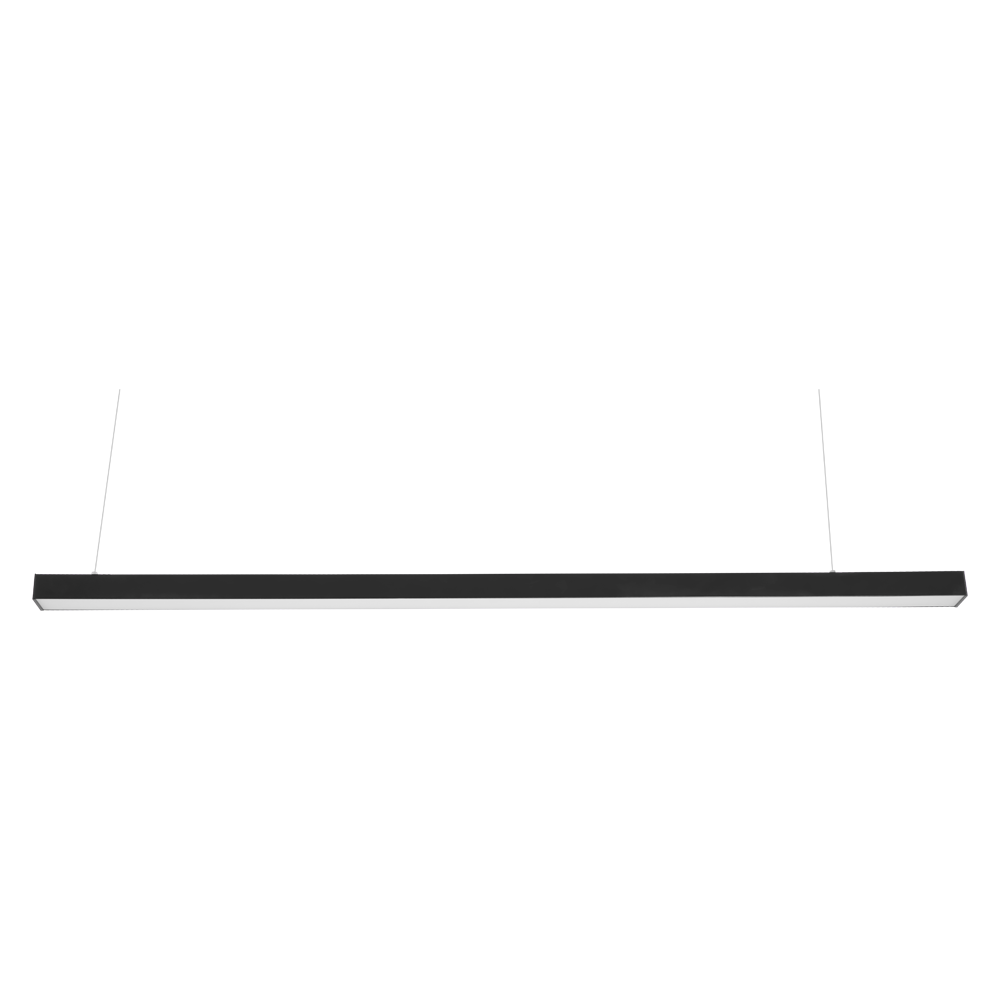
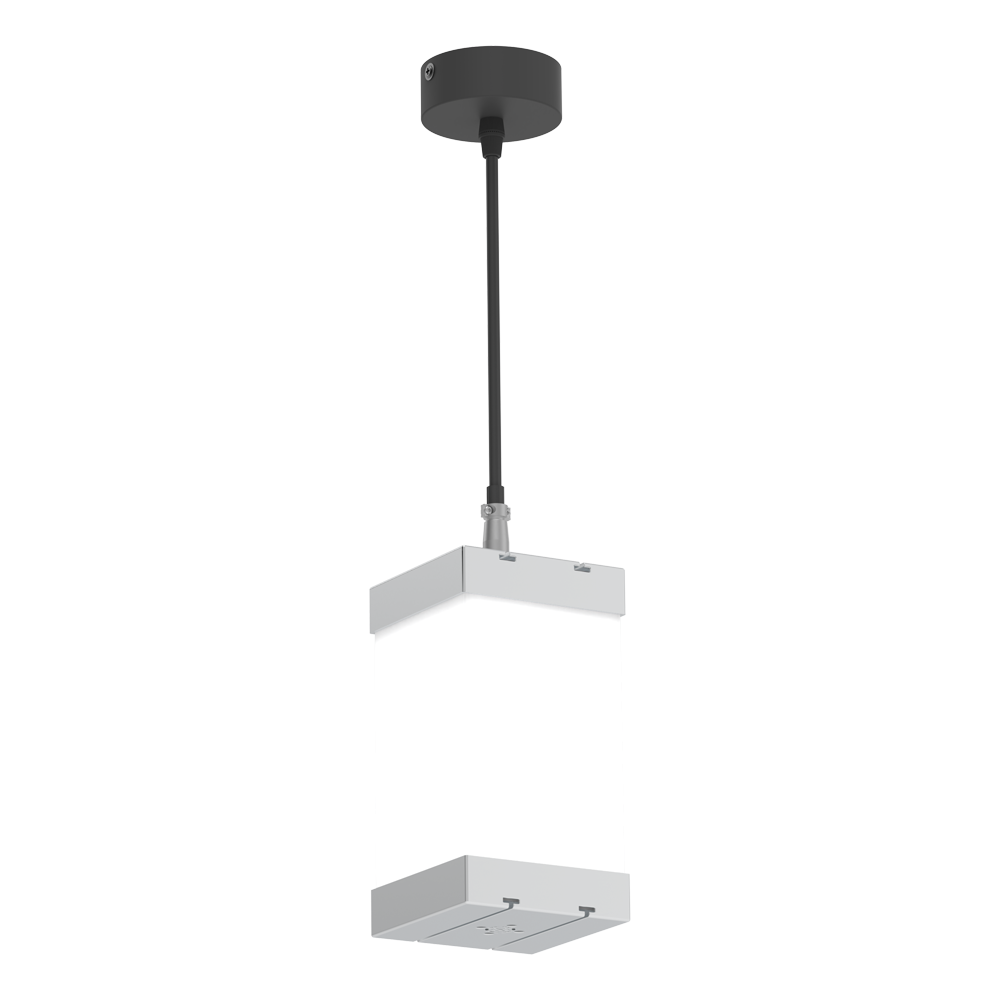
This is a suspended ceiling LED light, if your fixture is suspended, you can refer to this Suspended Linear LED installation guide.
Important Notes
- Safety First
- Always adhere to safety protocols when working with electricity. Wear protective gear such as insulated gloves and safety goggles.
- Allow Adequate Space
- Ensure there’s enough room in the ceiling for light fixture installation and wire connections.
- Choose the Right Fixture
- Pick LED ceiling lights that suit the lighting needs and interior design of the room.
- Professional Installation
- If you lack electrical knowledge or installation experience, consult a professional for help.

