Note: To ensure and accuracy, this article follows the content creation and review process of the Helian Expert Team.
The Ultimate Guide to Designing a Recessed Lighting Layout
The latest and most versatile lighting option is recessed lighting, which is crucial to interior design. With this guide, you’ll be able to plan a recessed lighting layout that will light up your space beautifully and efficiently.
What does recessed lighting mean, and why does everyone like it?
The history and development of recessed lighting:
Can lighting, also called downlights or recessed lighting, became popular in the middle of the 20th century when builders were looking for simple ways to light rooms. Installing recessed lights flush with the ceiling makes the room look clean and uncluttered, unlike standard fixtures.
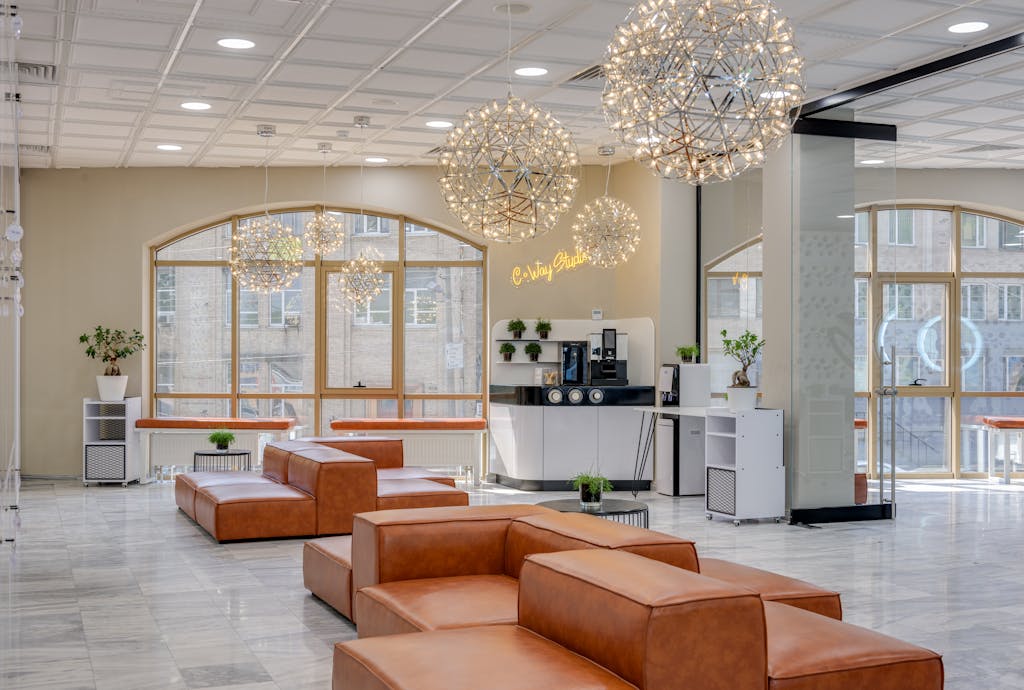
The benefits of recessed lighting in modern interiors include its ability to save space and its effectiveness in rooms with low ceilings.It has a wide range of uses, making it ideal for accent, work, and general lighting.
- Energy efficiency: Modern LED options use significantly less energy.
- Better looks: It gives the finish a sleek, modern look.
Learning the Basics: How to Lay Out Recessed Lighting
Important parts of recessed lighting fixtures
Use this paragraph section to get your website visitors to know you. Consider writing about you or your organization, the products or services you offer, or why you exist. Keep a consistent communication style.
Standard Recessed Lights
These are the most common type of recessed lights designed to fit into standard ceiling joists. They are available in various sizes and can accommodate different bulb types, including LED, CFL, and incandescent.
Ideal for general illumination in rooms with standard ceiling heights. They can be placed evenly across the ceiling to provide an even distribution of light.
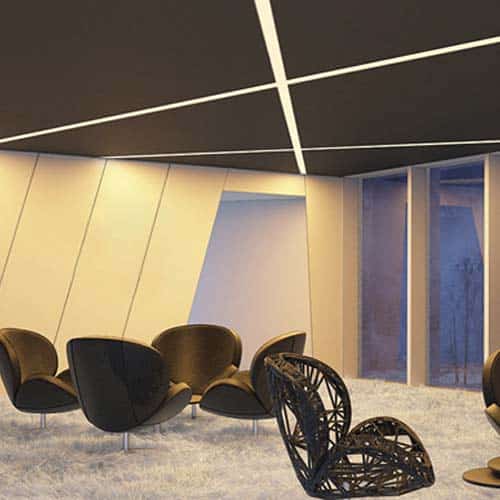
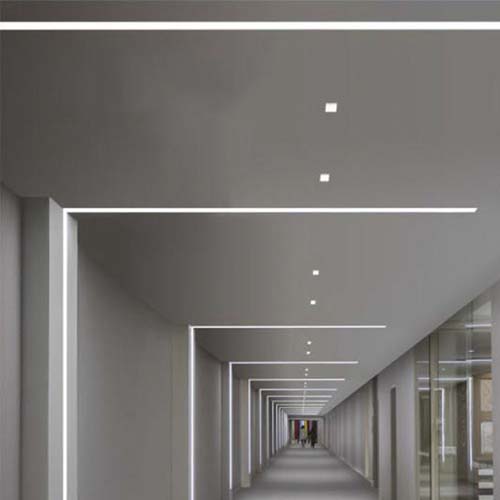
Adjustable Recessed Lights
These lights have an adjustable eyeball mechanism that allows you to direct the light beam in a specific direction.
Perfect for accent lighting or highlighting artwork, architectural features, or specific areas in a room. You can aim the light where needed, creating a focal point.
Trim Recessed Lights
These lights come with an interchangeable trim that can be customized to match your décor. Trims are available in various styles, colors, and materials.
Suitable for enhancing the aesthetics of a room. Choose a trim that complements your interior design and can help create a cohesive look. The trim also influences light distribution, so select one that suits your lighting needs.
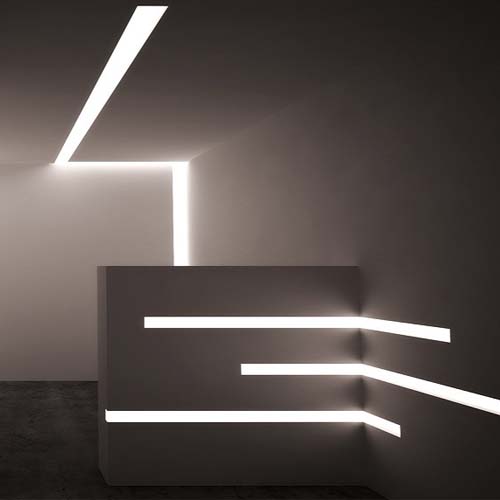
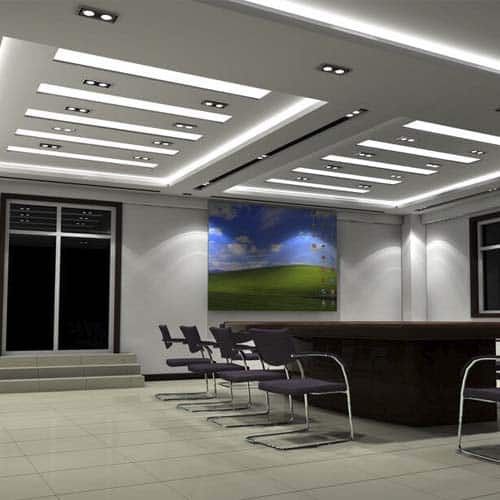
Shower Recessed Lights
Designed specifically for bathrooms and other wet areas, shower recessed lights are moisture-resistant and rated for use in high-humidity environments.
nstall these lights in showers or bathtubs to provide safe and effective illumination. They are durable and can withstand the high humidity, making them a reliable choice for wet areas.
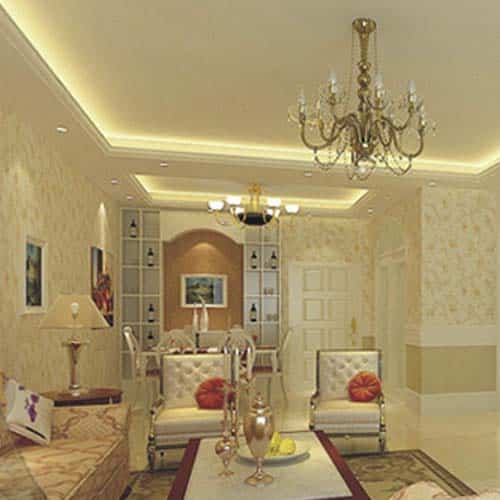
Under-Cabinet Recessed Lights
These lights are ideal for illuminating countertops and workspaces. They are typically installed under cabinets or shelves.
Perfect for kitchens, offices, or any room with cabinets or shelves. They provide focused task lighting, making it easier to work or cook.
Important factors to consider when using recessed lighting fixtures
- Bulb Type: LED bulbs are the most energy-efficient option and have a longer lifespan compared to CFL and incandescent bulbs. They also produce less heat, making them ideal for enclosed spaces.
- Beam Angle: The beam angle determines the spread of light. A wider beam angle creates a more diffuse light, suitable for general illumination, while a narrow beam angle produces a more focused light, useful for accent lighting.
- Trim: The trim not only enhances the aesthetics of the light but also influences the light distribution. Some trims have a baffle or reflector that helps control glare and improve light output.
- Size: The size of the recessed light should be proportionate to the size of the room and the area you want to illuminate. Consider the height of the ceiling and the distance between fixtures to ensure an even distribution of light.
- Wattage: The wattage of the bulb determines the brightness of the light. Higher wattage bulbs produce more light but also consume more energy. Choose a wattage that balances brightness and energy efficiency.
How to Put in Recessed Lighting: Tools and Advice
Installing recessed lighting involves marking locations, cutting ceiling holes, connecting wires, securing fixtures, and testing. Essential tools include a drill/saw, screwdriver, electrical tape, voltage tester, and protective gear. Safety, accurate measurements, firm installation, sealing, appropriate location selection, and following instructions are key tips for a successful installation.For recessed lighting installation, you can also refer to the content How To Installing Recessed Lighting.
Important Tools for Installation
- Drill or Saw: For cutting holes in the ceiling.
- Screwdriver: For tightening screws to secure the fixture.
- Electrical tape or wire nuts: To keep the wires from touching each other.
- Voltage Tester: To make sure the power is off and keep everyone safe.
- Safety and Gloves Goggles: To keep small objects from hurting your hands and falling into your eyes.
Steps for Installation Choose a Place:
- Mark the ceiling installation locations according to the size and shape of the lights.
- Cut the Hole:
Using a drill or saw, make a hole in the marked spot that is the right size for the light bulb.Make sure the hole’s edges are smooth so that it’s easy to place and the seal stays good. - Connect the wires:
To be safe, turn off the power.
Power lines should be connected to the light fixture’s external driver or terminal block.
Use electrical tape or wire nuts to ensure the wire connections are secure and insulated. - Put the Fixture in Place:
Place the mounting bracket or frame of the light fixture into the cut hole.
Use screws or clips to attach the light to the ceiling.
Make sure the device is completely attached and won’t move or fall off. - Checking out and testing:
Turn on the power to see how the light source works.
Please verify that the fixture is installed uniformly and that the light is distributed equitably.
Change the light fixture’s position or angle as needed to get the best lighting effect.
Multi-dimensional lighting for a more layered space.
By adjusting the angle and brightness of the lamps, spotlighting and general lighting can be realized in different areas, highlighting the brightness of key areas while maintaining the overall spatial coherence.
Basic Lighting:
Consider using recessed LED strips on the ceiling as the foundational lighting to enhance overall brightness.
Supplementary Lighting:
Alongside the basic lighting, incorporate additional lamps such as wall sconces, table lamps, or floor lamps to supplement the light. These also serve to accentuate the space and create ambiance. Additionally, you can install hidden LED strips behind the TV wall as mid-level lighting to further enhance the spatial hierarchy!
Color Temperature Coordination:
Experiment with different color temperatures in various zones or functional areas. For instance, use warm-toned lighting in the dining area to foster a cozy atmosphere, while cool-toned lighting in the lounging area can add a refreshing feel.


