



How to Cut and Deburr Aluminum Profiles
Cortar el 6063 es fácil; cortarlo sin que queden rebabas en la ranura de la cubierta, no tanto. La elección de la hoja, la pasada de desbarbado y por qué hay que colocar la cinta antes de la sierra.
Cutting a 6063 extrusion is not difficult. A fine-toothed blade goes through it in seconds. Difficulty sits in two places: keeping the cut square, and deburring without touching the cover groove. A burr outside is cosmetic. A burr inside the groove stops the diffuser seating, and no amount of force fixes it.
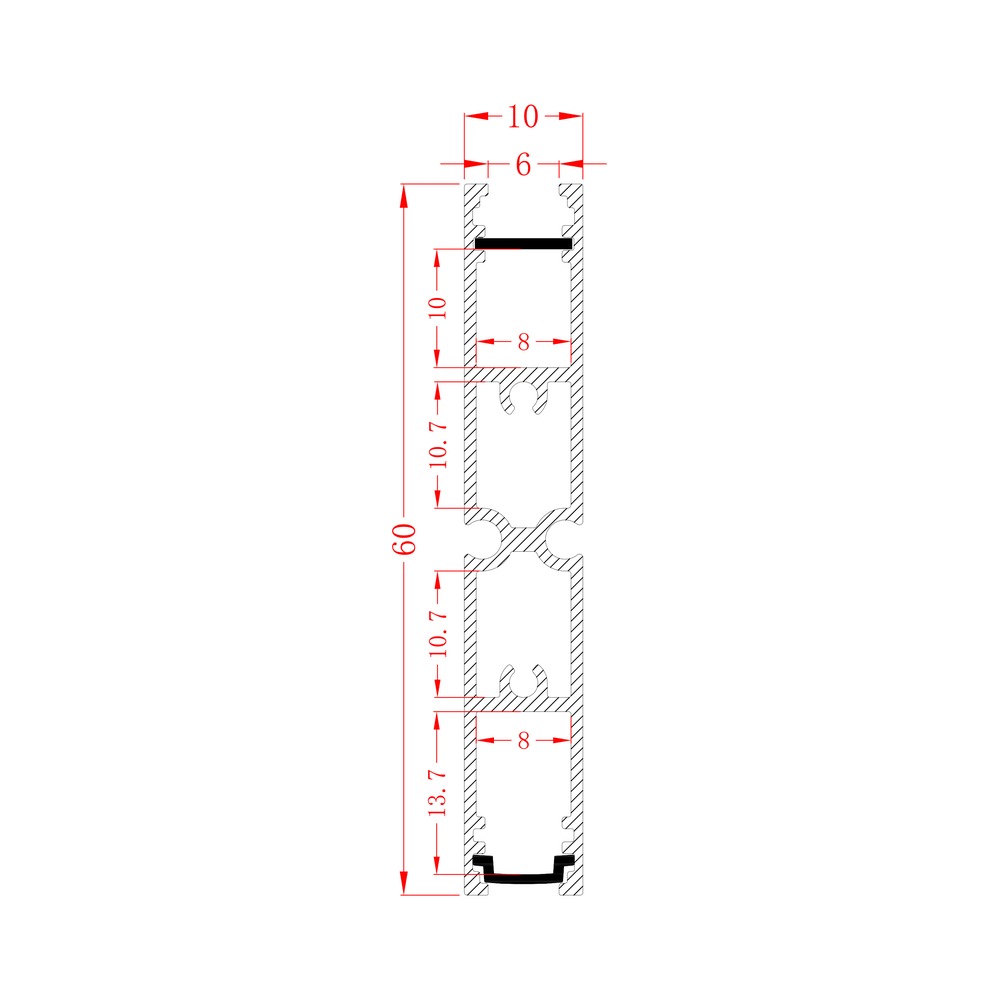
What tool cuts 6063-T5 cleanly?
Three tools work, ordered by how clean the result is.
| Tool | Cut quality | Where it fits |
|---|---|---|
| Miter saw, non-ferrous blade | Cleanest, square repeatable | Workshop, runs with many pieces |
| Fine-toothed hacksaw | Good, needs a steady hand | One or two cuts on site |
| Jigsaw, metal blade | Rougher, more burr | Profile already fixed |
| Wood blade | Poor: grabs and wanders | Not for aluminum |
| Abrasive disc | Poor: heat and a burr along the whole edge | Not for a visible cut |
A miter saw with a non-ferrous blade is cleanest and fastest for repeat cuts. The blade carries a negative rake and a high tooth count, designed for aluminum, not wood. This is what a workshop uses when a run has many pieces.
A fine-toothed hacksaw is slower, works anywhere, and needs no power. Use a 24-tooth blade or finer, with light pressure. This is the practical site tool for one or two cuts.
A portable band saw, or a jigsaw with a metal blade, suits a profile already fixed and awkward to take to a saw. The cut is rougher and needs more deburring.
What does not work well: a wood blade, whose tooth geometry grabs and lets the cut wander. Also an abrasive disc, which heats the metal and leaves a burr along the whole edge. And anything that cuts by crushing, not cutting.
Why does the blade matter more than the saw?
Tooth geometry and feed set cut quality, not the machine.
Three things happen when a blade is wrong for aluminum.
The teeth grab. A coarse wood tooth takes an oversized bite, and the profile snatches, which is dangerous and bends the section.
The metal heats. A dull or wrong blade rubs, it does not cut, and 6063 softens as it warms. The cut then smears instead of shearing.
The burr moves inside. A grabbing cut throws a burr on both faces, including the one you cannot see: the cover groove.
The practical rules: fine teeth, light feed, and let the blade cut, do not push it. A drop of paraffin or cutting fluid on the blade helps on long runs.
How do you deburr without damaging the groove?
Three steps, and order matters.
- File the outer faces first, working along the cut edge, not across it.
- Deburr the channel floor with a scraper, never a file.
- Run a nail along the cover groove on both sides. A catch means the burr remains.
The aim at step 1 is to remove the raised lip, not to chamfer the section. At step 2 a file is wider than the groove, so it rounds the internal corner where the strip sits flat. A sharp scraper, or the back of a blade, drawn along the floor takes the burr off and leaves the walls untouched. Step 3 takes five seconds and catches the fault that otherwise appears at assembly.
One thing not to do: never run a file across the aperture opening. The aperture edge is the visible line of the installation. A rounded or scratched aperture edge shows in the finished ceiling, and it cannot be repaired.
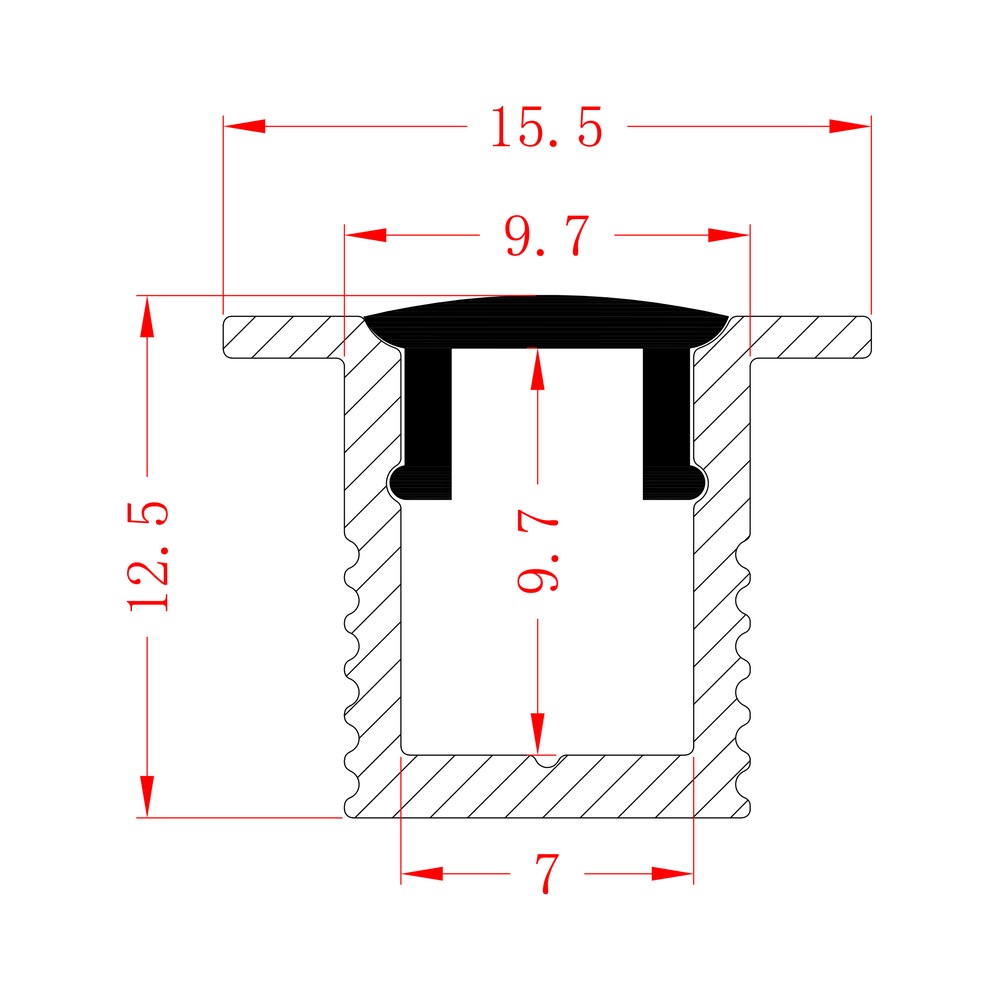
Where do you measure from?
From the channel, not from the end of the bar.
Two reasons. The bar end is not a reference, because it may be a factory cut or a stock end that has been handled. What must be right is the distance between features. That means strip length between two joints, or the aperture between two walls, not overall length.
For a run that will be joined, measure between joint faces, not between outer ends. The connector takes up a fixed distance, and that distance is part of run length, not extra.
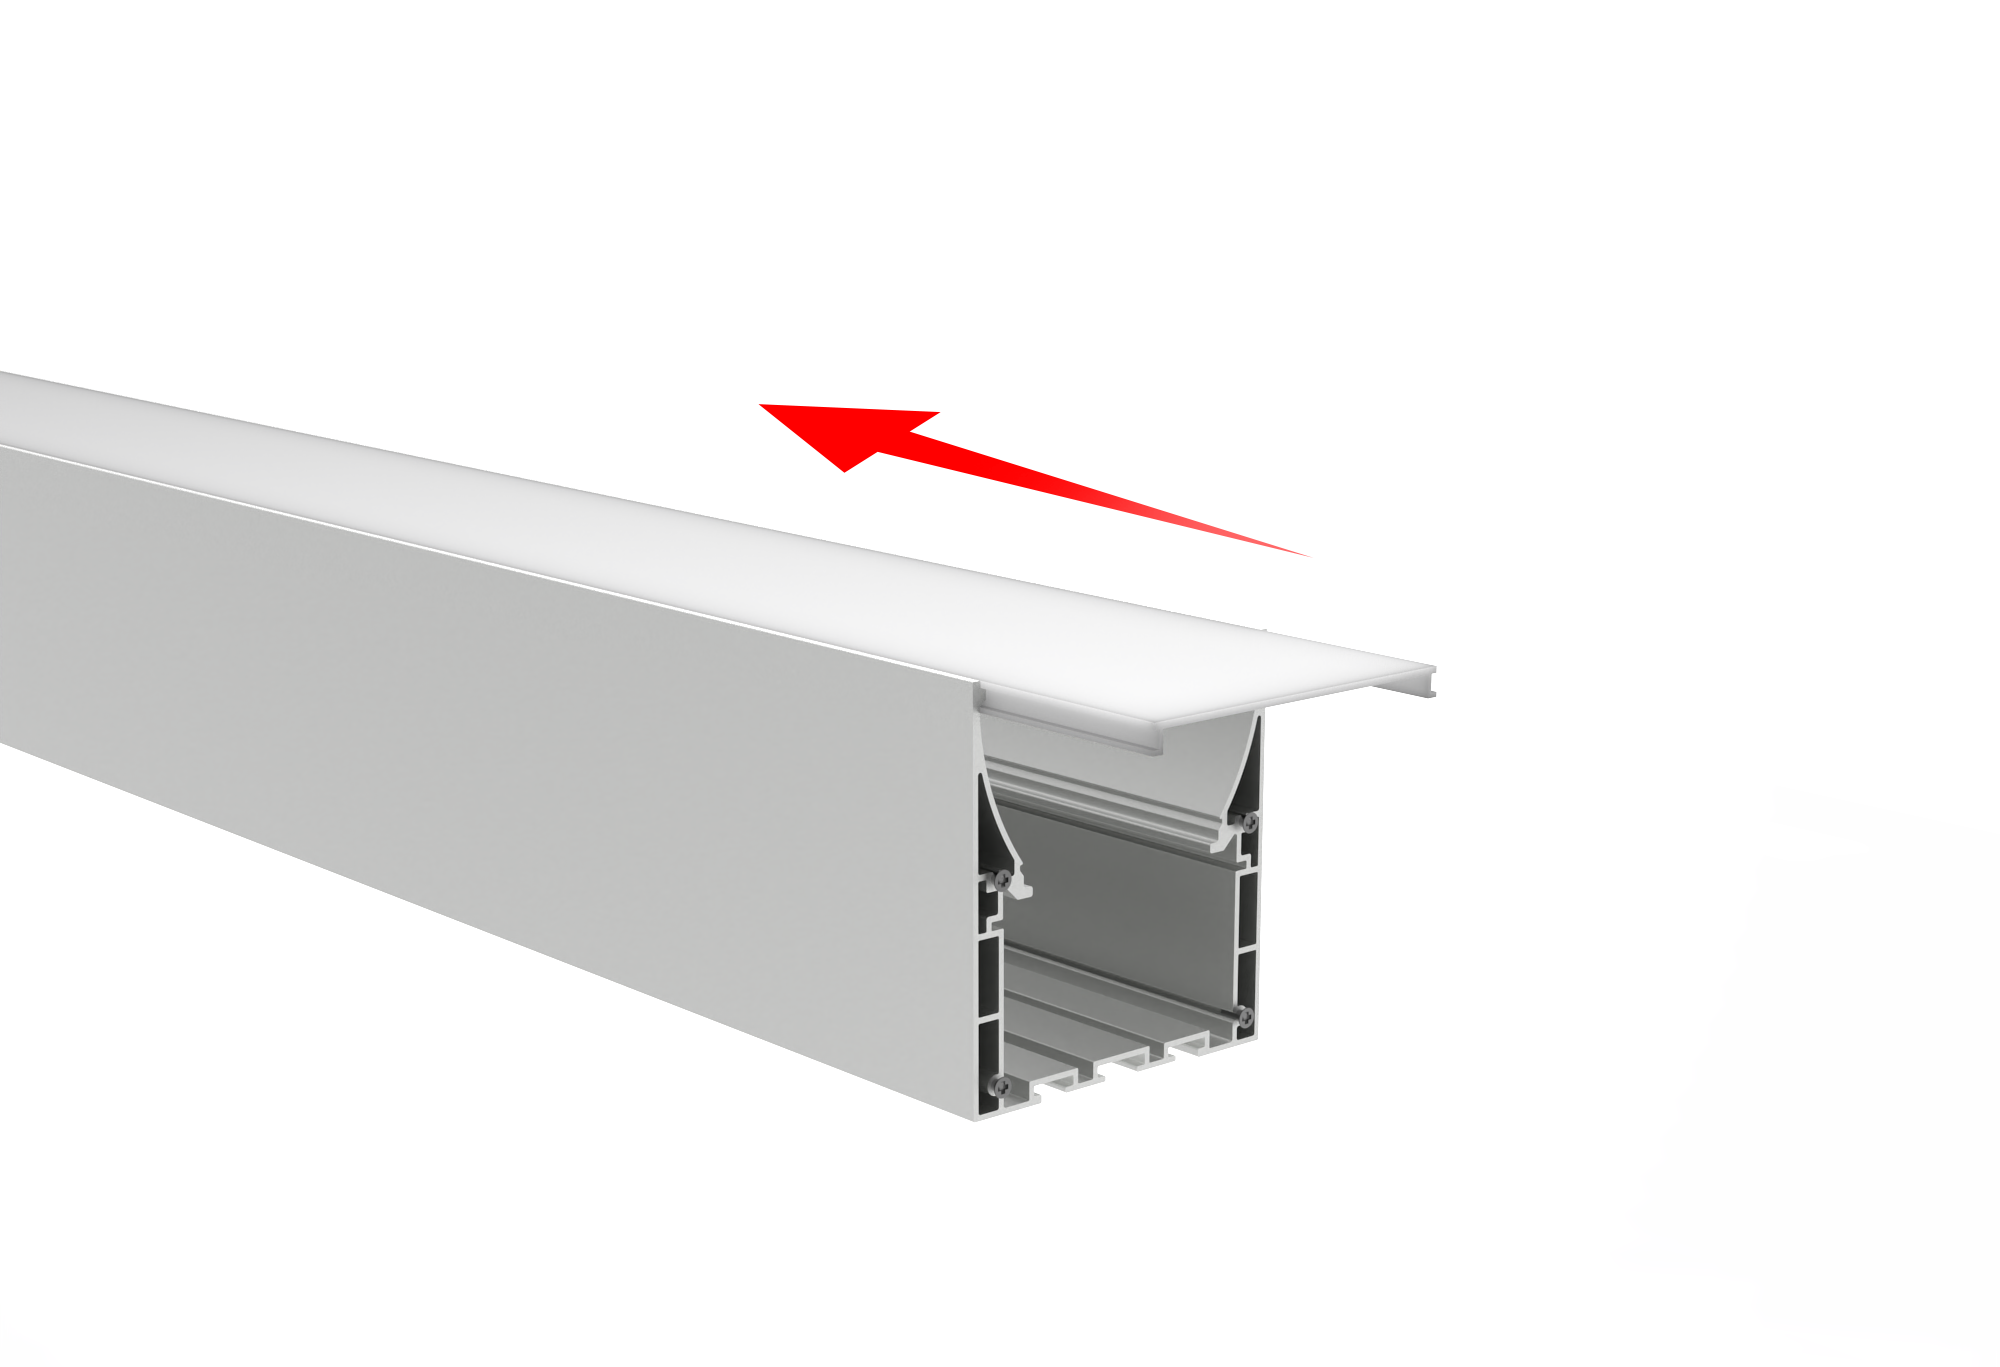
What about the cover and the strip?
Both get cut, and neither takes the body's cut.
The cover uses the same fine-toothed blade, but it is more brittle and it scratches. Tape it before cutting, and cut from the back face if one exists. The cut end will show unless an end cap covers it.
The strip is cut only at marked cut lines, and only with the power off. A copper bus runs between cut lines, and cutting outside them severs a section of strip. The strip is also the item most often damaged during cutting, not by the blade but by swarf.
Tape the aperture before cutting the body. This is the single most useful habit: a strip of tape over the opening stops aluminum swarf entering the channel. Swarf inside a channel is hard to remove, and it defeats the adhesive when the strip goes in.
What length can you order?
Our profiles ship in any length up to 4 m, cut to your size. Design around that figure.
Two consequences for cutting. A 3.8 m run comes as one piece. A 4.2 m run does not, so it needs a joint, and that is a design decision, not a cutting one. Cutting shorter is normal; cutting longer is impossible. A drawing that calls for 4.5 m in one piece needs a joint, a different section, or a different supply arrangement. It never needs a longer bar.
For long runs, set out joints first, at changes of plane or natural breaks, then cut to those modules. A joint placed deliberately reads as a detail; the same joint mid-line reads as a mistake.
What else goes wrong?
Four things, all avoidable.
Cutting without taping the aperture. Swarf lands in the channel, and the adhesive fails later.
Not checking square. A cut one degree out shows as a gap at the joint, and on a wide body it shows as a visible step.
Deburring the groove with a file. It rounds the internal corner, the strip no longer sits flat, and thermal contact is lost.
Cutting the strip at the wrong point. Cut lines are marked, and cutting between them destroys a section. Where a run needs an exact length, cut the body to suit the strip's cut lines, not the reverse.
Can I cut a profile with a wood chop saw?
Not with a wood blade. The same saw works with a non-ferrous blade. Tooth geometry and rake angle matter, not the machine.
Do I need to deburr if the cut looks clean?
Yes. A cut that looks clean still carries a raised lip along the edge, and that lip stops the cover seating. Deburring takes a minute per end.
How do I cut a profile that is already fixed?
Use a jigsaw with a metal blade, or an oscillating tool, and work slowly to a marked line. Protect the surrounding surface, and expect more deburring than a bench cut needs.
Can I cut the diffuser shorter than the profile?
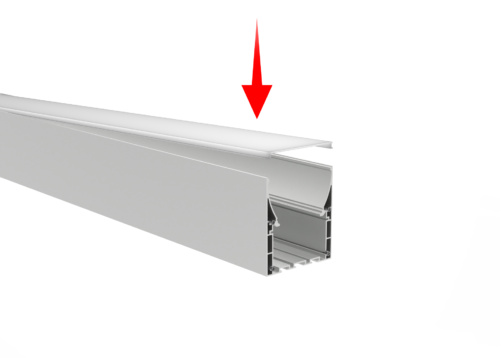
Yes, and often you should. A cover cut slightly short seats more easily than one cut exactly to length, because the ends do not bind. The end cap hides the gap.
What about cutting at an angle for a corner?
A miter cut needs both pieces cut at the same angle from the same reference, or the joint will not close. Cut one, check it against the other, then cut the second. Expect to deburr both faces of both pieces.
See also: reading a section drawing, and HL-A086, a tall narrow body where a burr in the groove shows first.

Diseñamos y suministramos perfiles de aluminio para iluminación LED e iluminación lineal —más de 200 perfiles con difusores y accesorios a juego— y prestamos servicio a clientes de más de 100 países desde 2007.
Translation and copy review — terminology, clarity and consistency of the English text.
Lecturas relacionadas

Indíquenos la anchura de la tira, la longitud de la instalación y el lugar de destino; nos encargaremos de seleccionar el perfil, el difusor y los accesorios adecuados, y le enviaremos un presupuesto en el plazo de 1 día laborable.
Inicia tu consulta