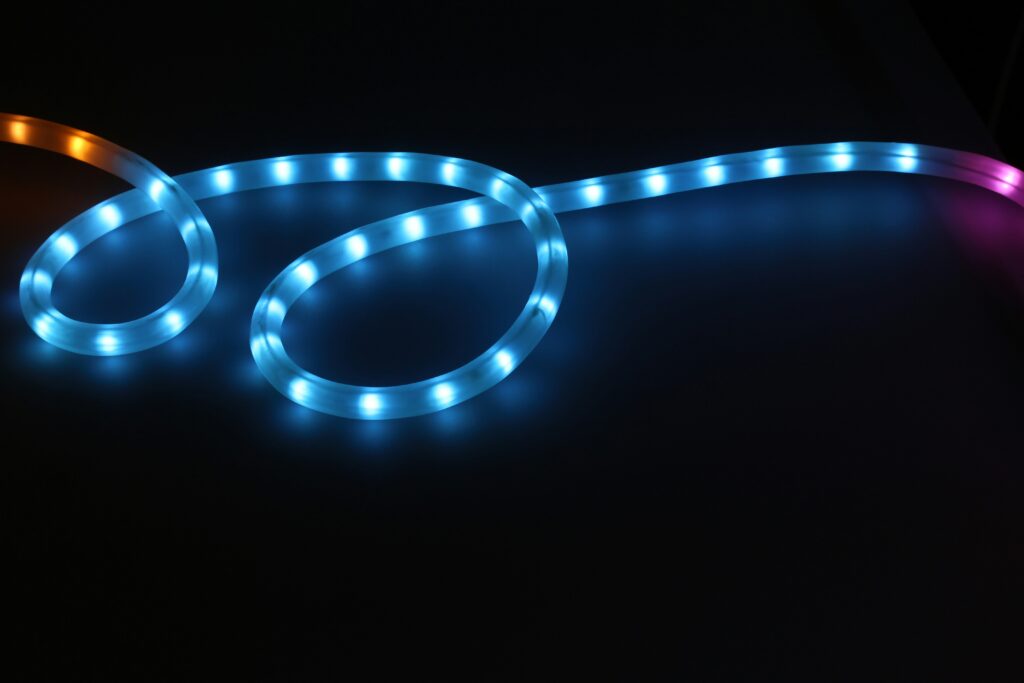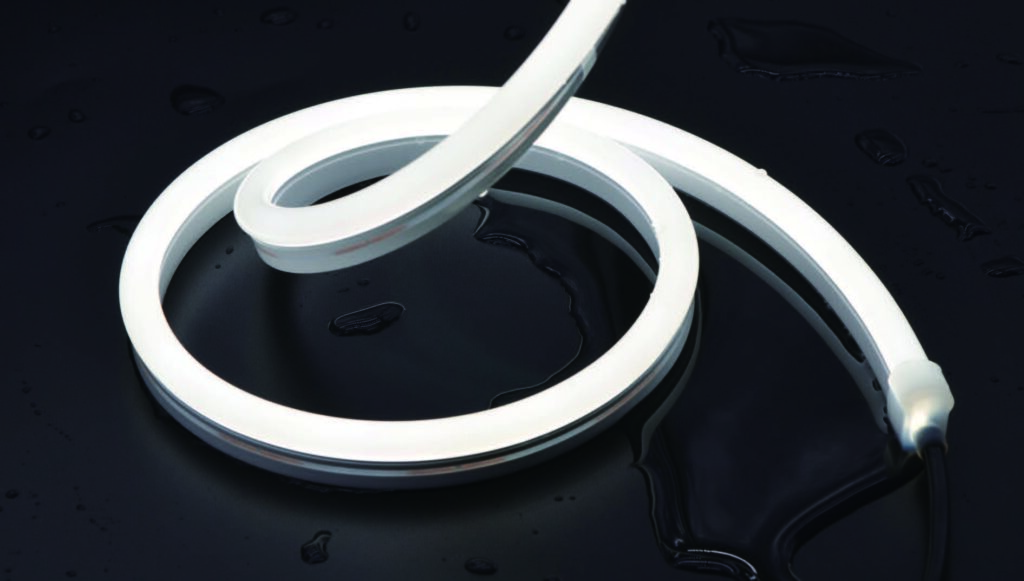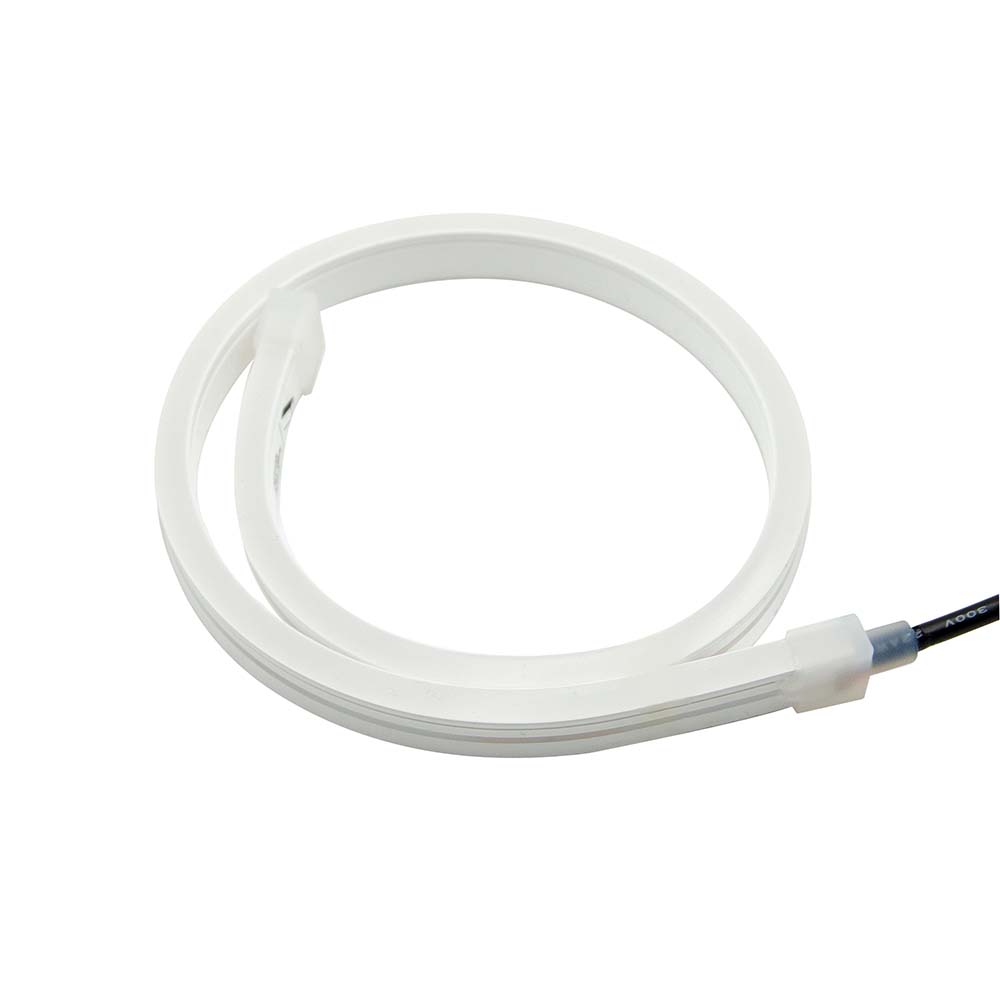



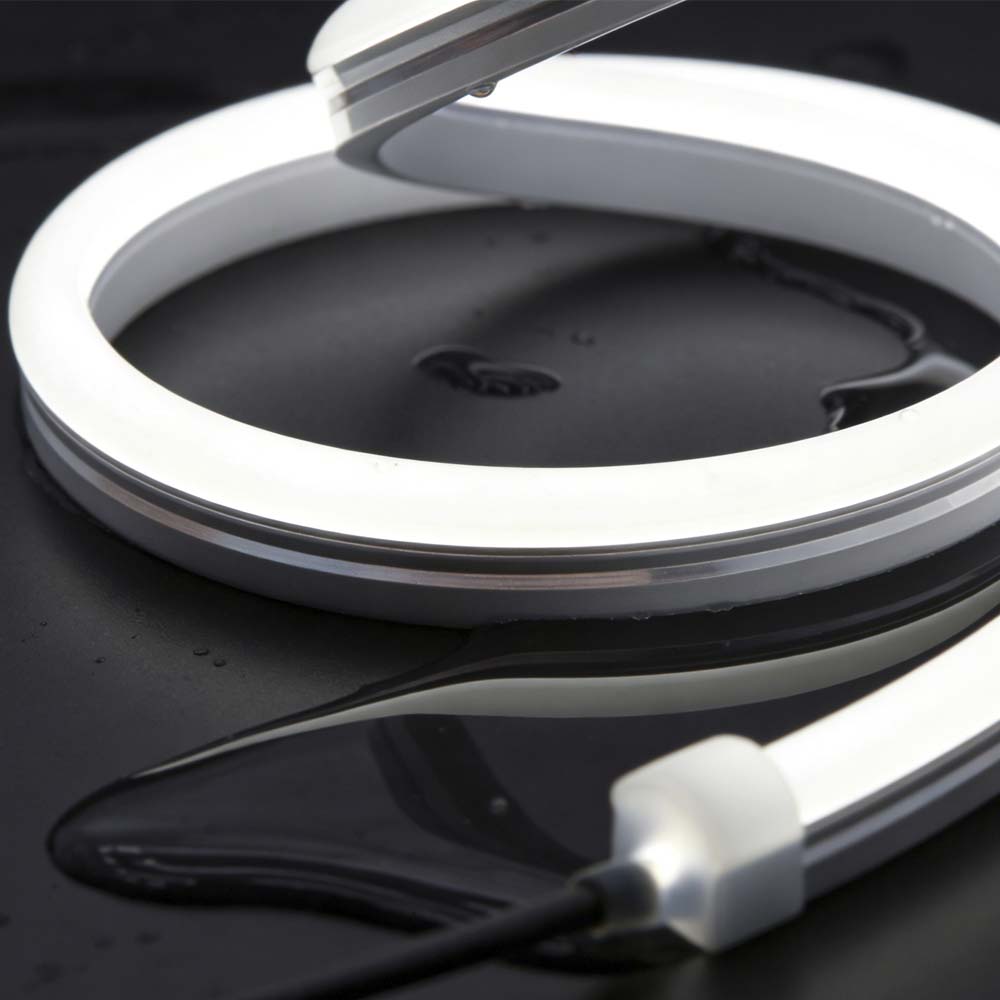
HL-N1023V24-Cxx 10×23mm Silicone LED Neon Flex — Side view, 24V DC IP67
DC24V
5w/m, 10w/m, 15w/m
Ra90
IP67
Product Detail
– Silicone neon light strip 1023; side lighting, IP67; integrated extrusion moulding;
– DC24V, horizontal bending,front way out;
– Bending diameter is 150mm; sectional size: 10mm*23mm/(W*H); IP67;
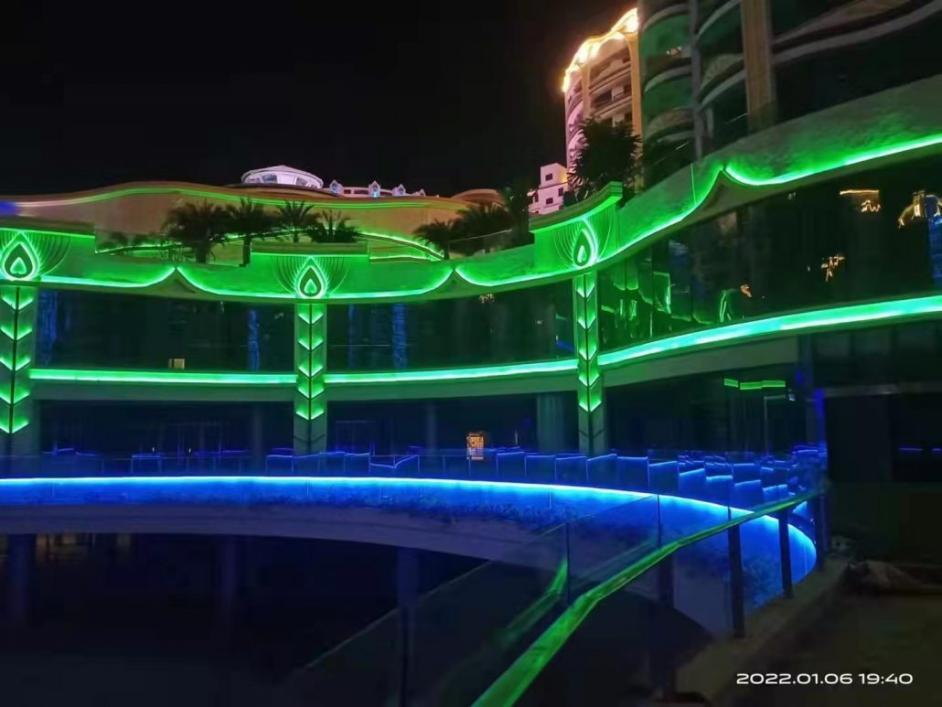
– Yellowing resistance, anti-UV,salt and alkali resistance, uniform luminescence, no facula, any bending, adapt to outdoor and indoor lighting.
– 5 years warranty.
Technical Specifications
| Voltage: | DC24V | LED PIN Temperature: | Max. 65℃ |
| Working Temperature: | -25℃~ 60℃ | CRI: | Ra90 |
| Power: | 5w/m, 10w/m, 15w/m | LM/W: | Efficacy@4000K, 39.4LM/W; 38.7LM/W; 36.1LM/W |
| Min Ambient Temperature: | -25°C | Max Ambient Temperature: | 50℃, 45℃, 35℃ |
Silicone Neon Light Strip HL-N1023V24-Cxx Series:
| NO. | Model | CCT(K) | CCT Range | Cut (mm) | CRI | Voltage | Power | Lm | Max Run |
|---|---|---|---|---|---|---|---|---|---|
| 1 | HL-N1023V24-C21 | 2100K | 2000-2200K | 50mm | >90 | DC24V | 5w 10w 15w | 160 310 433 | 5M |
| 2 | HL-N1023V24-C24 | 2400K | 2300-2500K | 50mm | >90 | DC24V | 5w 10w 15w | 167 322 454 | 5M |
| 3 | HL-N1023V24-C27 | 2700K | 2600-2800K | 50mm | >90 | DC24V | 5w 10w 15w | 179 349 491 | 5M |
| 4 | HL-N1023V24-C30 | 3000K | 2900-3100K | 50mm | >90 | DC24V | 5w 10w 15w | 175 345 478 | 5M |
| 5 | HL-N1023V24-C35 | 3500K | 3400-3700K | 50mm | >90 | DC24V | 5w 10w 15w | 194 381 534 | 5M |
| 6 | HL-N1023V24-C40 | 4000K | 3800-4300K | 50mm | >90 | DC24V | 5w 10w 15w | 197 387 542 | 5M |
| 7 | HL-N1023V24-C50 | 5000K | 4800-5300K | 50mm | >90 | DC24V | 5w 10w 15w | 191 376 531 | 5M |
| 8 | HL-N1023V24-C60 | 6000K | 5900-6400K | 50mm | >90 | DC24V | 5w 10w 15w | 179 350 500 | 5M |
| 9 | HL-NS1023V24MINI-Cx | 2700K/3000K 4000K/6000K | — | 8.33mm | >90 | DC24V | 5w 10w 15w | 190 360 510 | 5M |
| 10 | HL-N1023V24-Cr | Red | 620-625nm | 50mm | >90 | DC24V | 5w 10w 15w | 69 148 197 | 5M |
| 11 | HL-N1023V24-Cg | Green | 515-525nm | 50mm | >90 | DC24V | 5w 10w 15w | 213 404 513 | 5M |
| 12 | HL-N1023V24-Cb | Blue | 460-465nm | 50mm | >90 | DC24V | 5w 10w 15w | 40 74 103 | 5M |
| 13 | HL-N1023V24-Cy | Yellow | 585-595nm | 50mm | >90 | DC24V | 5w 10w 15w | 63 125 156 | 5M |
| 14 | HL-N1023V24-Cp | Pink | — | 50mm | >90 | DC24V | 5w 10w 15w | 81 162 218 | 5M |
| 15 | HL-N1023V24-Co | Orange | — | 50mm | >90 | DC24V | 5w 10w 15w | 70 132 180 | 5M |
| 16 | HL-N1023V24-Ca | CCT adjustable (2200+6000K) | WW:2000-2300K / W:5600-6300K / W+WW:3600-4200K | 50mm | >90 | DC24V | 5w 10w 15w | 175 362 509 | 5M |
| 17 | HL-N1023V24-Ca(V1) | CCT adjustable | WW:/ W:/ W+WW: | 62.5mm | >90 | DC24V | 5w 10w 15w | 180 340 480 | 5M |
| 18 | HL-N1023V24-Crgb | RGB | Red:620-625nm / Green:515-525nm / Blue:460-465nm | 62.5mm | >90 | DC24V | 5w 10w 15w | 78 145 181 | 5M |
| 19 | HL-N1023V24-Crgbw(V1) | RGB+W | Red:620-625nm Green:515-525nm Blue:460-465nm W(Color temperature can be customized) | 83.3mm | >90 | DC24V | 5w 10w 15w | 140 260 360 | 5M |
Accessories
| Product Name | Description | Model No | Picture |
|---|---|---|---|
| Aluminum profile | 1 m/pc aluminum profile(12.6*15.4*1000mm) | HL-N1023-AP |  |
| Clip | 1 x clip (12.6*15.4*20mm) + 1 screw | HL-N1023-MC | 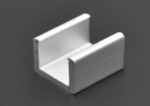 |
| IP67 end cap 2 cores single color | 1 x silicone end cap +1x 30cm PVC black line ( front way out ) | HL-N1023-NCC2 | 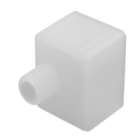 |
| IP67 end cap 3 cores CCT adjustable | 1 x silicone end cap +1x 30cm PVC black line ( front way out ) | HL-N1023-NCC2 | |
| IP67 end cap 4 cores RGB | 1 x silicone end cap +1x 30cm PVC black line ( front way out ) | HL-N1023-NCC2 | 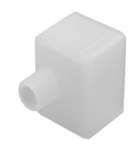 |
| IP67 end cap | 1 x silicone end cap | HL-N1023-CEC | 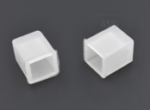 |
| Scissor | 1 peice | HL-S-1 | 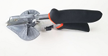 |
Installation
Below is a brief guide to installing neon lights. For detailed installation instructions for the , please download our specification sheet.
Tools & Preparation

Scissors / Cutter


Step-by-Step Guide
Step 1: Plan & Measure
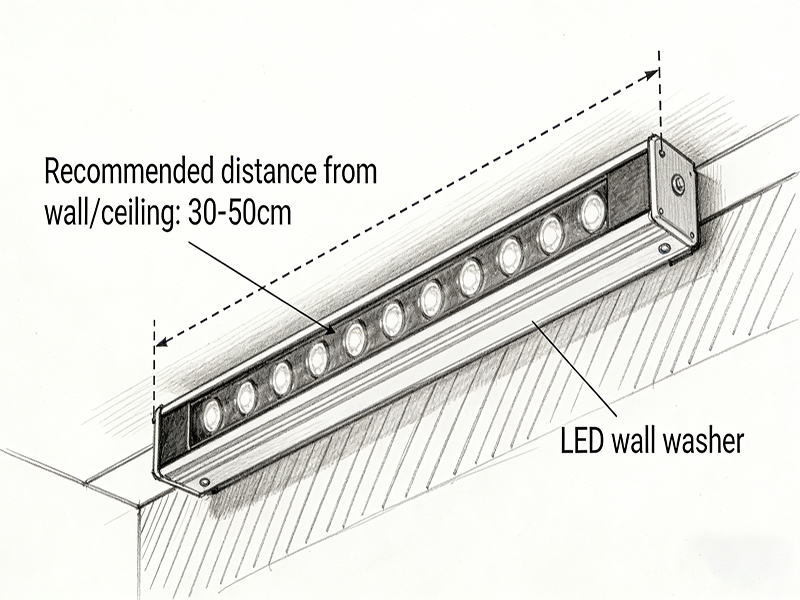
Determine the installation path and required length according to the design. Avoid sharp bends during installation (Min. bending diameter > 6cm).
Step 2: Clean the Surface
Clean the mounting surface with alcohol to remove dust and grease, ensuring strong adhesion.
Step 3: Cut & Connect
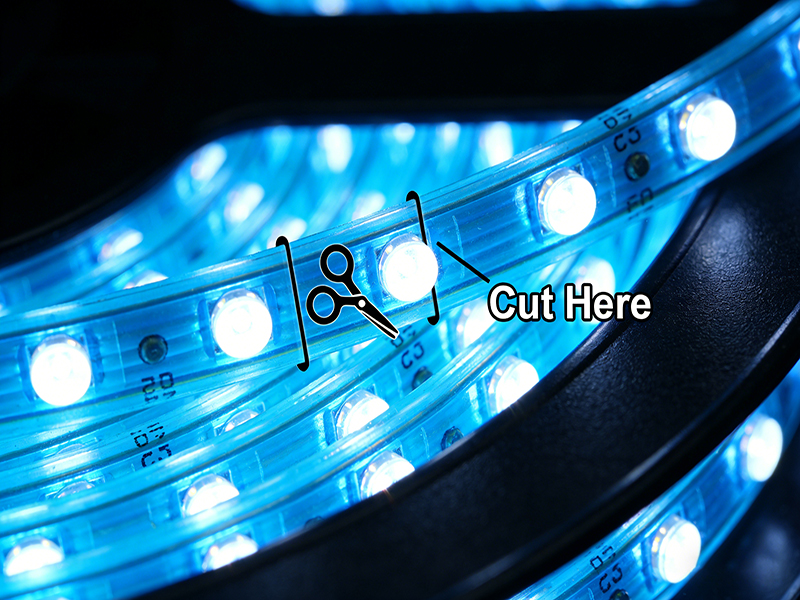
Cut the strip at the designated cut marks. Use waterproof connectors to connect the power supply, paying attention to the polarity (Red wire is positive, black is negative).
Step 4: Fix & Dissipate Heat
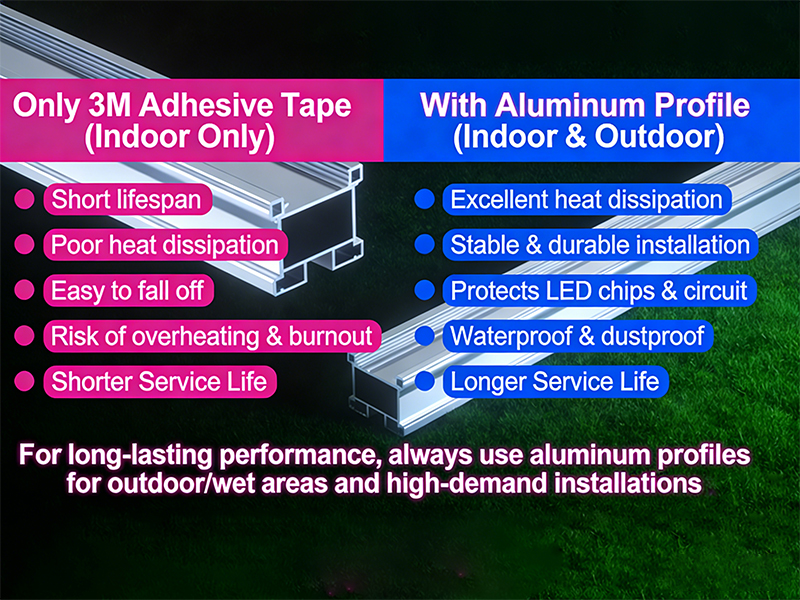
Indoor Dry Area: Peel and stick using the 3M backing. Outdoor/Wet Area: Must be fixed with aluminum profiles and clips for heat dissipation and protection.
Step 5: Controller Debugging
After connecting the power, perform a test. Check RGB colors and the responsiveness of the remote control or APP.
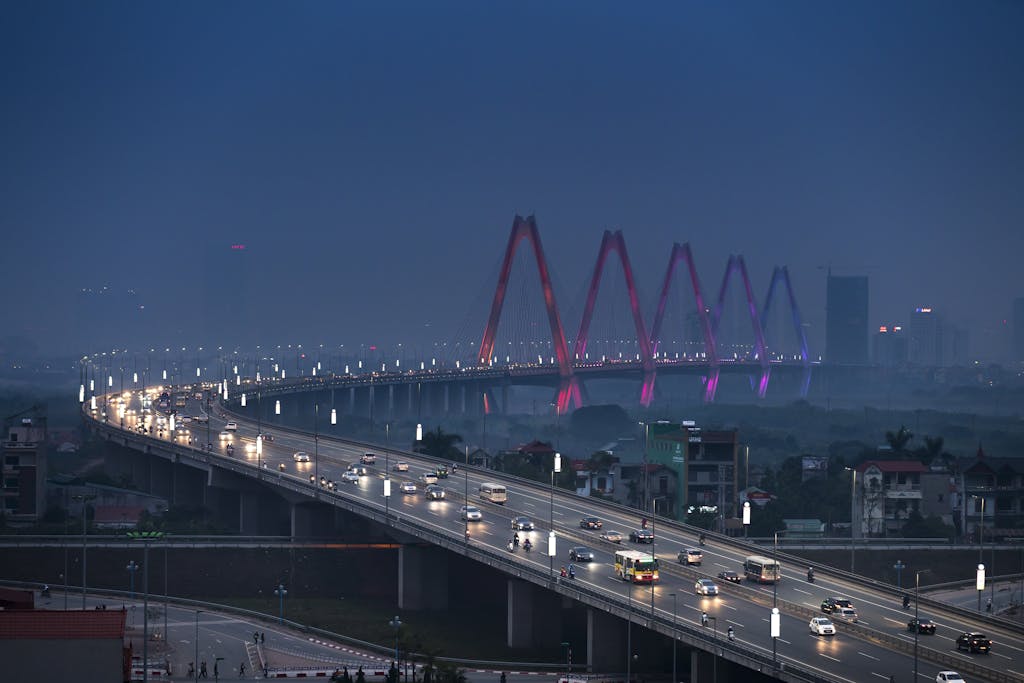
Application Cases

Customized solutions
As an original manufacturer, we provide comprehensive OEM/ODM services and can offer flexible customization according to your project requirements. Whether it’s special sizes, specific color temperatures, or customized packaging, we can meet your needs.
Confirmation
design
production
production

Expert in LED lighting with solid technical expertise.

A professional team is ready to answer your questions at any time.

Stable supply of raw materials and logistics network

Strict quality control and certification systems. CE/UL/ROHS
Frequently Asked Questions (FAQ) for LED Lighting Solutions
Get Your Custom Quote Today
Complete the form below and our experienced sales team will respond within 24 hours with a detailed proposal tailored to your project requirements.