



Modular Lighting Systems: A Specification Guide for Commercial Projects
How shared-edge modules replace custom tooling: the thirteen stocked shapes, join angles, mounting, driver load, and how to issue a luminaire schedule.
Smart Puzzle Series · Specification guide
Modular Lighting Systems: A Specification Guide for Commercial Projects
Most custom ceiling shapes are custom because of tooling, not because of geometry. A ring, a hexagon cluster, or a run that turns a corner normally needs a bent extrusion or a molded diffuser — so the project carries a tooling cost, a lead time and a minimum quantity that the design has to justify.
A modular system removes the tooling. Instead of bending one profile into the shape you want, you cut straight bars and join them at fixed angles. The shape stops being a manufacturing problem and becomes a scheduling problem: which bars, how many, at what angles.
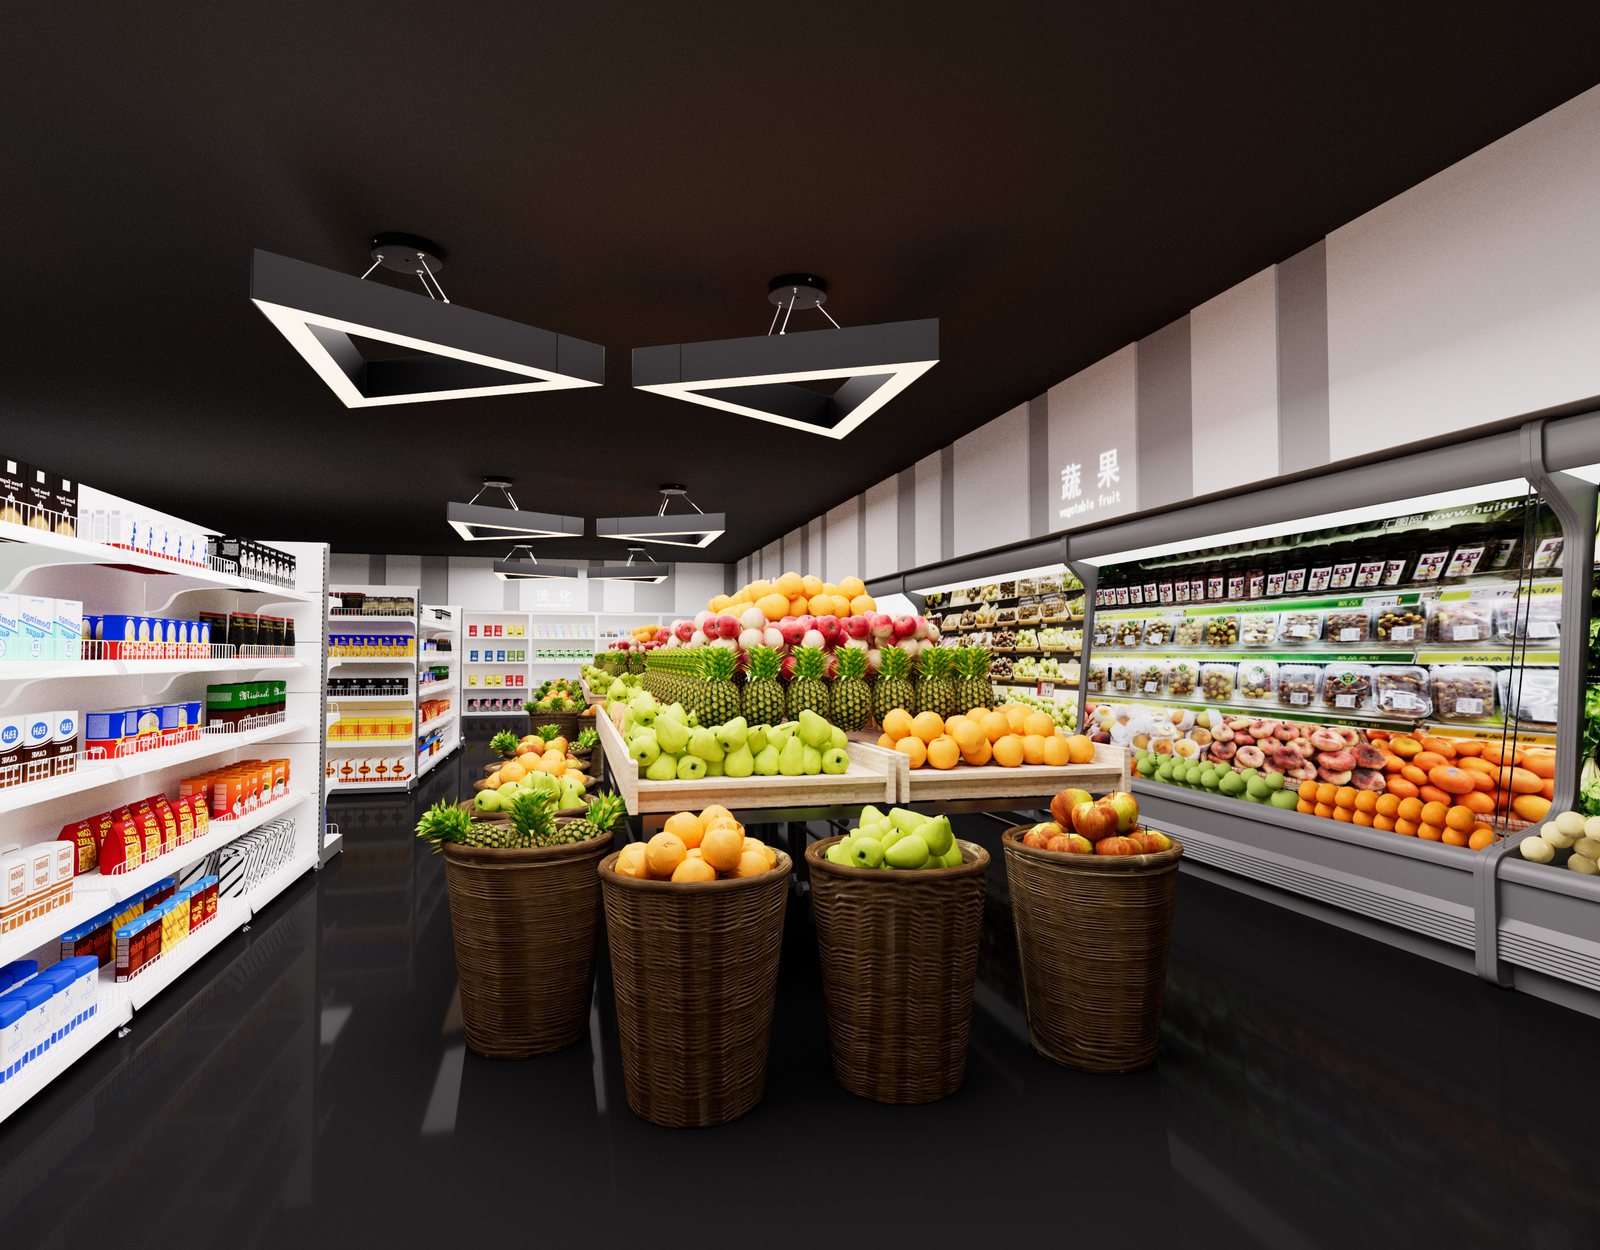
What “modular” means in this system
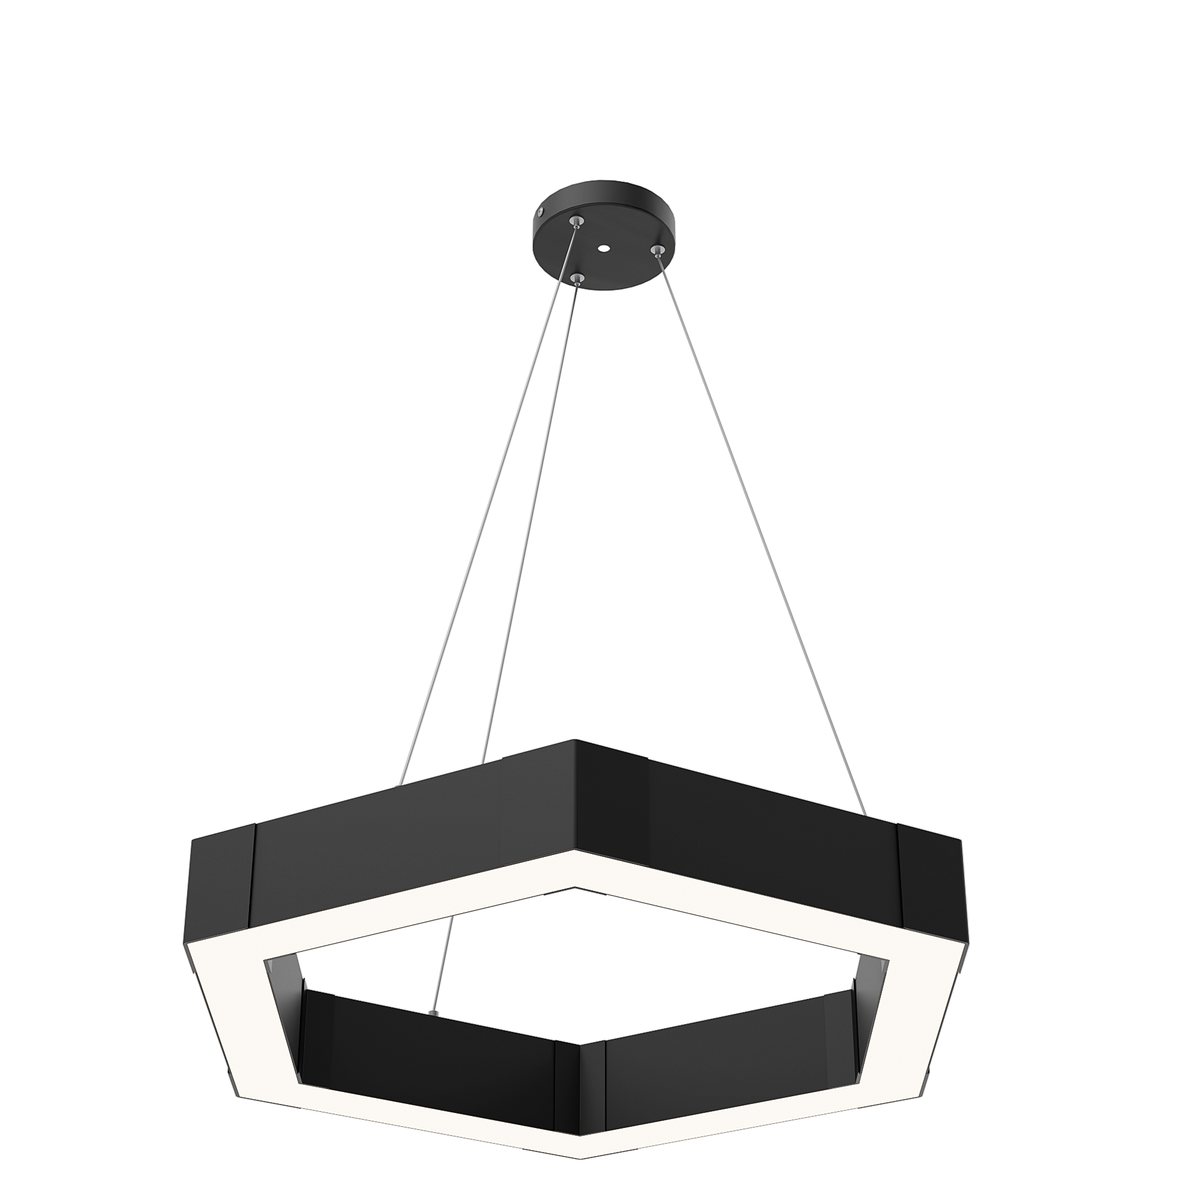
The Smart Puzzle Series is thirteen stocked modules. Each one is a closed loop of 50 × 75 mm extruded aluminum, mitered and joined with corner blocks, with a diffuser face set into the profile.
The constraint that makes the system work is the angle set: every join is 30°, 45°, 60°, 90°, 120° or 135°. Nothing else is stocked, because nothing else can be produced without a custom connector.
That sounds limiting until you look at what those six angles generate. Six equilateral triangles make a hexagon. Four right triangles make a square. Eight 135° joins make an octagon. Every shape below comes out of the same bar stock and the same corner blocks — which is why there is no tooling charge and no minimum beyond 20 m of bar.
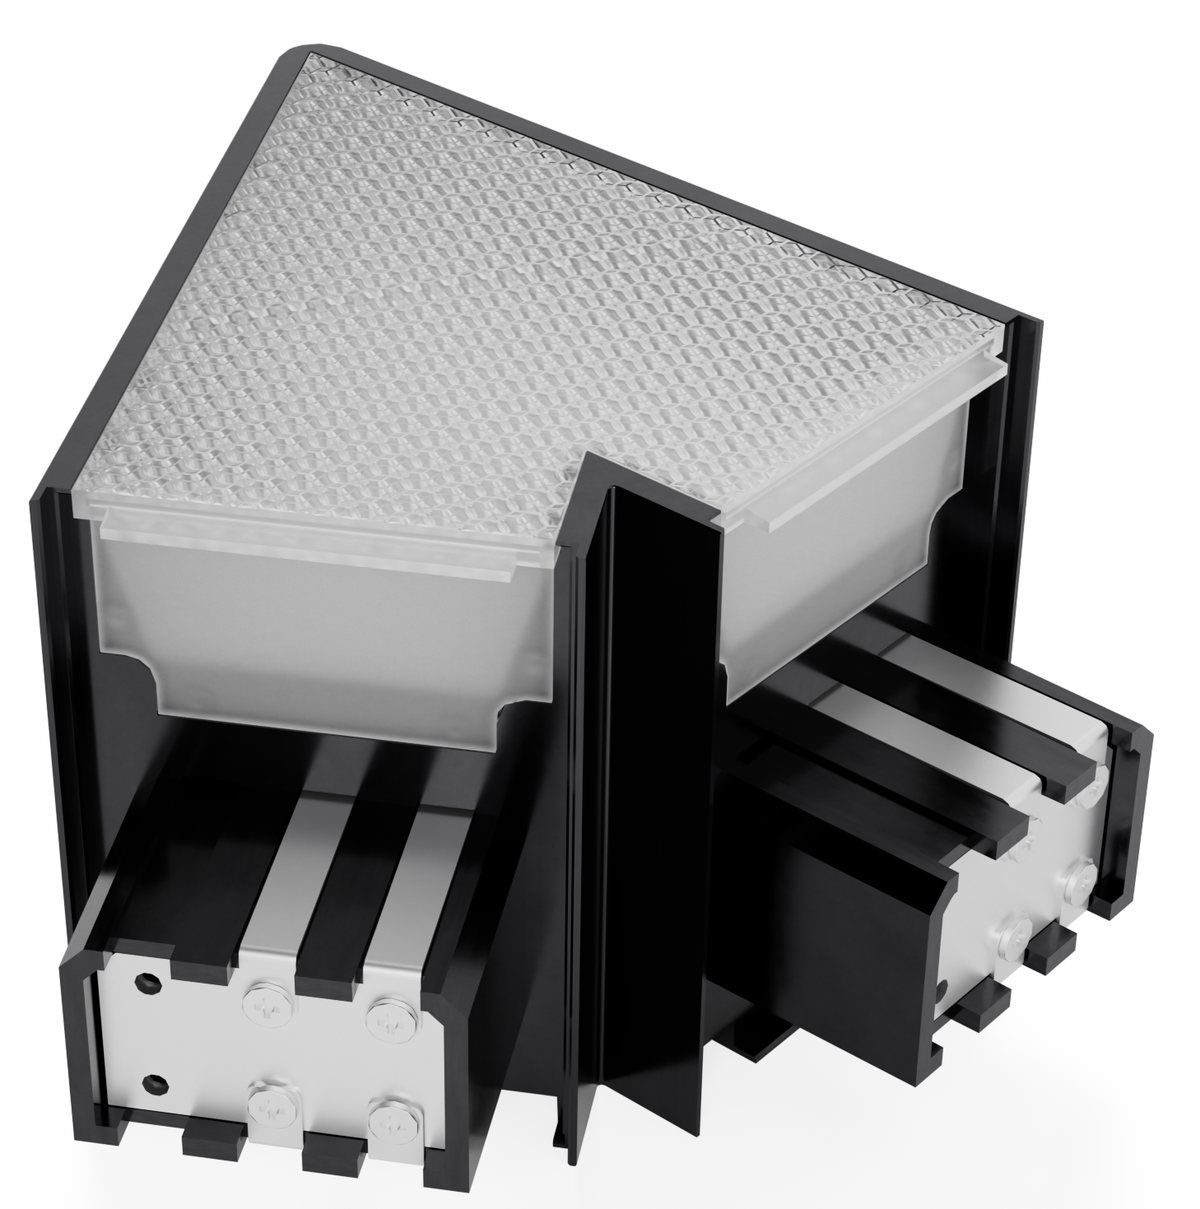
The thirteen modules
| Модель | Shape | Edges (mm) | Joins | Nominal power |
|---|---|---|---|---|
| A06 | Equilateral triangle | 600 / 600 / 600 | 3 × 60° | 40 W |
| A12 | Equilateral triangle | 1200 / 1200 / 1200 | 3 × 60° | 80 W |
| B06 | Right triangle | 426 / 426 / 600 | 45° / 90° / 45° | 40 W |
| B12 | Right triangle | 852 / 852 / 1200 | 45° / 90° / 45° | 80 W |
| C06 | 30–60–90 triangle | 520 / 304 / 600 | 30° / 90° / 60° | 40 W |
| C12 | 30–60–90 triangle | 1040 / 608 / 1200 | 30° / 90° / 60° | 80 W |
| D06 | Obtuse triangle | 600 / 348 / 348 | 30° / 30° / 120° | 40 W |
| D12 | Obtuse triangle | 1200 / 696 / 696 | 30° / 30° / 120° | 80 W |
| E06 | Hexagon | 6 × 300 | 6 × 120° | 40 W |
| E08 | Hexagon | 6 × 400 | 6 × 120° | 40 W |
| E12 | Hexagon | 6 × 600 | 6 × 120° | 80 W |
| E80 | Octagon | 8 × 306 | 8 × 135° | 60 W |
| E81 | Octagon | 8 × 459 | 8 × 135° | 100 W |
Overall dimensions, luminous flux and weight differ per model and are published on each product page rather than averaged into a range.
Three things are worth reading off that table. The 40 W group is built on a 600 mm edge and the 80 W group on a 1200 mm edge — that is the whole module system in one sentence. The triangles are not arbitrary: B is half a square, C is half an equilateral triangle, and D is the flat one you reach for when a corner is too shallow for anything else. And the hexagons are the only shape where the module is also a repeatable unit — E06, E08 and E12 are the same hexagon at three scales.
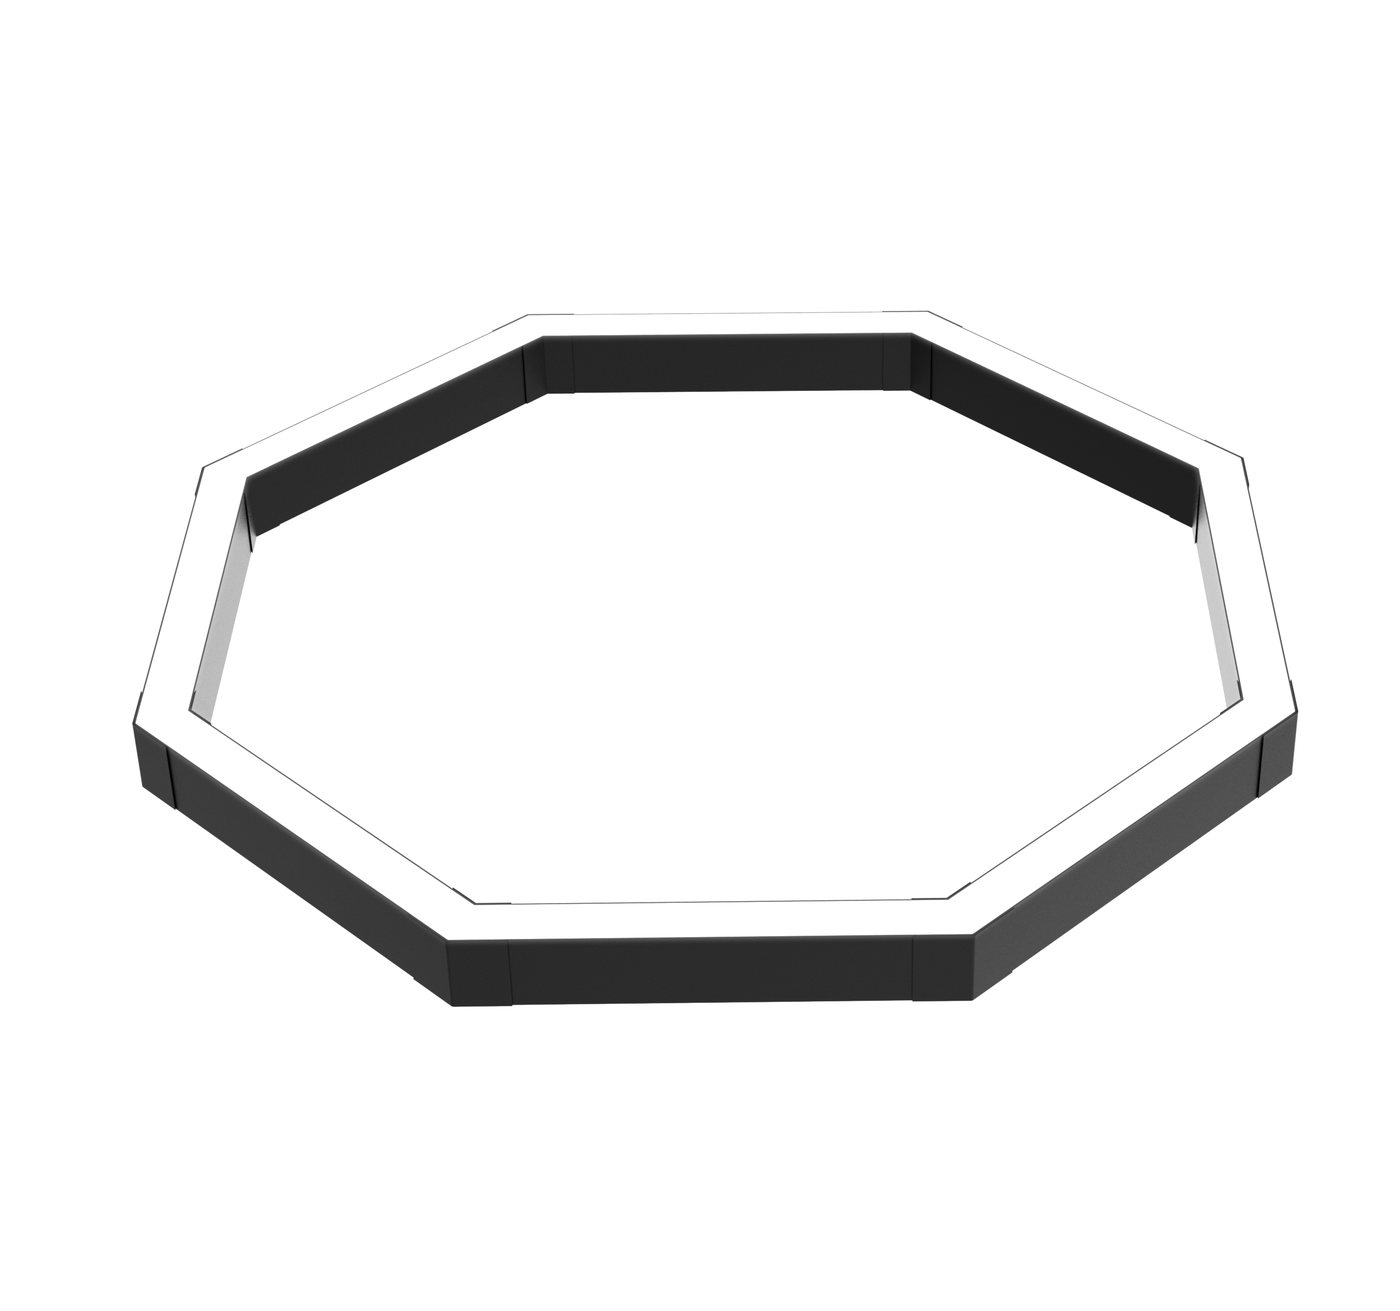
Shared edges: the detail that decides the layout
Look at the 600 mm row again. A06, B06, C06 and D06 each have exactly one 600 mm edge. E12 has six of them.
That is deliberate. It means a triangle can be butted against a hexagon, edge to edge, and the join is two mitered ends meeting at a stocked corner block — no splice plate, no adapter, no custom bracket. The same holds across the 1200 mm group.
In practice, this is how a layout should be counted: in edges, not in meters. A 12 × 8 m ceiling is not “24 m of profile”; it is a question of how many 600 mm edges fit across the room and which shapes close. Sketches made in meters tend to produce shapes that do not close. Sketches made in edges produce layouts that build.
One exception is worth knowing before you draw: two closed loops that share an edge create a four-bar node, and there is no four-way connector in the range. Shapes that touch either separate by a few centimeters or join at a T. That is why the cluster and botanical layouts in this series read as touching-but-separate loops rather than merged outlines.
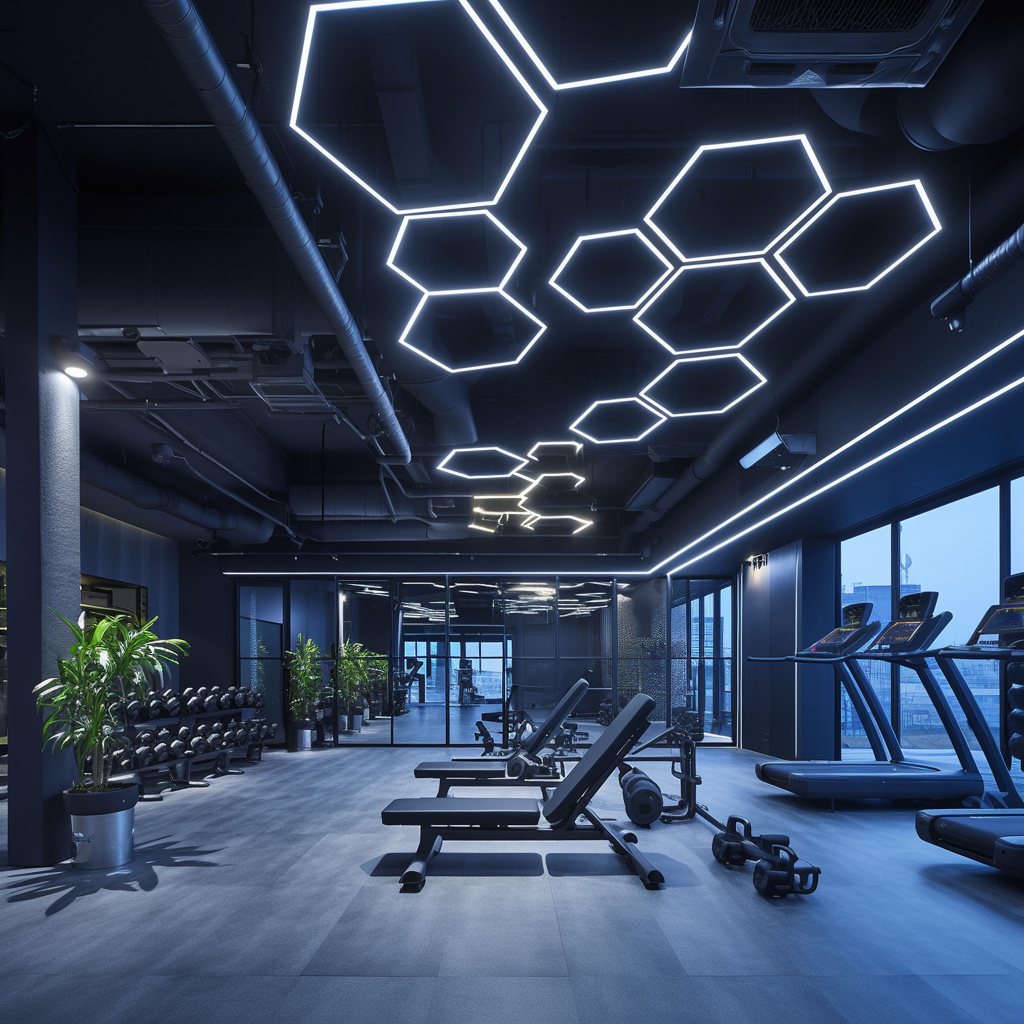
What the ceiling has to carry
The standard mounting is suspended: drop points per module, adjustable below the slab, with the driver in the ceiling void or in a remote enclosure.
Fixing. Each fixture is hung from anchors rated for at least ten times its own weight. A 40 W triangle is 3.5 kg, an 80 W hexagon 7.5 kg, an E81 octagon 7.3 kg — so the anchor specification is set by the heaviest module in the run, not by the average.
Slab condition. Concrete soffits take wedge anchors directly. Plasterboard ceilings need either a primary steel grid or joist finding; the drop points have to land on structure, which is why the layout is worth fixing before the ceiling is closed.
Service clearance. The profile is 75 mm deep plus the drop. In a 2.7 m room with an 800 mm drop, the underside sits at about 1.9 m — fine over a meeting table, too low over a circulation route. Set the drop before you set the shape.
Where there is no void at all — a bare slab or a profiled deck — the four suspension arrangements and their anchor requirements are set out in ceiling lights without a false ceiling.
Drivers and connected load
The stocked modules are supplied as complete fixtures with the driver integrated — mains in, nothing to wire on site beyond the supply. Bar-built runs are 24 V constant voltage and need remote drivers sized with headroom.
For load planning, work from the module count rather than the room area. Measured output from the IES files:
- 40 W module — about 5,650 lm
- 60 W module — about 5,450 lm
- 80 W module — about 11,200 lm
- 100 W module (E81) — 10,000 lm ±10% at 4000 K
Those are measured figures, not catalog nominal values, and they land between 130 and 140 lm/W. A 96 m² meeting floor at 400 lx needs roughly 80,000 lm after a 0.60 utilization factor and a 0.80 maintenance factor — which comes out at fifteen 40 W modules, 600 W, about 6.3 W/m². If the project’s lighting power density allowance is tighter than that, the lever is the geometry: a larger module covers more floor with the same watts, but concentrates the light.
How to specify it in five steps
- Measure the opening. Length and width are the only mandatory inputs. Everything else — an L-shaped notch, a column grid, a coffer — is a modifier, not a starting point.
- Pick a geometry family. Decide the visual idea before the quantity: a single large ring, a field of hexagons, a linear run that turns, or a cluster. Each has a different tolerance for room proportion.
- Set the target illuminance. 300 lx for an open office or classroom, 400–500 lx for a meeting room or retail floor, 150–200 lx for circulation and hospitality. Write the number down; it drives everything else.
- Check the load and the count. Multiply modules by watts, divide by area, compare against the project’s W/m² allowance. Then check the count against what the client will accept in maintenance — twenty small fixtures cost more to relamp than eight large ones.
- Issue the schedule. Model, quantity, wattage, weight, driver, mounting height, and the geometry as a drawing. Anything missing from that list comes back as an RFI.
What to send us for a quote
A PDF or DWG of the ceiling with dimensions; the ceiling height and the proposed drop; the target lux; the mounting type; finish and CCT; quantity in meters or modules; and the date you need it on site. With those, a layout and a priced schedule come back the same week. Without the ceiling drawing we can price the modules but not the layout — and a module price on its own is not much use to a project.
Questions we get at tender stage
Two tools that go with this guide. The Modular Lighting Planner turns a room dimension into buildable layouts with a luminaire schedule, connected load and calculated illuminance. The Lighting Load Calculator gives you the load and fixture count without drawing anything.
Both are free, need no sign-up, and the full module range sits on the Серия Smart Puzzle page.
We design and supply LED aluminum profiles and linear lighting — over 200 profiles with matched diffusers and fittings, serving customers in more than 100 countries since 2007.
Related reading


Send the strip width, the run length and the destination — we will match the profile, the diffuser and the fittings, and quote within 1 business day.
Start your inquiry