Remarque : Afin de garantir l'exactitude des informations, cet article suit le processus de création et de révision du contenu de l'équipe d'experts Helian.
Comment installer une bande lumineuse LED ? En seulement 5 étapes simples
Comment installer une bande lumineuse LED ?
Apprenez à installer une bande lumineuse LED en quelques minutes ! Ce tutoriel rapide vous guide à travers les étapes essentielles : nettoyer la surface, décoller le film protecteur, coller fermement la bande et la brancher à l'alimentation électrique. Parfait pour les débutants, aucun outil professionnel n'est nécessaire. Éclairez facilement votre maison, votre bureau ou votre espace commercial grâce à notre guide étape par étape !

I. Liste de contrôle des matériaux et outils :
- Bande LED (y compris adaptateur secteur, contrôleur et connecteurs)
- Ciseaux ou couteau utilitaire (pour couper)
- Chiffon de nettoyage et alcool (pour la préparation de la surface)
- Règle ou mètre ruban
- Ruban adhésif double face ou clips de fixation (certaines bandes sont dotées d'un support adhésif)
- Pince coupante et dénudeuse (si un câblage est nécessaire)
- Ruban isolant ou gaine thermorétractable
- Prise électrique (à proximité de la zone d'installation)
II. Mesure et découpe

- Mesure précise :
Utilisez un mètre ruban pour déterminer la longueur d'installation requise afin d'éviter tout écart dimensionnel. - Découpe standard :
Principe fondamental : Ne coupez qu'aux endroits marqués d'un symbole en forme de ciseaux (ou de lignes pointillées) sur la bande, qui correspondent aux points de division de l'unité.;
Notes : Une découpe aléatoire endommagera le circuit et provoquera un obscurcissement partiel de la bande ; alignez précisément le repère pendant la découpe pour éviter tout décalage.
III. Connexion électrique : alignement précis de la polarité
1. Branchez la fiche à la prise/l'adaptateur :
- Modèle avec prise préinstallée : passez directement à l'étape suivante.
- Connexion par broche (recommandée pour les débutants) :
1. Retirez 2 à 3 mm de la couche protectrice en plastique à l'extrémité coupée de la bande afin d'exposer les fils de cuivre.;
2. Coupez les fils de cuivre à l'aide d'une pince pour éliminer les bavures (afin d'éviter tout court-circuit) ;
3. Insérez les broches métalliques du connecteur dans les fils de cuivre en respectant les marques de polarité (généralement fil rouge pour le positif, fil noir pour le négatif) ;
4. Connectez les broches à l'interface correspondante de la fiche ; - Connexion par soudure (déconseillée aux débutants) : soudez directement le cordon d'alimentation aux fils de cuivre de la bande.
2. Connectez dans l'ordre :
Fiche plate → Borne de sortie de l'adaptateur secteur → Adaptateur secteur → Prise secteur domestique.
IV. Fixation des bandes : privilégier la planéité et l'esthétique
1. Nettoyage de la surface : essuyez soigneusement la surface d'installation avec des lingettes alcoolisées pour éliminer la poussière et l'huile, en vous assurant qu'elle est sèche et plane (pour améliorer l'adhérence).
2. Méthodes de fixation (choisissez-en une) :
- Adhésif double face 3M : retirez le papier protecteur, collez la bande à plat sur la surface d'installation et appuyez doucement pendant quelques instants pour renforcer l'adhérence.
- Fixation par clips : convient aux situations nécessitant un démontage fréquent ou une fixation renforcée ; fixer les clips sur la bande et les serrer à l'aide de vis.
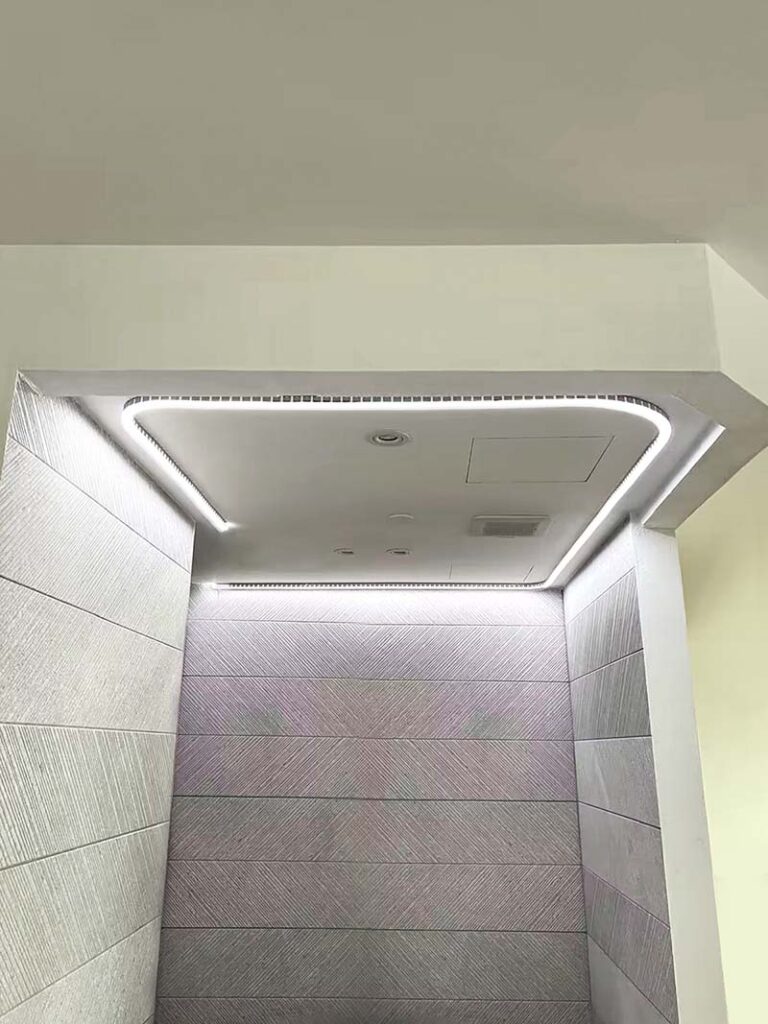
- Installation du profilé : convient aux bandes COB ou aux scénarios nécessitant une dissipation thermique ; commencez par encastrer la bande dans le profilé en aluminium/plastique, puis fixez le profilé.
Notes :
– Maintenez la bande bien droite pour éviter toute torsion (et prévenir une luminosité inégale).
– Pour les coins, pliez naturellement ou coupez au niveau du repère et reliez à l'aide d'épingles.
V. Tests et finalisation : achèvement sûr et fiable
1. Test de mise sous tension :
– Testez avant la fixation ; branchez l'alimentation et allumez l'interrupteur pour vérifier si la bande s'allume normalement (pas de scintillement, pas de zones sombres).
– Dépannage : si le voyant ne s'allume pas, vérifiez d'abord l'alimentation électrique, l'inversion de polarité et la solidité de la connexion.
2. Fixation et disposition :
Après avoir vérifié le bon fonctionnement, fixez complètement la bande ; rangez les cordons d'alimentation excédentaires à l'aide de ruban isolant ou d'attaches-câbles (pour préserver l'esthétique).
3. Imperméabilisation (si nécessaire) :
Dans les environnements extérieurs ou humides (cuisine, salle de bain), scellez les raccords, les embouts et les bouchons avec de la colle à verre neutre.
Remarques importantes
- La sécurité avant tout : ne mettez pas sous tension la bande déroulée (pour éviter tout dommage dû à une surchauffe) ; débranchez l'alimentation électrique pendant toute la durée du processus et utilisez des adaptateurs électriques homologués.
- Évitez la surcharge : la longueur d'une seule série ne doit pas dépasser la longueur maximale spécifiée par le produit (généralement 5 mètres) ; ne connectez en série que des bandes de même spécification et de même tension.
- Protection d'extrémité : Il est nécessaire d'installer et de sceller le capuchon d'extrémité à l'extrémité de la bande afin d'empêcher la poussière et l'humidité de pénétrer.
- Installation par temps froid : préchauffez la bande en la mettant sous tension pendant 3 à 5 minutes afin de la ramollir avant l'installation.
Suivez les étapes ci-dessus pour installer correctement la bande LED et ajouter l'effet d'éclairage idéal à votre espace !